
Once you weave, you never really go back. There is something captivating about throwing the shuttle and watching the fabric build right in front of your eyes. As you weave, new ideas start to form, and before long, you are already imagining the next weaving project. At some point, you may begin to wonder why one set of towels turned out to be the perfect size, while the next did not, even though they used the same yarn. Or why a 6” sample does not quite match the cloth from a 20” finished project.
Most of these answers come down to recording your weaving projects. When you take the time to write down where you started, what you did along the way, and how everything finished, trends begin to emerge. Over time, your calculations become more reliable, and you gain the confidence to create the fabric you are hoping for.

In this post, we explore why it can be helpful to record different aspects of your handwoven projects. Not everyone tracks every detail, and that is completely fine. Even a few thoughtful notes here and there can make your weaving feel more predictable and lead to more satisfying results. We also link to many of our most popular weaving posts in each picture.
At the end of the post, you will find a printable Weaving Projects Record PDF to help you document these details in a way that works for you. Each month this year, we will share a new post with a PDF to support your multicraftual journey. From crochet to spinning, and even organizational tips for goals and tools, we are here to support you along the way.
Project Planning
Project planning is a natural place to begin. When you write out your goals, you may notice opportunities to refine your ideas and improve your chances of success. Throughout this post, we will use kitchen towels as an example. It is a familiar project for many weavers and a great one for beginners to connect with.
Project Purpose
This is simply where you note the purpose of your project. In this case, kitchen towels, perhaps intended as a Mother’s Day gift. It is also helpful to record your start date so you can see how long weaving the project takes from beginning to end.
Materials
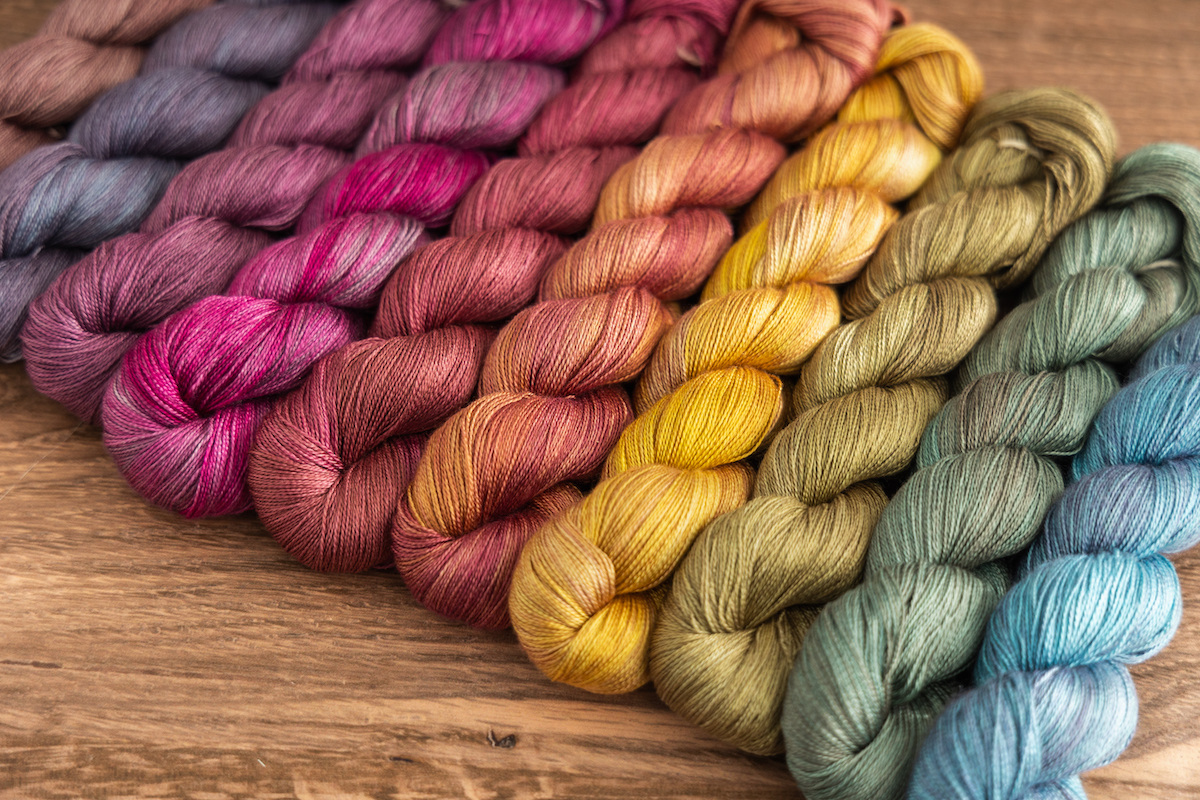
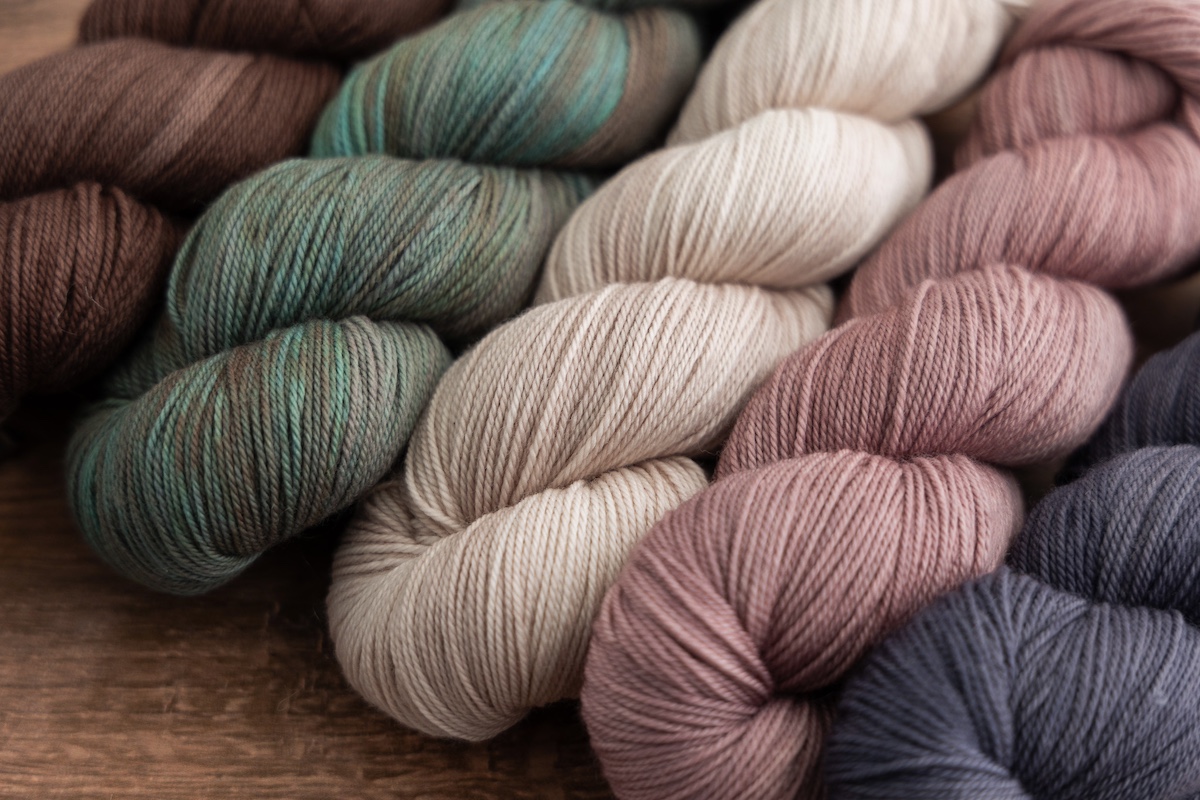
Materials play an important role in the outcome. Since towels require frequent washing, something like cotton is often more practical. Some people find that unmercerized cotton absorbs water more readily, while mercerized cotton can offer greater durability over time.
Not all cotton yarns behave the same way. Even yarns labelled 8/2 or 2/8 cotton can differ. The amount of twist, how tightly the plies are spun, and the overall structure of the yarn can all vary between brands. These subtle differences can affect your final fabric. It is helpful to record not only the fibre type, but also the brand and yarn size.
Weave Structure & Draft
With so many options available, choosing a weave structure can feel exciting. Plain weave offers durability, while twill or crackle can be especially appealing for design options. It is worth remembering that some structures pair better with certain materials, which can alter your initial material choice. For example, waffle weave often works best with unmercerized cotton.
Once you have chosen your structure, you can begin working out a draft. This is often one of the more creative parts of the process, especially when exploring colour and treadling variations.
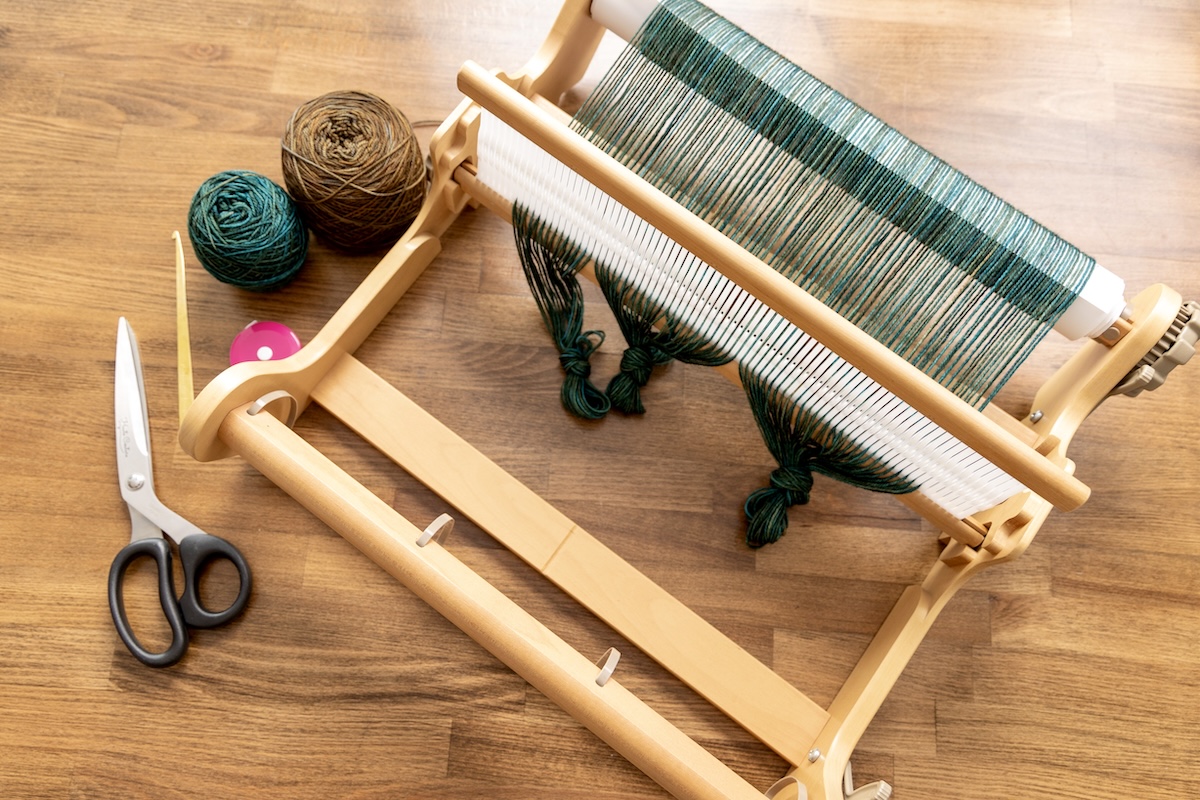
Choosing a Loom
The loom you choose can influence your project. While it is possible to weave twill and other structures on a rigid heddle loom, a four-shaft table or floor loom may be more comfortable for weaving a set of twill towels. Different looms also accommodate different warp lengths.
Project Length & Width
Decide how long and how wide you would like your project to be. If each towel is 30” long and you plan to weave four towels, you will need at least 120” of warp length.
There are a few additional factors to consider, such as take-up and draw-in, loom waste, and how much the fabric may shrink after washing. It is also a good time to think about sampling. If you plan to sample, you may want to include extra warp length.
It is also worth looking at this the opposite way. Let’s say you have a 20” wide loom and want 20” wide towels. That would be after the draw-in and shrinkage. You might need a loom that is around 22-24” wide to accommodate the width before this measurement.
And how do we figure out all these variables? Well, by recording the projects as we make them. If you are following a pattern, most of this work is already done for you, which is a nice starting place as a beginner. We also have some helpful articles below!
Sett
Next comes determining the sett. Sampling is often helpful here, but a wraps-per-inch (WPI) test can give you a starting point. This is something spinners are very familiar with, and we have an article, How to Achieve Grist & Avoid Skewing Your Count, by Kim McKenna, that walks you through the process of determining your yarn’s WPI.
A common guideline is to divide the WPI number by two for plain weave, or use about two-thirds for twill. For something like a scarf, you might choose a more open sett to encourage drape, while towels may benefit from a slightly tighter sett for durability. When working with a new structure, sampling is always a valuable step.
Extras
This is a space for anything else that might support your process. You might note whether the fabric is intended to be balanced, weft- or warp-dominant. You could include observations from preparing the warp, details about sleying, or whether you will use floating selvedges. Anything that helps you understand or recreate the project is worth noting.
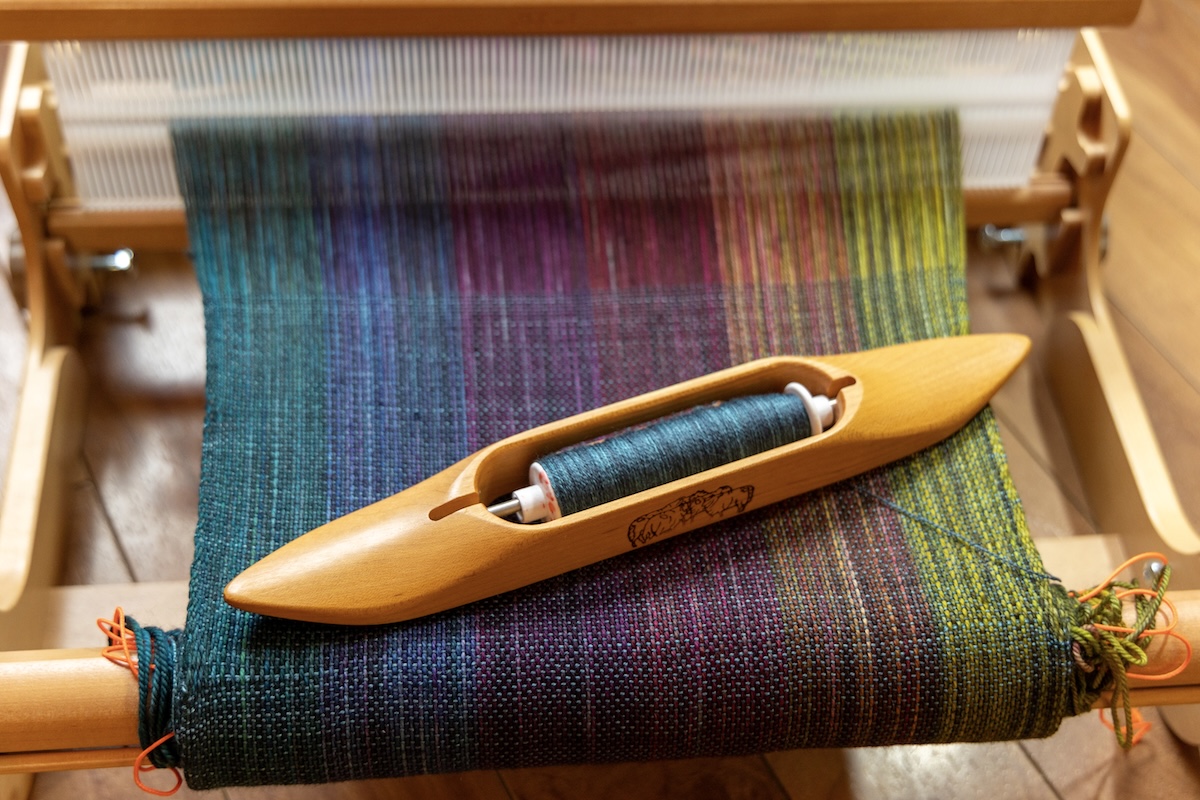
On the Loom
After completing your calculations, you can either begin weaving right away or start with a sample. Both approaches are fine, especially for towels. As you weave, there are a few details that are helpful to record along the way.
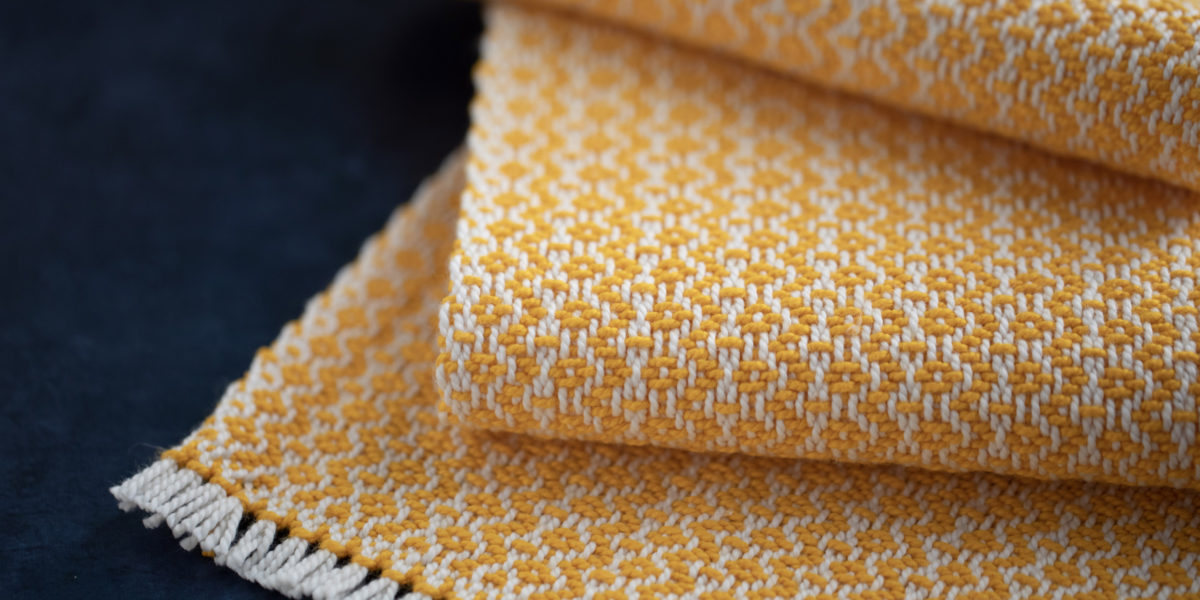
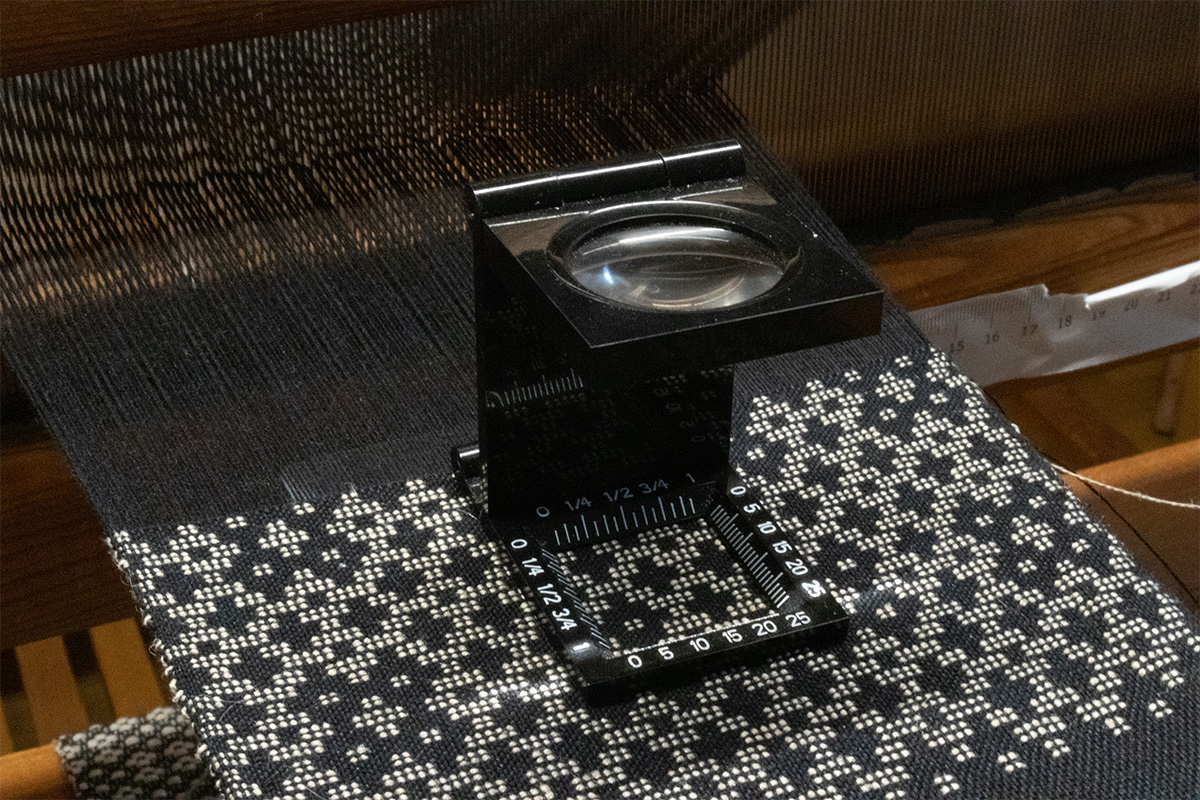
Sett / PPI / EPI
Now is a good time to check whether everything is progressing as expected. Using a ruler, measure your ends-per-inch (EPI) and picks-per-inch (PPI). If this feels difficult to see, place a ruler on the cloth, take a photo, and zoom in to see more clearly. A magnifying ruler or linen tester/pick glass is also useful.
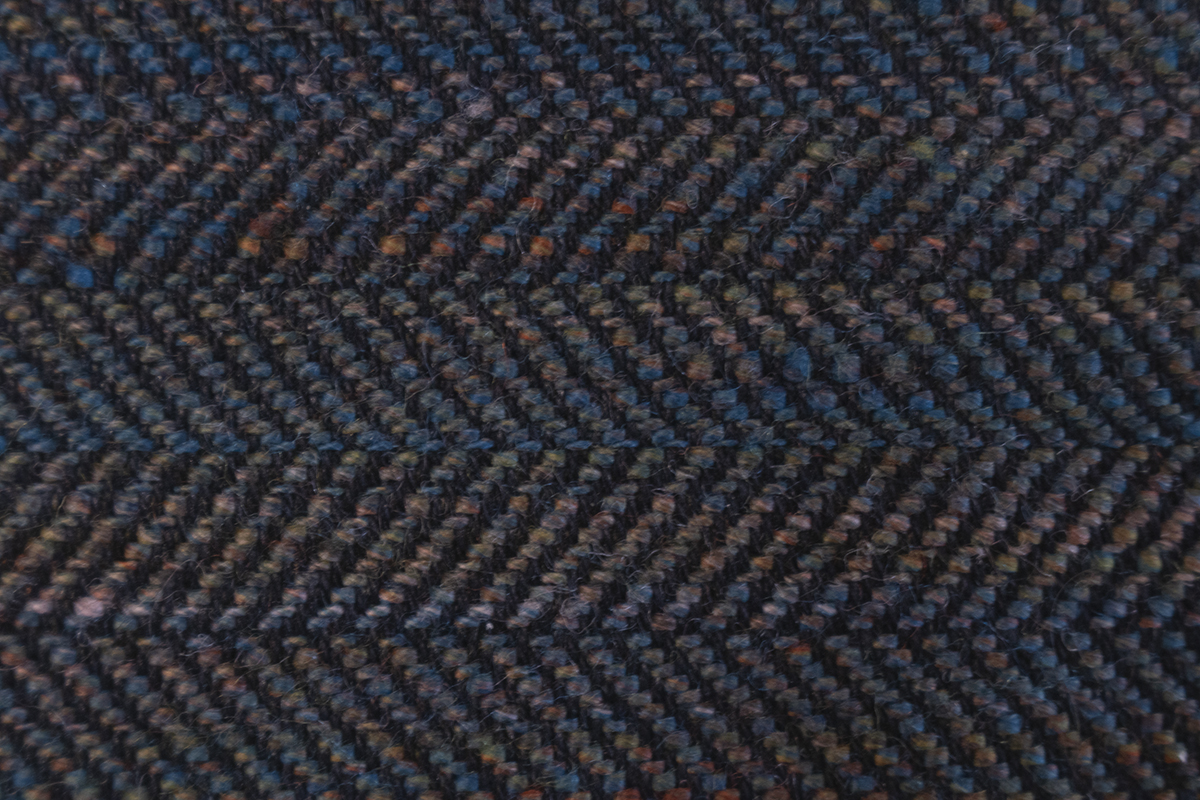
Patterning / Balance / Angles
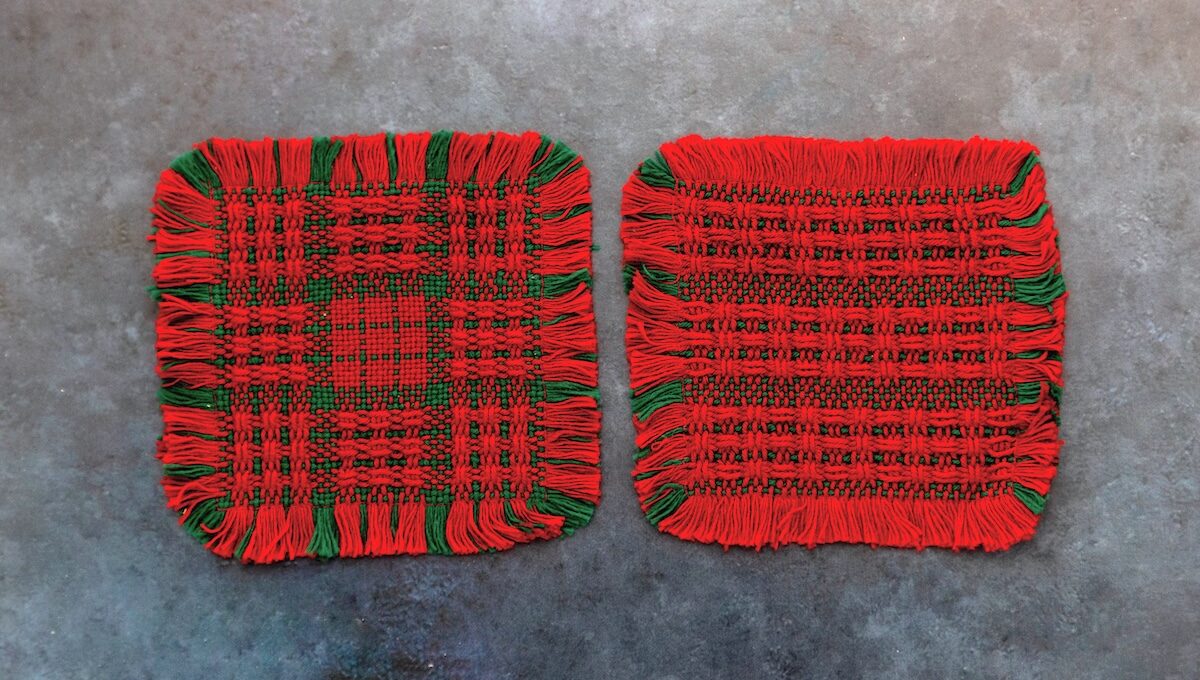
This relates directly to sett. Sometimes it is easier to observe the pattern as a whole rather than count individual threads. For instance, weaving plaid squares. They might look perfectly balanced on the loom, but may shift into rectangles after washing. Take-up, draw-in, wet-finishing, and material all play a role in the final result.
If you notice a consistent change, such as squares becoming rectangles, you can adjust your beat or sett in future projects to compensate. This idea applies across multiple structures, whether you are working with overshot (circles), twill (45° angles), or plain weave. Keep in mind, you do not need to weave to these “standards”. If you like the cloth you are making, and it performs as you hoped, that is all that matters!
Width
Measuring the width of your fabric on the loom helps you track draw-in. Taking these measurements at different stages may only show subtle changes at first, but the start and end width can reveal a 5-15% difference, even 30% for some structures after wet-finishing!
Extras
Use this space to note anything that comes up during weaving. You might record broken warp ends, changes to treadling or colour, or adjustments to the tie-up. These observations can be very helpful later on.
Off the Loom
Once your project is off the loom, it is worth taking a few more measurements before wet finishing.
- Check the sett again now that the fabric is no longer under tension. Even small differences can be interesting to observe.
- Measure the dimensions again. Without tension, the fabric may relax and shift slightly.
- Record how much loom waste was used for the front and back. This can vary between looms and is useful information for future planning.
- Take a moment to look under your loom as well. Is there a build-up of fluff or debris? Some yarns shed more than others, and this can be a helpful reminder to clean the area regularly.

After Wet Finishing
Once your project has been washed and pressed, you can take a closer look at the final results.
- Observe how the fabric looks and behaves now. This is where you can evaluate whether your sett and beat achieved the effect you were aiming for.
- Are the finished towels the size you expected? Comparing measurements from each stage helps you better understand take-up and shrinkage for future projects.
- Beyond appearance, consider how the fabric feels. If it seems too firm, you might choose a more open sett next time.
- Sometimes a project looks just right at first, but behaves differently over time. It can be helpful to revisit your notes and record how the fabric performs with use. If the piece was a gift, you might also ask for feedback from the recipient.
- You can note anything that stands out. Did the yarn dye bleed? Did the hems flare? Would you adjust your finishing technique next time? Recording these details helps you continue refining your weaving process. You may also wish to include the finishing date to track how long the project took overall.
Resources
This post covers the basics, though there is always more to explore when it comes to preparing the warp, dressing the loom, and finishing techniques. This is where books, courses, and community can offer valuable support.
School of SweetGeorgia
At the School of SweetGeorgia, we offer over 30 video-based courses focused on weaving. Here are a few to help you get started:
- Essential Weaving
- Rigid Heddle Weaving Basics
- Multi-Shaft Weaving Basics
- Weaving Twills on 4-Shafts
- The Intentional Weaver
- Magic in the Water
- Fundamentals of Weaving Series
SweetGeorgia + Co
Being part of a community can make a meaningful difference. Connecting with other makers allows you to share experiences, learn from one another, and find encouragement through both challenges and successes. We invite you to join us at SweetGeorgia + Co.
Final Thoughts
This may feel like a lot of information, and that is completely understandable. You do not need to record every detail or calculate everything. Starting with a pattern can make the process feel more approachable. From there, you can begin adding notes gradually. Over time, you will discover which details are most helpful for you to record.
Weaving Project Record PDF Download
Here is the weaving recording PDF for you to download and use. There is no single right way to approach it. Fill in what feels useful and leave the rest. It is simply a tool to support you in your weaving practice.
The post Record Your Weaving Projects to Help Create Fabric You Love appeared first on SweetGeorgia Yarns.


