
It was 2023, and I had just finished my first hand-woven and sewn garment. I was really proud of all the tasks I had to do to complete this project, and couldn’t stop thinking about what my next project could be.
While wandering the fabric store, I came across a thicker woven fabric, a beautiful green plaid. I almost cut it right there to wear it as a thick scarf or as a poncho. I took a picture of this fabric and saved it to my phone, as inspiration for a “one day” project.
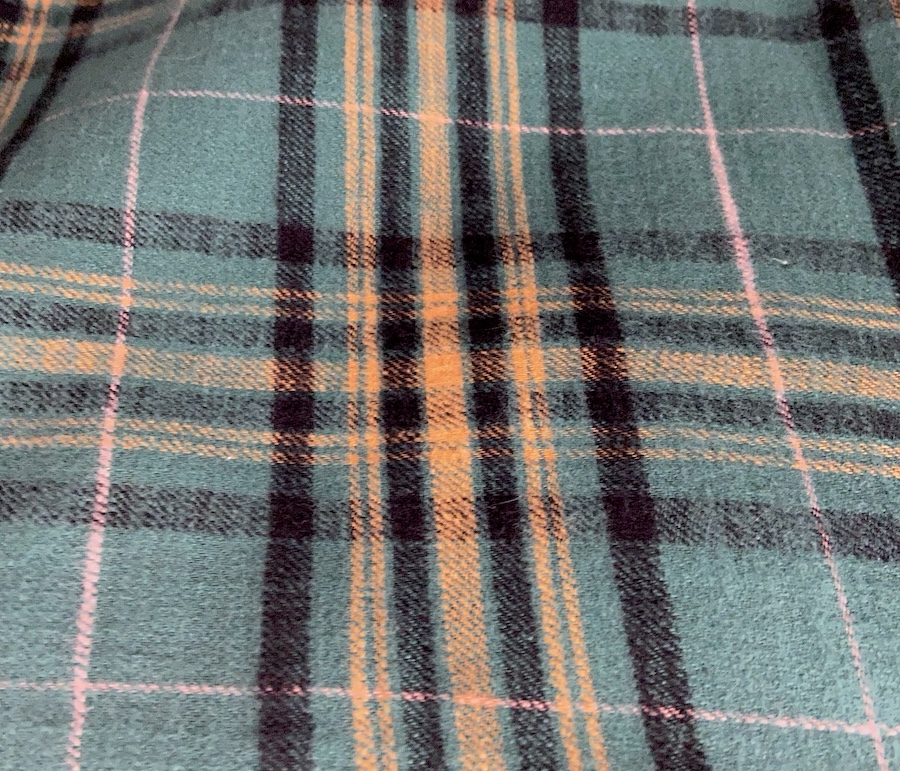
Playing with Plaid
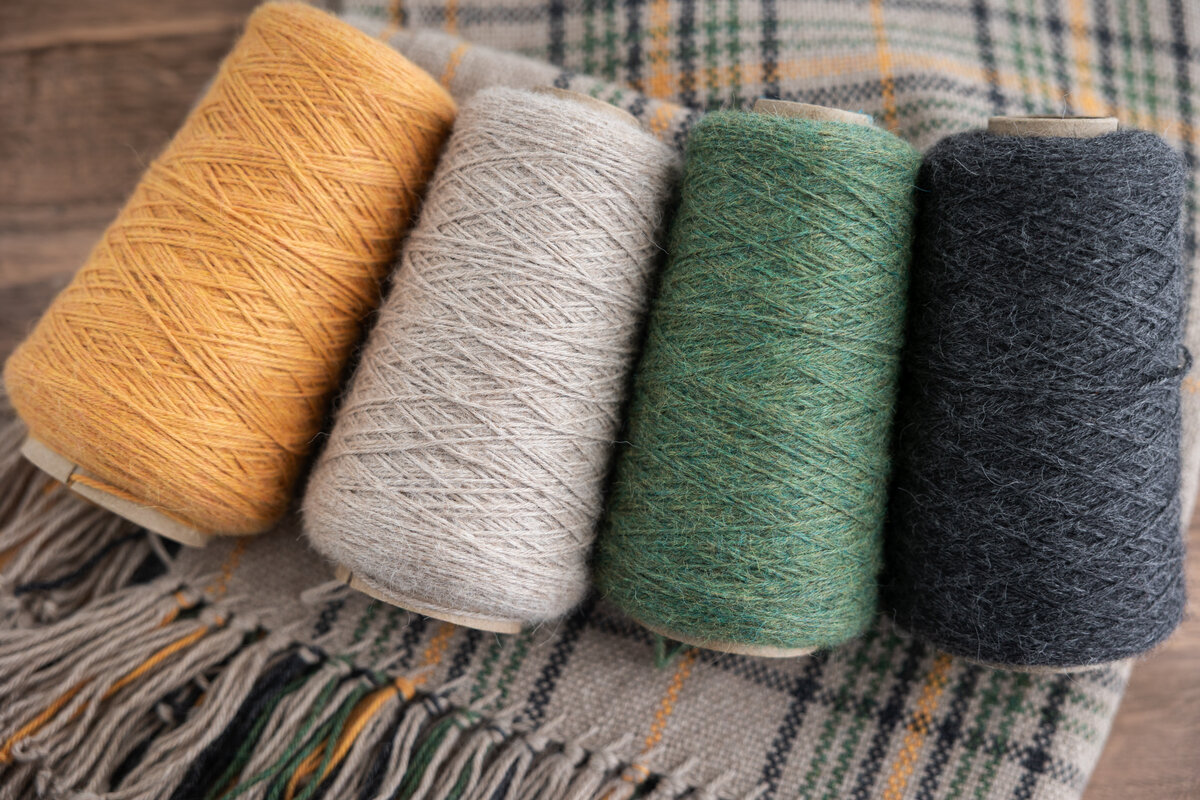
Fast forward to January 2025. The School of SweetGeorgia released a new course, Weaving Stripes, Plaids & Tartans, and it got me excited to make something plaid on my Leclerc floor loom. I searched my stash to find the right yarn. I had four cones of Gist Ode. While looking at this yarn, I remembered the picture I had taken as inspiration years previously.
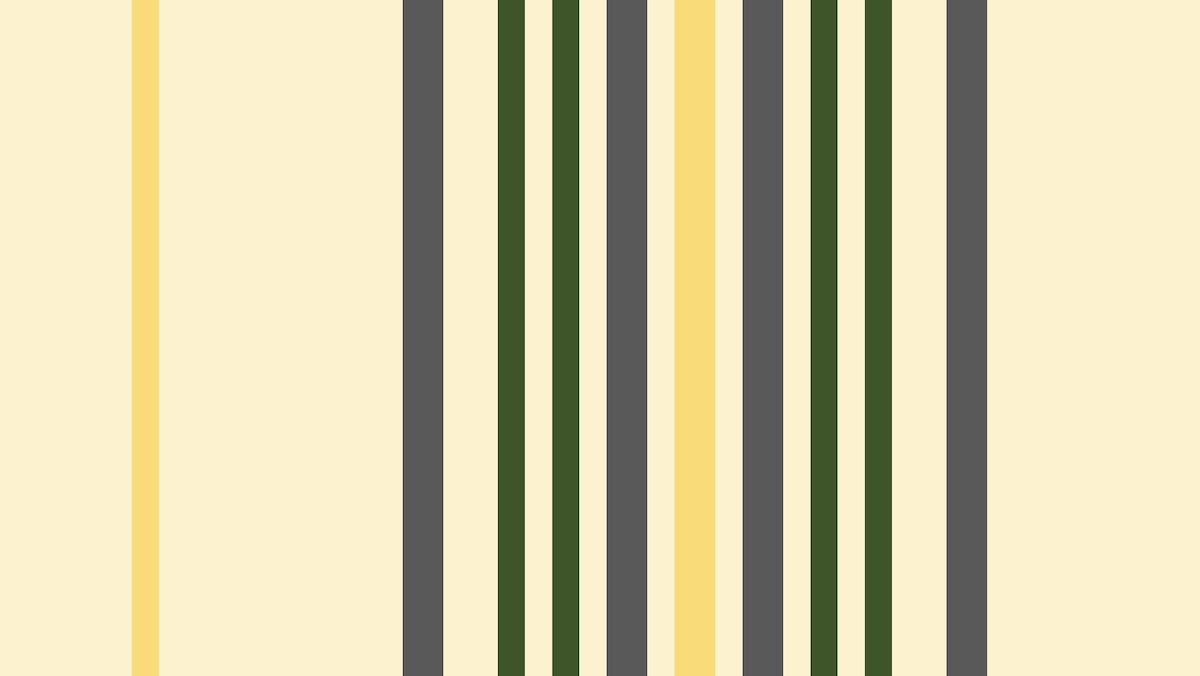
I went to my “tried and true” way of designing, Excel. It’s old, basic and simple, but it really does everything I’ve ever asked of it with all my woven projects to date. I opened up a new spreadsheet and started playing. In the course, Felicia had recommended Plaid Maker, so I also decided to give it a try, to see how the stripes and colour combinations looked as a repeating pattern.
But because I had taken a weaving commission, I had to put this idea on the back burner for a few months. In September 2025, with my fellow Monday Crafternoon crew, we started an Epic Cloth Challenge, based on a workshop in the School of SweetGeorgia. I opened up my weaving notes for my plaid project and got started.

Researching Gist Ode
I originally wanted to design everything myself. But I didn’t know what sett Gist Ode could be woven at. After searching some Handwoven Magazines, I found an article in the November/December 2023 issue, Ode Alpaca Weaving Yarn: Pretty Inside and Out, written by Christine Jablonski. It had Gist Ode samples woven in plain, lace, and 2/2 twill. The article mentioned the Gist Ode woven fibre would bloom nicely and was nice with just a bit of fulling. Based on this article, I decided to choose plain weave for my plaid project.
Weaving Calculations
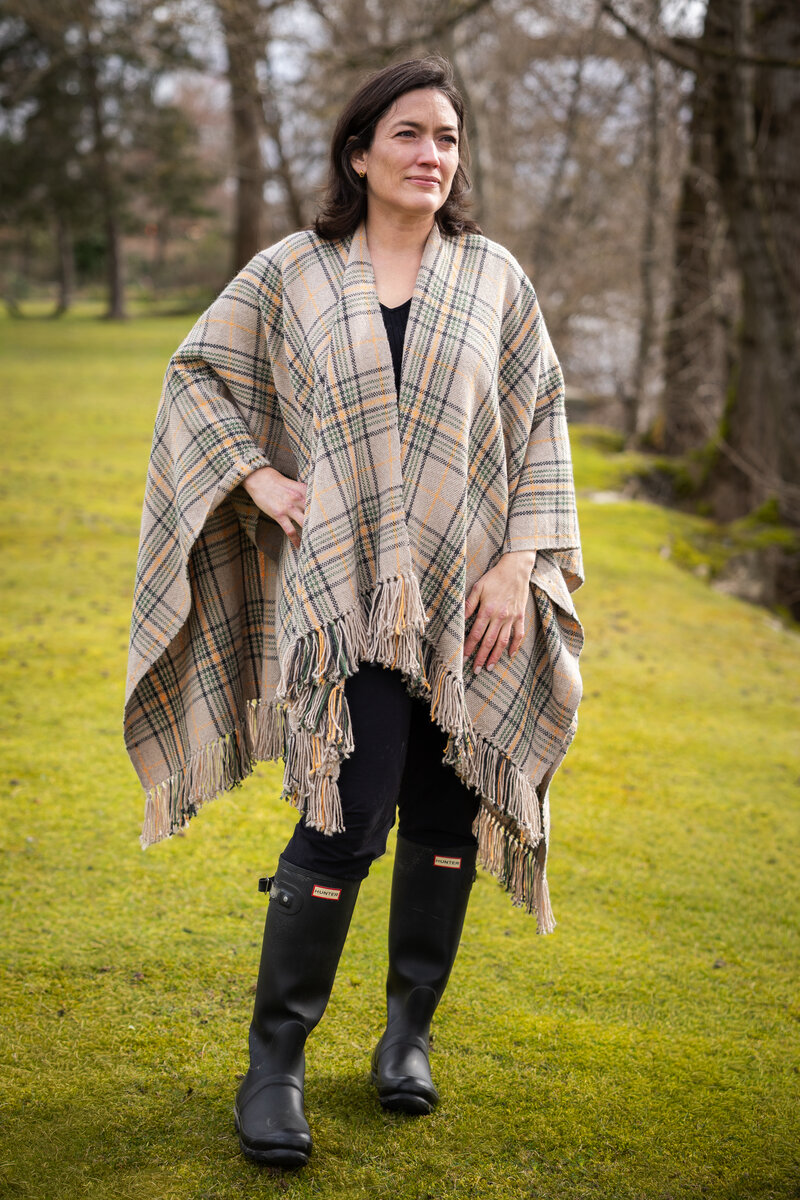
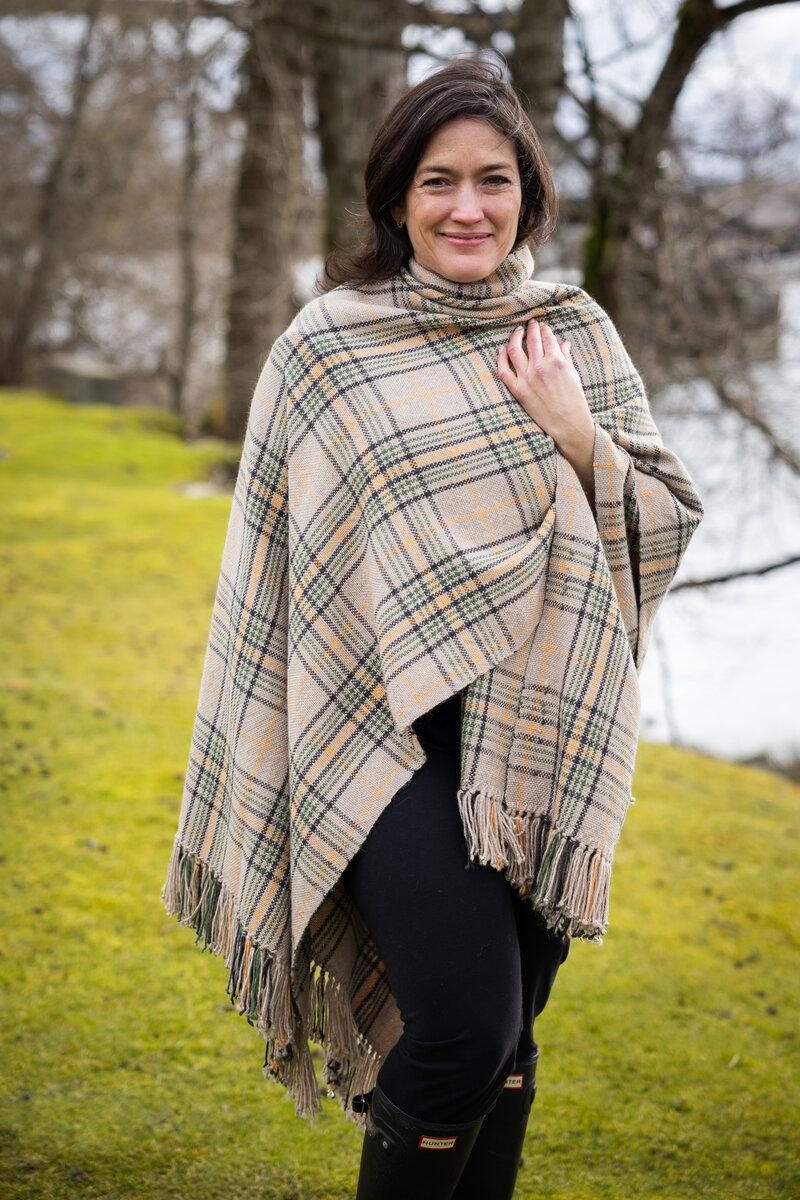
Oh, the maths. I knew I needed some guidance. I went in search of a written poncho pattern for reference. Luckily, I found the Cozy Alpaca Poncho, designed by Andrea Carpenter from the Gist website. After seeing the garment’s dimensions, I knew I needed to make some adjustments for the size I wanted. First, I wanted to alter the length, since I am 5 ft 3”. I also wanted it to cover the full length of my arm, which meant the fabric would need to be a tad wider.
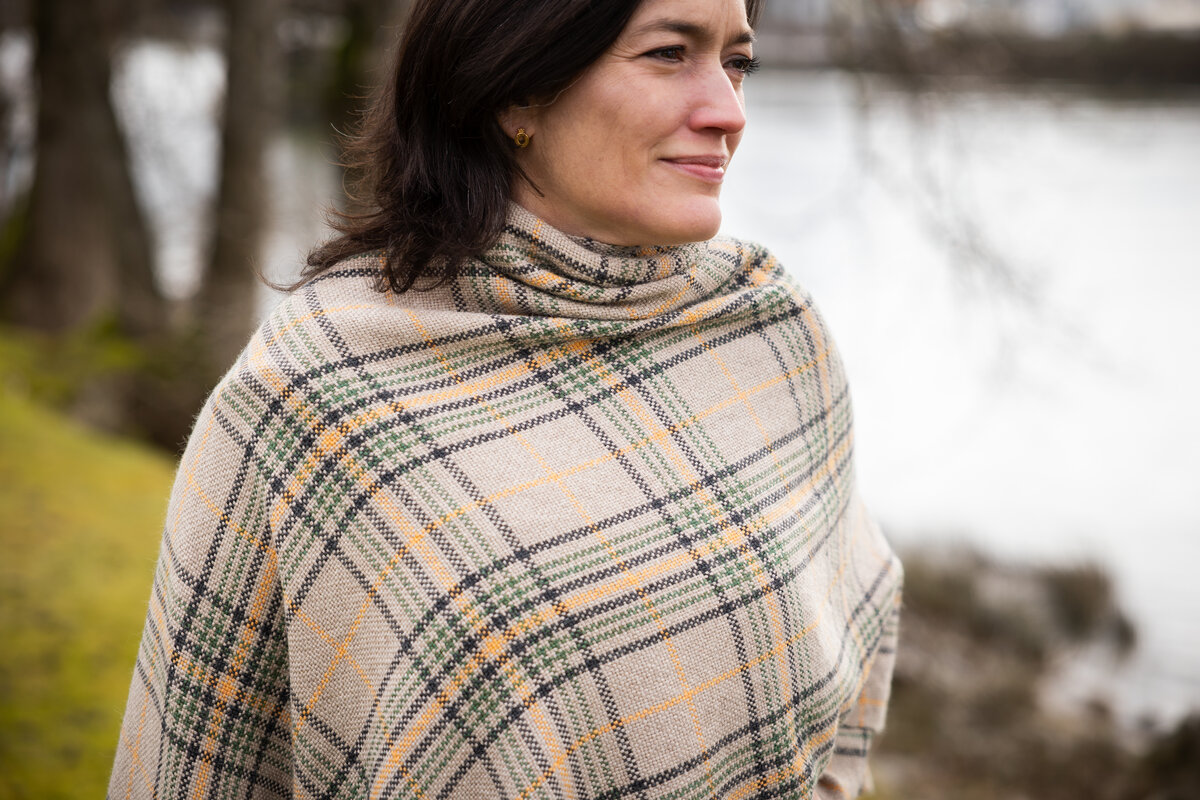
Before I could start, I needed to figure out how much of each cone I needed. I took one plaid repeat to find the percentage of each colour used. From there, I could figure out how much yarn to order. I decided to use Basil as the main colour with small stripes of Fawn, Sunflower, and Shadow. I was excited to start the project. Unfortunately, the yarn was not available in the quantity I needed. I went back to the drawing board. I swapped all my Basil yarn for Fawn, and I was back in business!
Sampling & Weaving
I made sure to add extra warp length, so I could sample before weaving the entire project. The sample came off the loom, and I was very happy with how the fabric felt.
I began weaving and following the pattern rhythmically. I would weave one plaid pattern repeat each time I sat down, which helped to move it along. Once I got into a flow, I could happily spend an hour or two at the loom during each sitting.
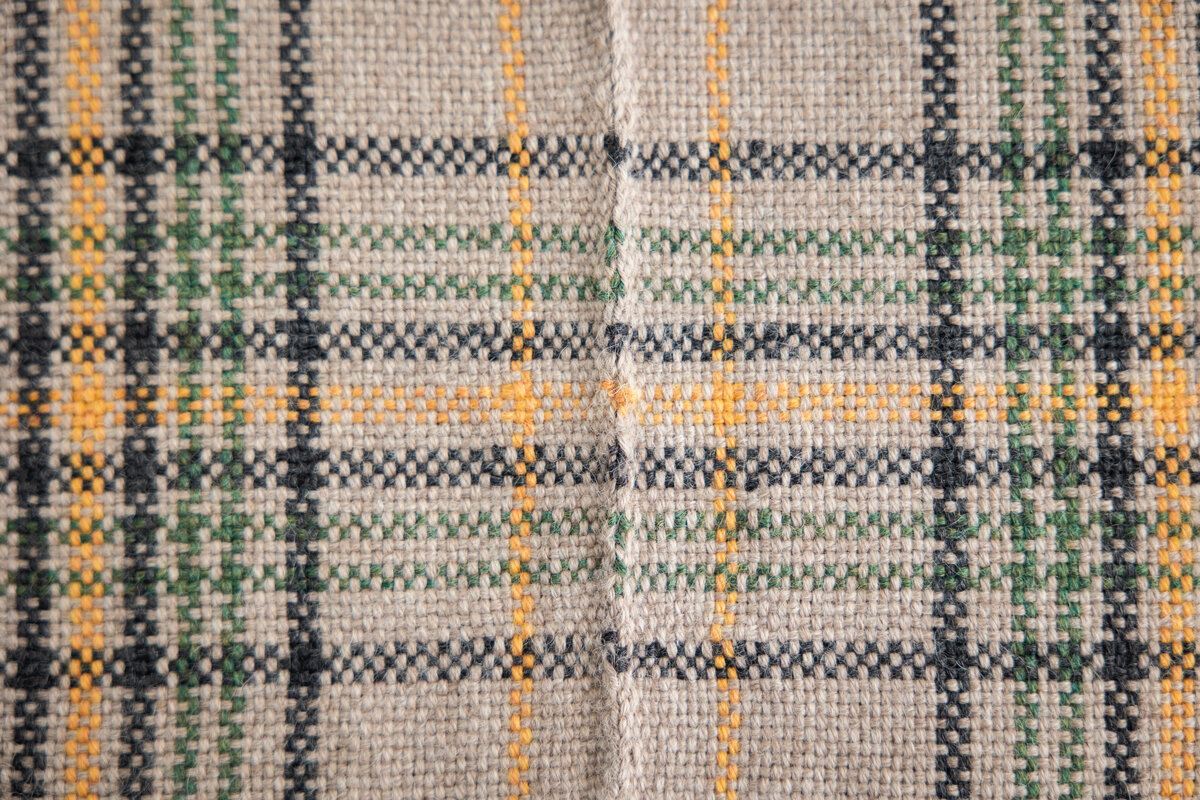
Some of the plaid stripes were very thin, with some only being two picks wide. Normally, I bring my weft end to the next pick’s shed to tuck it away. But this would be too apparent. After reaching out to the SweetGeorgia + Co community, we came up with a perfect solution. Using a darning needle, I took my weft end and sewed it back into the previous pick, all while still on the loom. Sewing each plaid colour in was the most tedious work of the whole project, but at least, like in knitting, if you weave in your ends as you go, then all those pesky ends are already taken care of.

Wet Finishing
I had pulled the woven fabric off the loom, laid both pieces side by side and saw they were different lengths. Maybe my beating wasn’t as consistent as I thought. But handmade fabric is never perfect, and variations will happen.
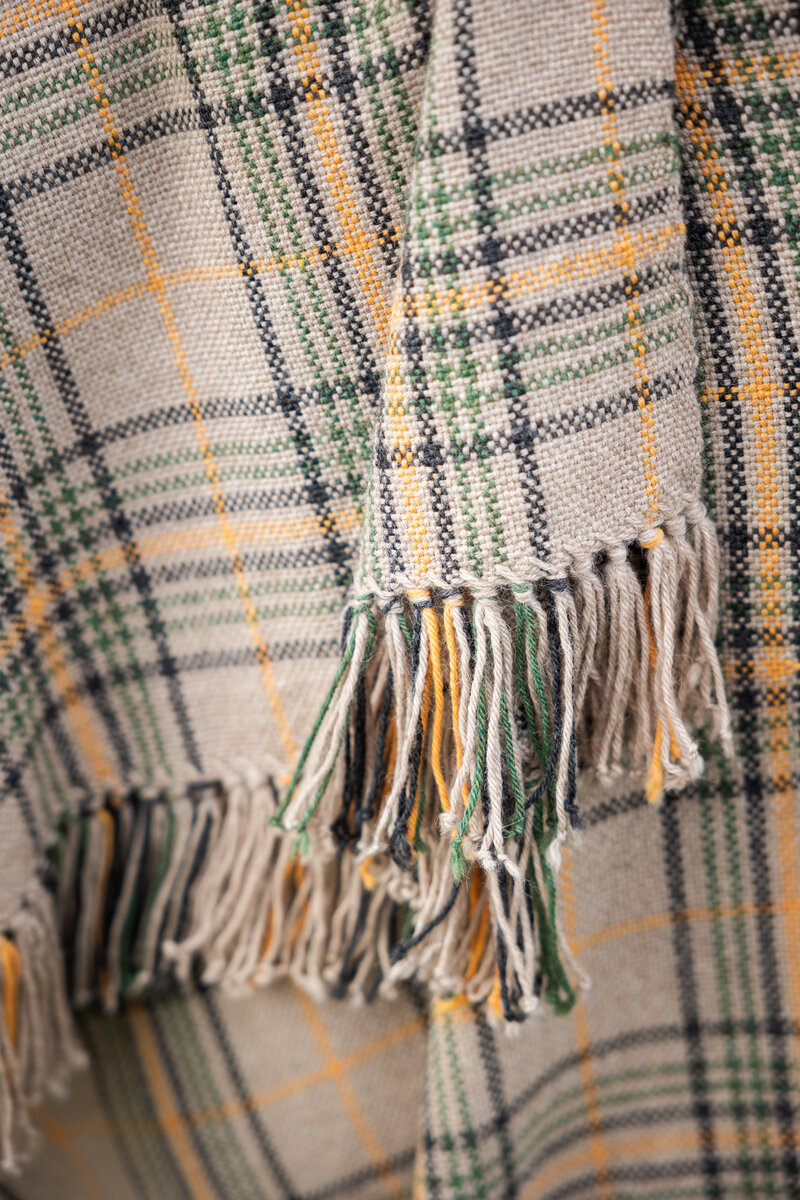
I had remembered reading how the yarn could easily unwind, so I added knots to all my fringe before washing it. 348 ends multiplied by four, and a good amount of TV watching and it was all done (phew).
Using the Handwoven article as a reference, I wet-finished my fabric with room-temperature water. I gave it a couple of washes, and during the final soak, I gently agitated the fabric in warm water for several minutes before pulling both woven pieces out to air-dry flat on my drying rack.
When the panels were dry, I laid them out again to match them up and begin sewing them together. That’s when I saw it….
Fixing Mistakes
Four full plaid repeats, one incomplete repeat, then another three full plaid repeats. I made the same mistake on each panel. Because I was so upset about the mistake, I didn’t look at it for an entire day.
After some thought, I decided the best place for errors was where they would not be in plain sight: the shoulders. Most of the poncho would lie flat, making mistakes more visible. But when worn, the fabric tends to bunch at the shoulder. This was the perfect place to hide this weaving mistake, and no one would ever know (you won’t tell anyone, will you?).
Final Thoughts
Everything you make teaches you something. For me, I need to be more careful when weaving pattern repeats, check my picks-per-inch more often for consistency, and make tighter knots on my fringe. What this project also taught me was that I can draft, calculate, and create any project I set my mind to!
Find more of Robyn’s articles here>>
The post An Ode to Gist Ode & the Cozy Alpaca Poncho! appeared first on SweetGeorgia Yarns.


