
We love exploring colour and texture here at the studio. Whether it’s through dyeing, knitting, weaving, or spinning, the goal is always to “paint” with yarn. Recently, I’ve been fascinated by rug making. We’ve explored making rugs through weaving and punch needle, but today, I’m trying the “power tool” version.
I recently received the Clawlab Tufting Gun H1 Kit to test out. I wanted to answer two big questions: Is it actually easier than the manual punch needle? And, most importantly, can I use my existing stash of hand-dyed knitting yarn to make a rug?
Note: This is not a sponsored post, but the kit was gifted to us by Clawlab. We do have an affiliate link and discount code below, and if you use them, we receive a commission that supports our YouTube channel!
The Inspiration: Automating the Art
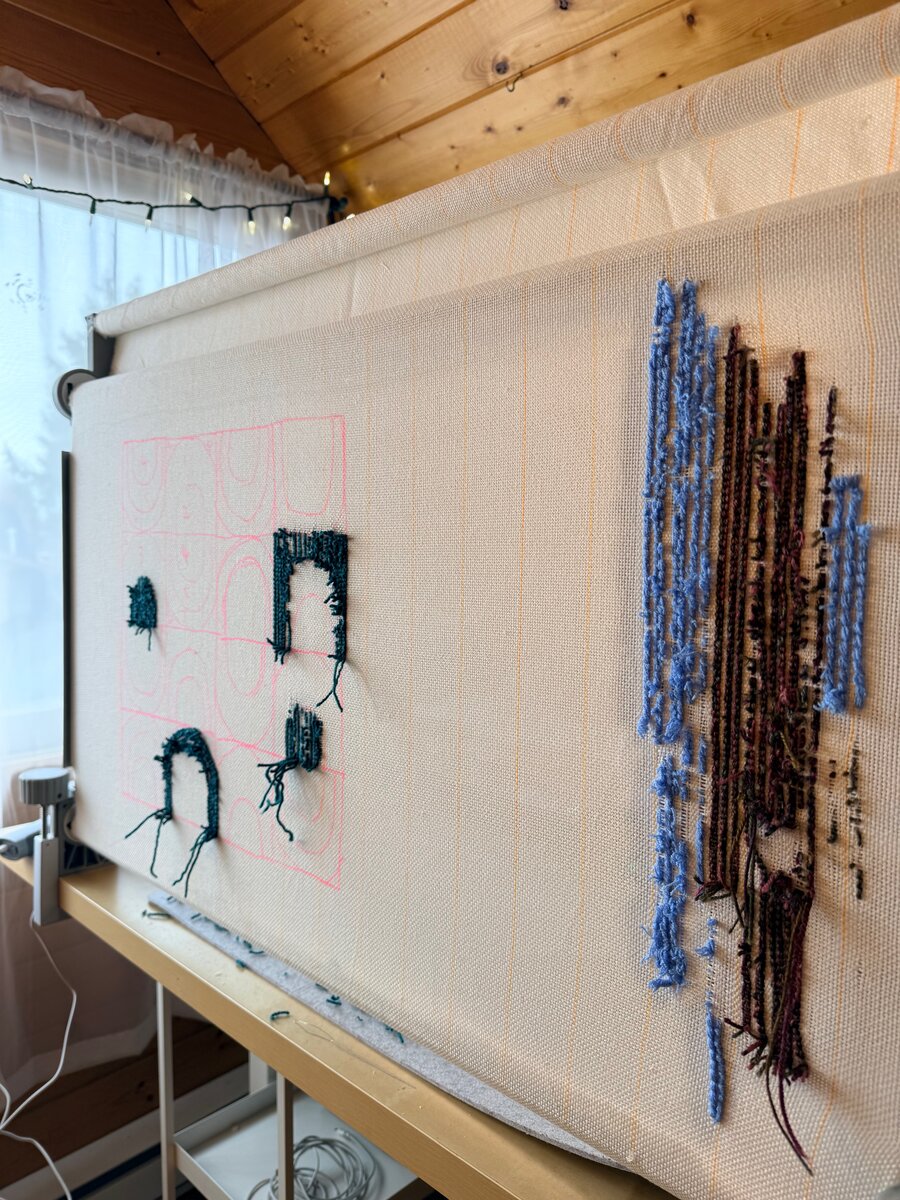
To give this tool a fair test, I decided to attempt a mini-rug version of the Wallace Pillow design by Sahm Jalbert from Kussen & Kiss. Sahm actually teaches a fantastic course, Modern Punch Needle, on the School of SweetGeorgia, so I thought this would be a fun way to see if we can translate that meditative, manual art into a faster, automated process.
The Setup: The “12-Minute” Frame
Usually, the biggest barrier to entry for tufting is building a massive wooden frame. It’s intimidating! However, this kit came with an aluminum metal frame that claims to be very easy to assemble.
And honestly? It was. It required no complicated tools—just a tiny screwdriver provided in the box—and felt very sturdy once assembled. We did have a small hiccup with one of the desk clamps being a bit jammed, but the Clawlab team suggested using a little rubbing alcohol to loosen up some stuck glue, and it worked perfectly.

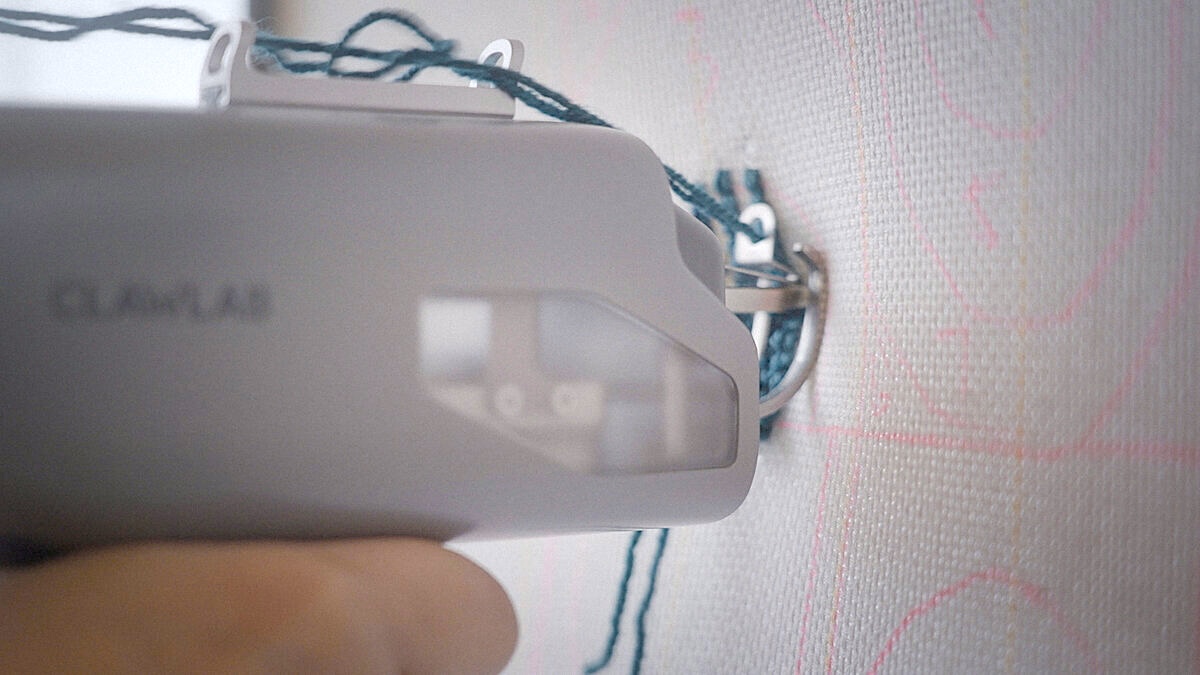
The Machine: Clawlab H1
If you are a beginner like me, machinery can be a little scary. The H1 is a “cut pile” gun, meaning it has a tiny scissor clip underneath that cuts the yarn after every punch, leaving a tuft in the fabric.
It features an LED display for speed adjustment, which is great for safety. I started on the slowest speed (blue light), but I actually found that dialling it up to the fastest speed (green light) and pressing firmly against the fabric gave me cleaner lines and better results.
It’s also surprisingly quiet—not “watch TV with the family” quiet, but with headphones on, it’s a very low-stress experience.
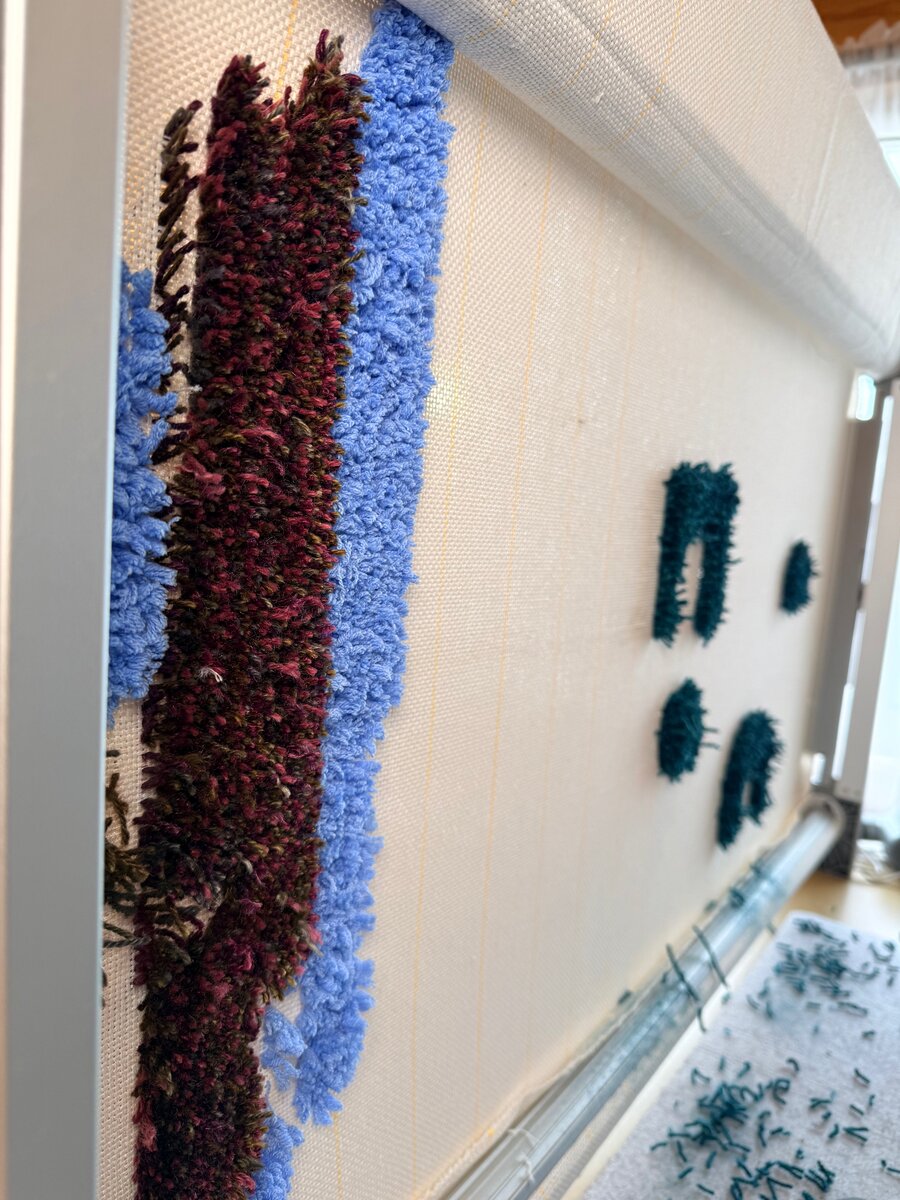
The Big Experiment: Stash Busting with Knitting Yarn
The kit comes with Milk Cotton yarn, which is an 8-ply, bulky-weight yarn. It worked beautifully. But I wanted to use my hand-dyed knitting yarn.
I grabbed some leftover SweetGeorgia Trifecta (a BFL, Mohair, and Silk blend). Here is what I learned:
- Single Strands Don’t Work: When I fed a single strand of fingering-weight yarn, it left bald spots. The hole the gun punches is too large for a thin yarn to stay put.
- Volume is Key: I ended up holding four strands of yarn together to get enough girth to stay locked into the fabric.
- Tension Matters: The yarn must flow completely freely. If there is any tension pulling back on the yarn, it will slip out of the gun and create a mess.

The Verdict: Manual vs. Power
Is it fun? Absolutely. It is incredibly satisfying to see a rug fill up in minutes rather than hours. However, unlike the meditative slowness of punch needle, this is fast and furious.
There is also a learning curve. My first attempts were choppy, and I realized that if you make a mistake and pull the yarn out, that yarn is wasted because it has been chopped into tiny bits. Unlike knitting or punch needle, you can’t just “frog” it and reuse the yarn.
If you are looking for a way to burn through stash quickly and make durable, fluffy rugs, this is a fantastic tool.
Want to try it yourself?
You can find the Clawlab H1 Kit here! and use the code: SWEETG to receive a 10% discount (that is stackable with the current February 2026 promotions!).
The post Using Knitting Yarn with the Clawlab Tufting Gun H1 Kit appeared first on SweetGeorgia Yarns.


