
I love the look of popcorn garland for holiday decorations on the tree. But after making it a few times, I’m moving on. Despite the simplicity of making it, stringing popcorn on a thick thread with a needle takes a lot of time. And it is a one-off creation; the garland goes to the birds afterwards.
Lately, I’ve been looking for ways to expand my yarn-making repertoire and to use designer or textured yarns beyond knitting. I believe I have solved the popcorn garland problem by designing a yarn that is easy to make, looks like stringed popcorn, and lasts beyond the season.
This is a quick project. It doesn’t take a lot of materials, and the result is pure fun. The other bonus to making this yarn is that it allows you to practice slubs, coils, and differential plying in a space with a wide margin of error. If your first few slubs aren’t perfect, it hardly matters, as they will be coiled and smashed.
How to Make Faux Popcorn Garland Yarn
Here is what you will need to make 25 to 35 metres of Faux Popcorn Garland Yarn:
Spinning Skills
- Ability to make thick and thin yarn with large intentional slubs
- Ability to make a coiled yarn using differential plying (holding one of the plying singles at an angle)
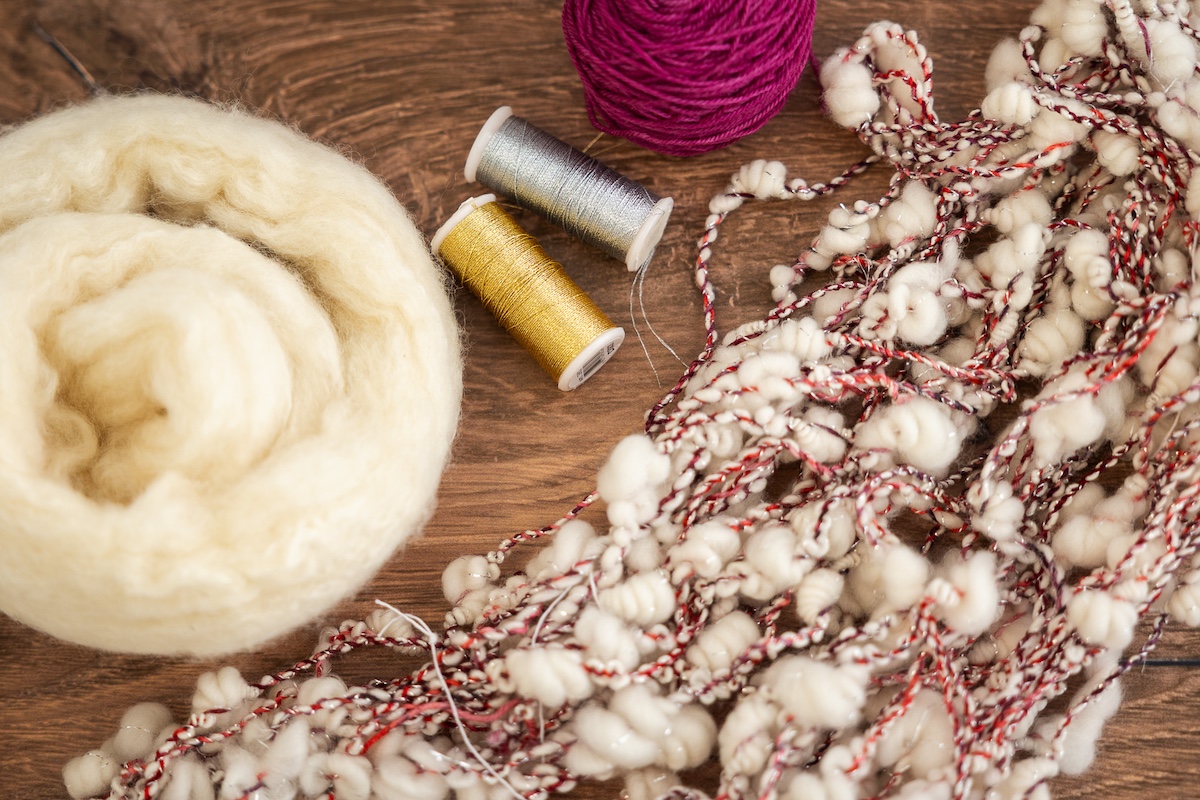
Materials
- 50g white combed-top fibre for making popcorn slubs; BFL wool works well
- 15g (60m) fingering-weight (sock) yarn for the first and second layers of plying
- Optional: silver filament for auto-wrapping
Equipment
- Spinning wheel with orifice and hooks that may accommodate slubs and coils
- Lazy kate with good tension
- Iron with a steam function or a steamer
- Niddy noddy or skein winder for holding the yarn during steaming
Overview
This is a compound yarn. You will be doing three passes to make this yarn. In each pass, you will be turning the wheel in a direction different from the one previously used.
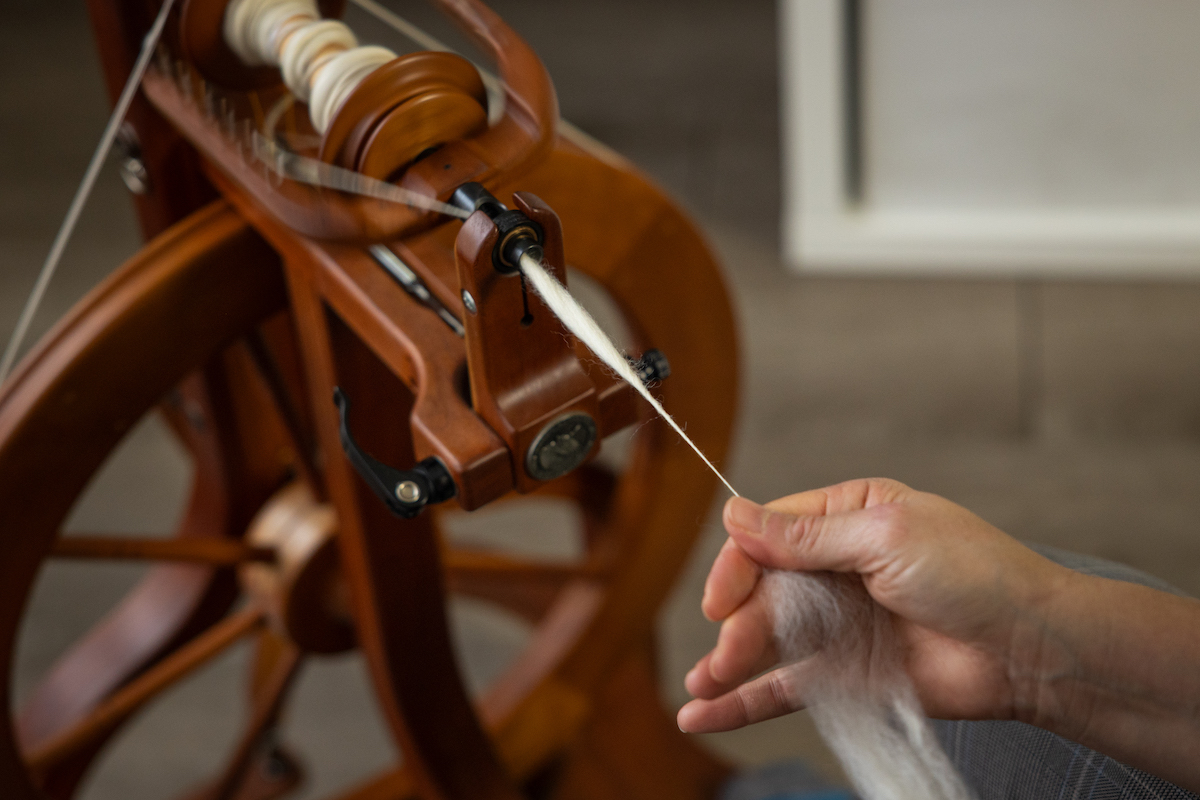
- First pass (spinning clockwise): you make thick and thin singles, also known as a slub yarn, with the white fibre, and optional auto-wrapping with a shiny filament.
- Second pass (spinning counterclockwise): you create the bunched coils.
- Third pass (spinning clockwise): you lock in and slightly crush the coils to make the popcorn shape.
First Pass: Making the Slub Yarn
Making thick and thin singles, also known as a slub yarn.
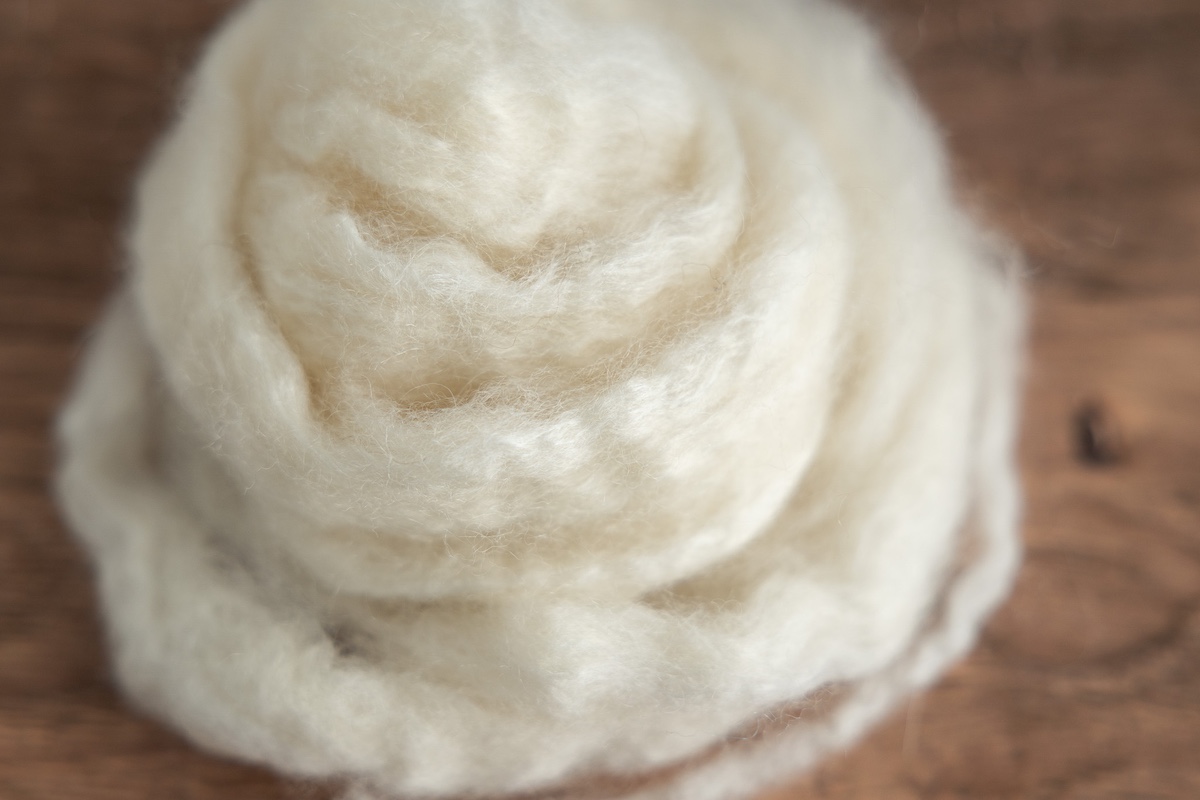
Preparing the fibre
It is helpful to prepare your combed-top when you plan to make slubs. Because you make this kind of yarn using a forward draft, combed top with all the fibres nicely lined up makes the slubs easier to produce.
The thickness of your slubs is the thickness of the fibre, so we must first strip down the combed top. Using the thickness of my thumb as my guide, I peel a strip of fibre from the combed top and loosely wind it in a nest shape. Continue to make more nests with the rest of the combed top.
Slub Yarn
Well-made slubs will take into consideration the staple length and twist. A properly made (and thus sturdy) slub will be just a bit shorter than the staple length of the fibre you are working with. The twist in the yarn will sit in the thinner parts of the yarn, seemingly jumping over the slub. As the slub is shorter than the staple length, the fibres on each end of the slub will provide the necessary twist to seal in the slub.
For this yarn, you will be making a relatively thick yarn with a good-sized slub every three to six forward drafts. You can make your slubs closer together if you like; it’s your yarn!
How to Make a Slub
Attach your white fibre to the leader and, while spinning clockwise, spin a DK to worsted-weight yarn for about a metre.
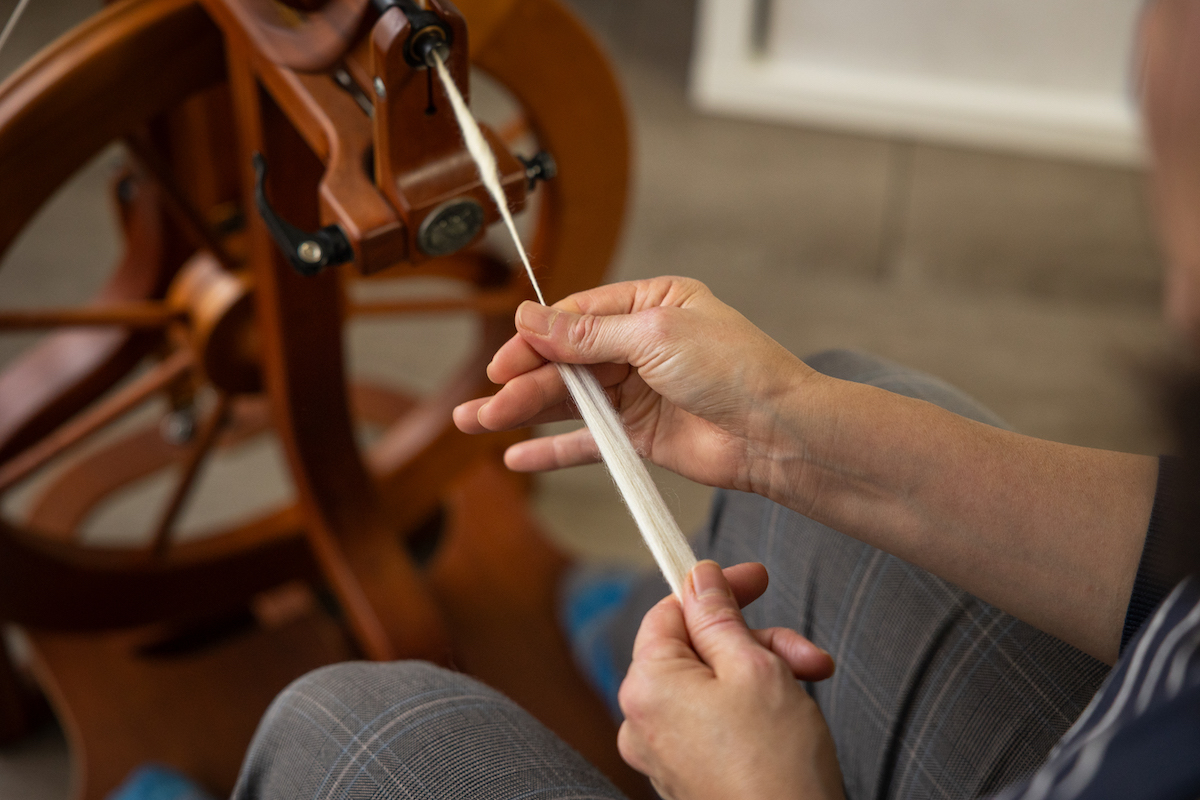
Using your drafting hand, you dig deeply into the fibre supply with your thumb held against the entire width of the fibre supply. Twist your wrist so the flat side of your thumb is pressing against the fibre and draft out until you almost reach the ends of the staple length. I find that I often switch to a short backwards draft when I am making a slub.
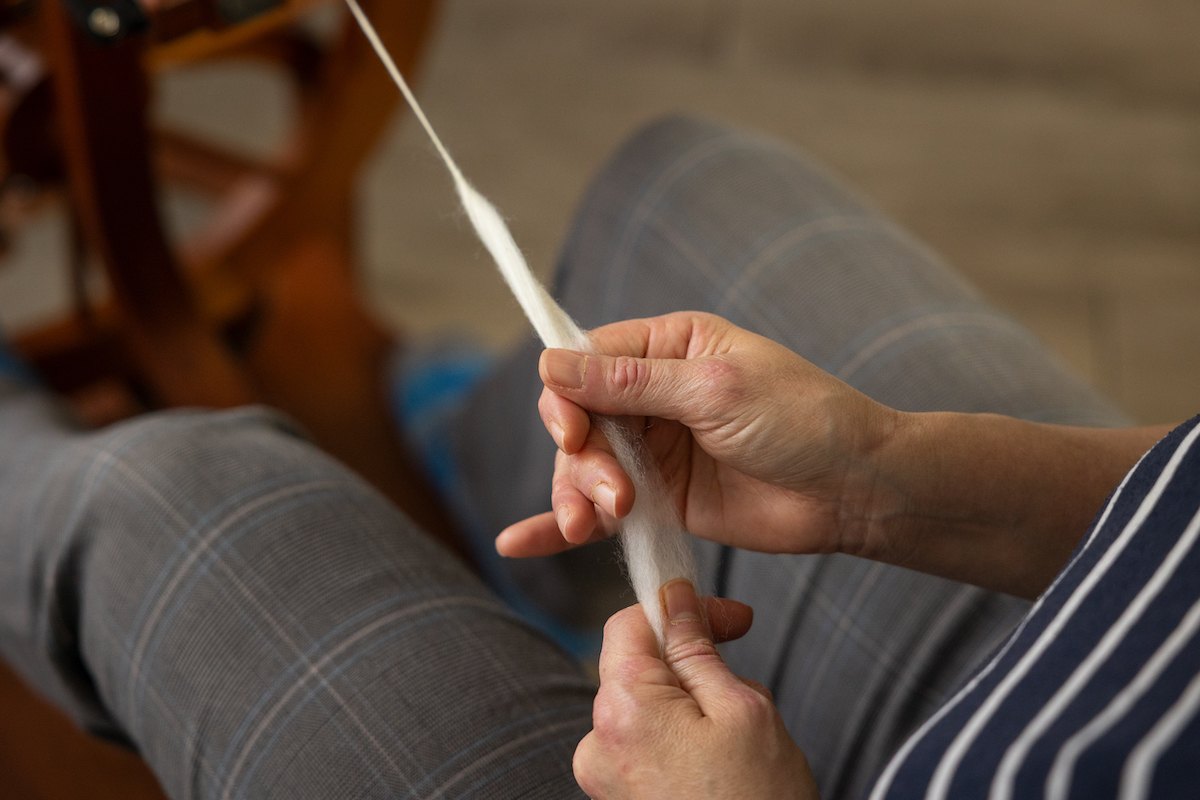
Slowly release the fibre (slub), allowing the built-up twist (from when you were grabbing the fibre) to take in the slub and seal it in. You will have high-twist yarn on both sides of the slub. And don’t worry if the slub itself seems to have little to no twist.
Carry on with a short forward draft and make slubs at varying intervals. After a few slubs, you will start to get good at making them and can start to appreciate how twist behaves in thin and thick spots of yarn. Don’t worry if your yarn seems to have extra twist; you will be removing a lot of that in the next stage.
Second Pass: Plying & Bunching Coils
Using differential plying to make coils with the slub yarn.
Preparing to Ply
Attach the sock yarn and the slub yarn to the leader to begin differential plying. To prepare, hold the sock yarn with your left hand and with your right hand, hold the slub yarn. Always hold the sock yarn straight from the orifice.
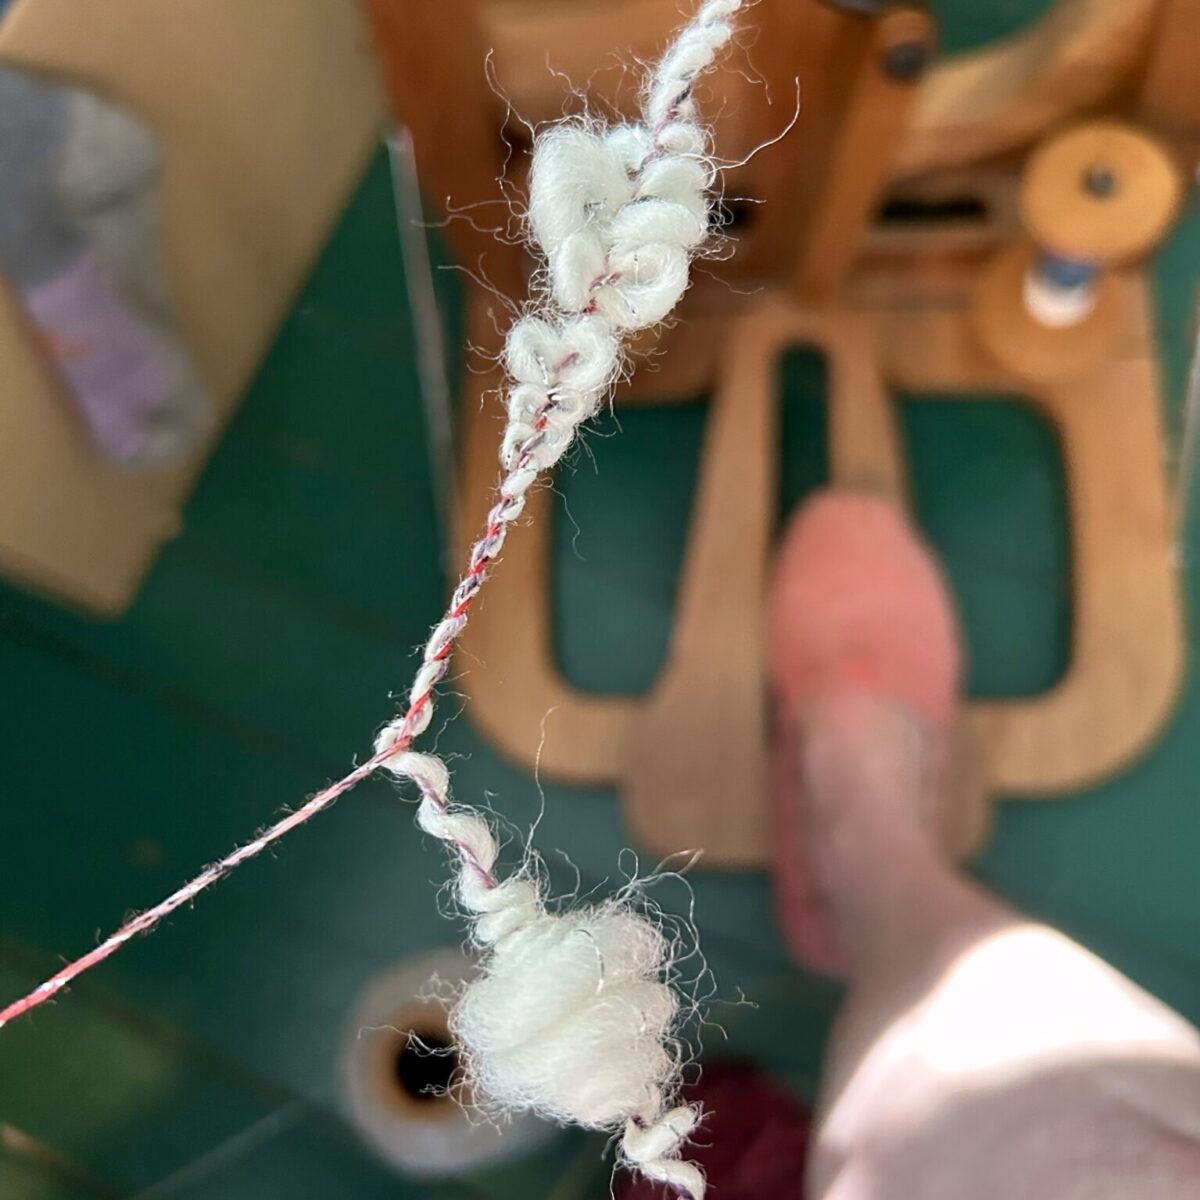
Bunching Slubs into Coils
Start to ply counterclockwise. In the thin spots of the slub yarn, do regular plying, hands held parallel. But when you reach a slub, hold the slub yarn at a 90-degree angle, allowing the slub to wrap around the sock yarn to make a beehive-type coil.
Continue until all the slub yarn has been plied. You now have a coiled yarn.
Third Pass: Ply Locking & Crushing Coils
Using the same sock yarn as a binder to lock in the coils and crush them.
Preparing to Ply Lock
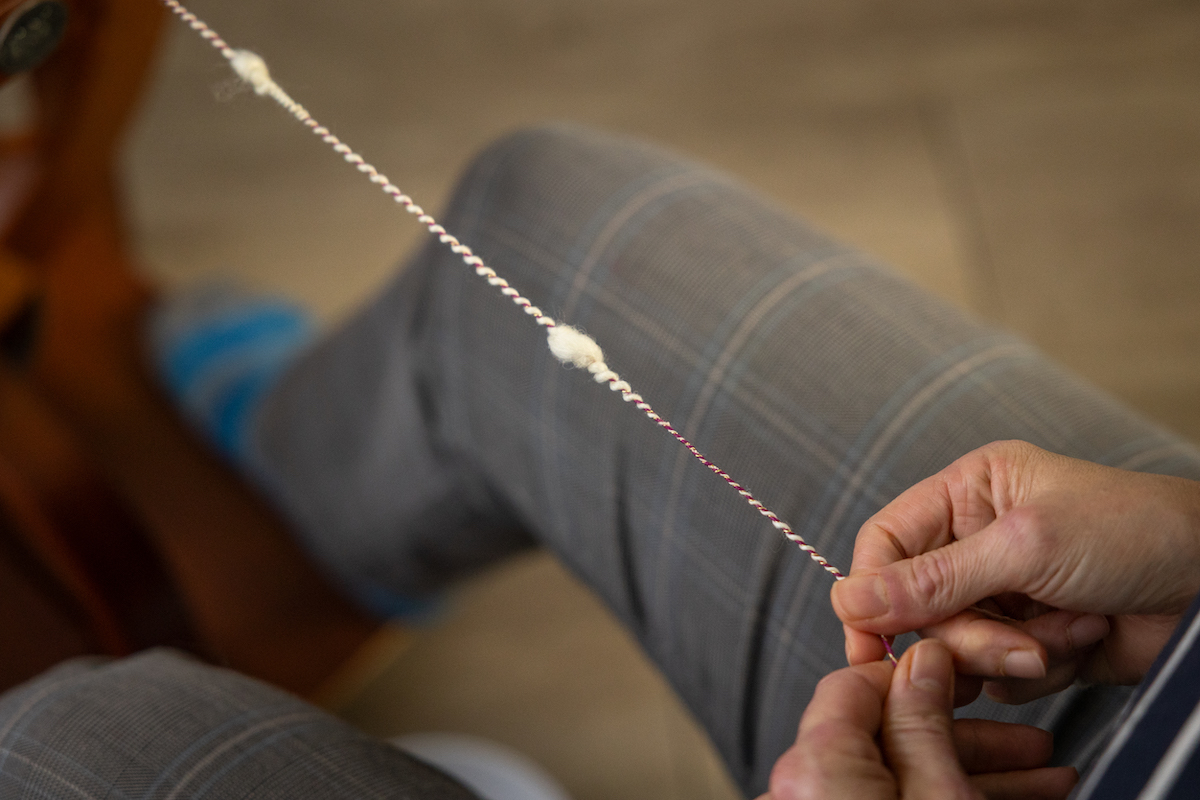
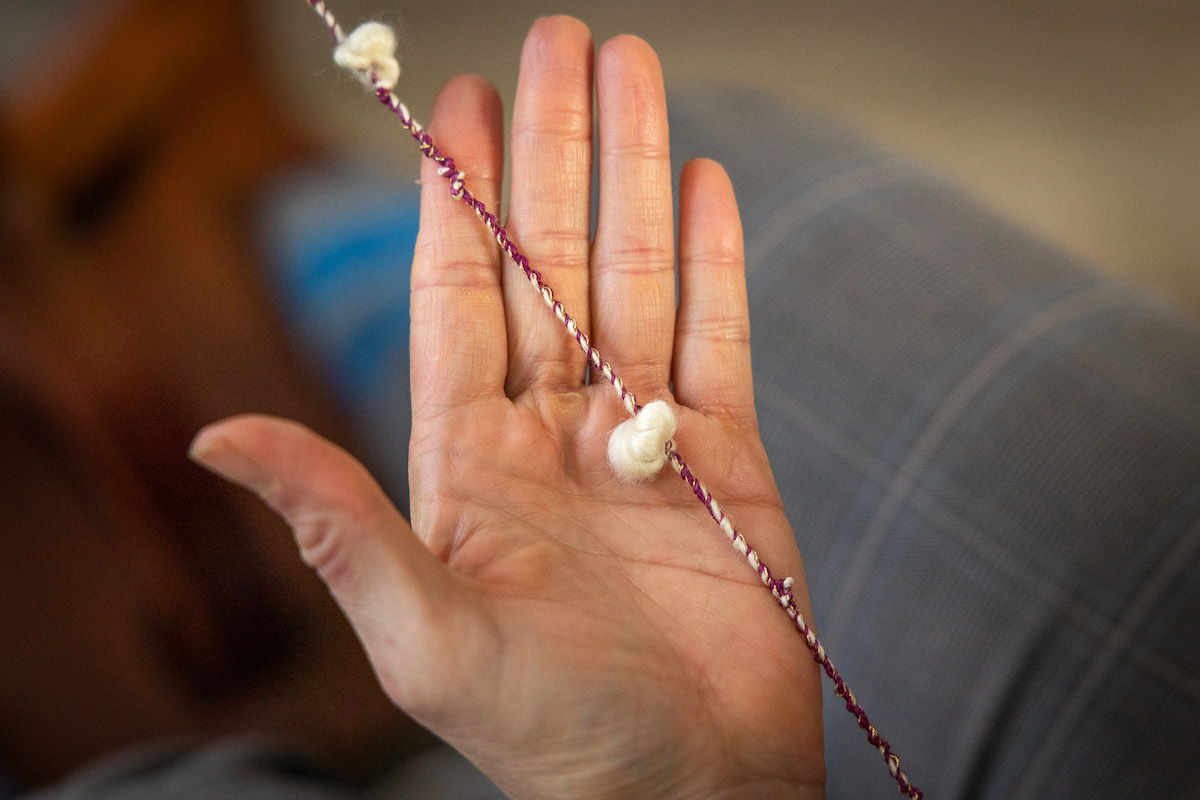
Attach the coiled yarn and the sock yarn (binder yarn) to the leader. To prepare, hold the binder yarn with your left hand and with your right hand, hold the coiled yarn. Always hold the binder yarn straight from the orifice.
Locking & Crushing Coils
Using the differential plying technique from the previous step, and spinning clockwise, allow the coiled yarn to wrap around the binder yarn.
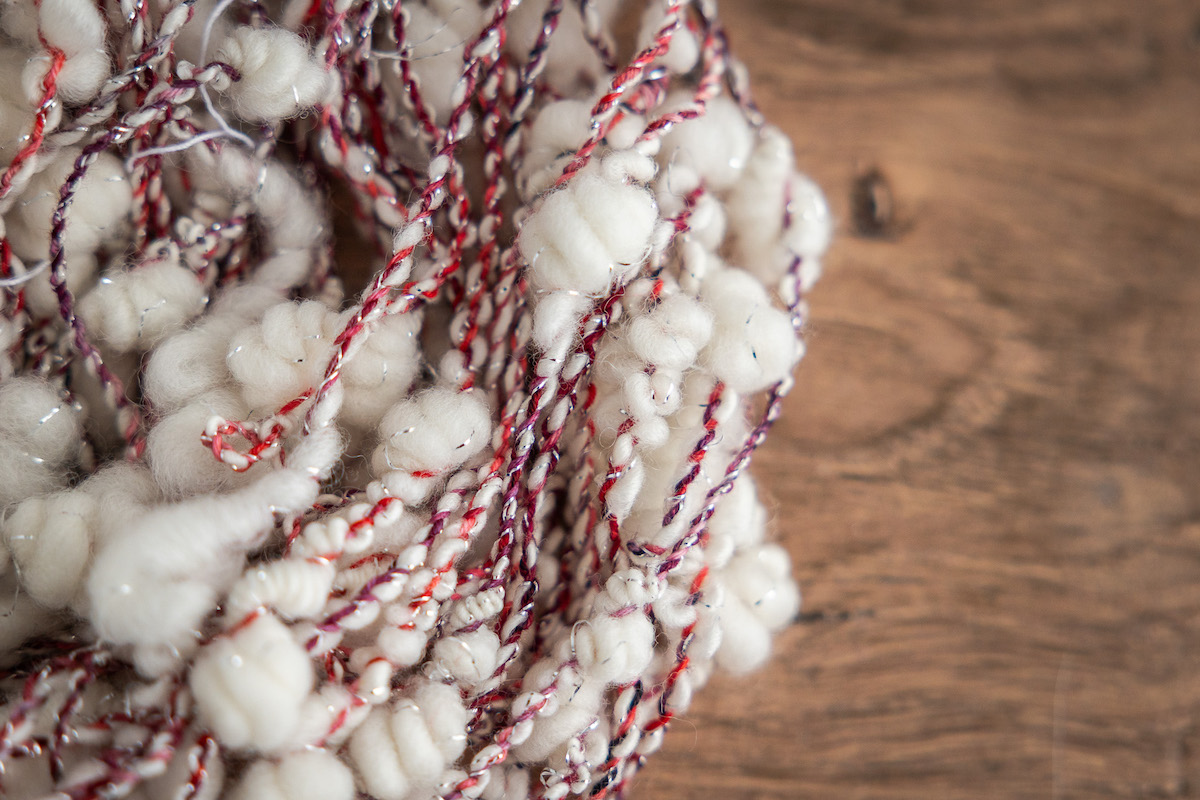
When you come to a coil, experiment with the various ways you can get when the coil wraps around the binder, or when the binder yarn wraps around a coil. When you manage to “crush them,” that’s when they start to resemble popcorn. Each one is different, each one unique.
Optional Next Steps
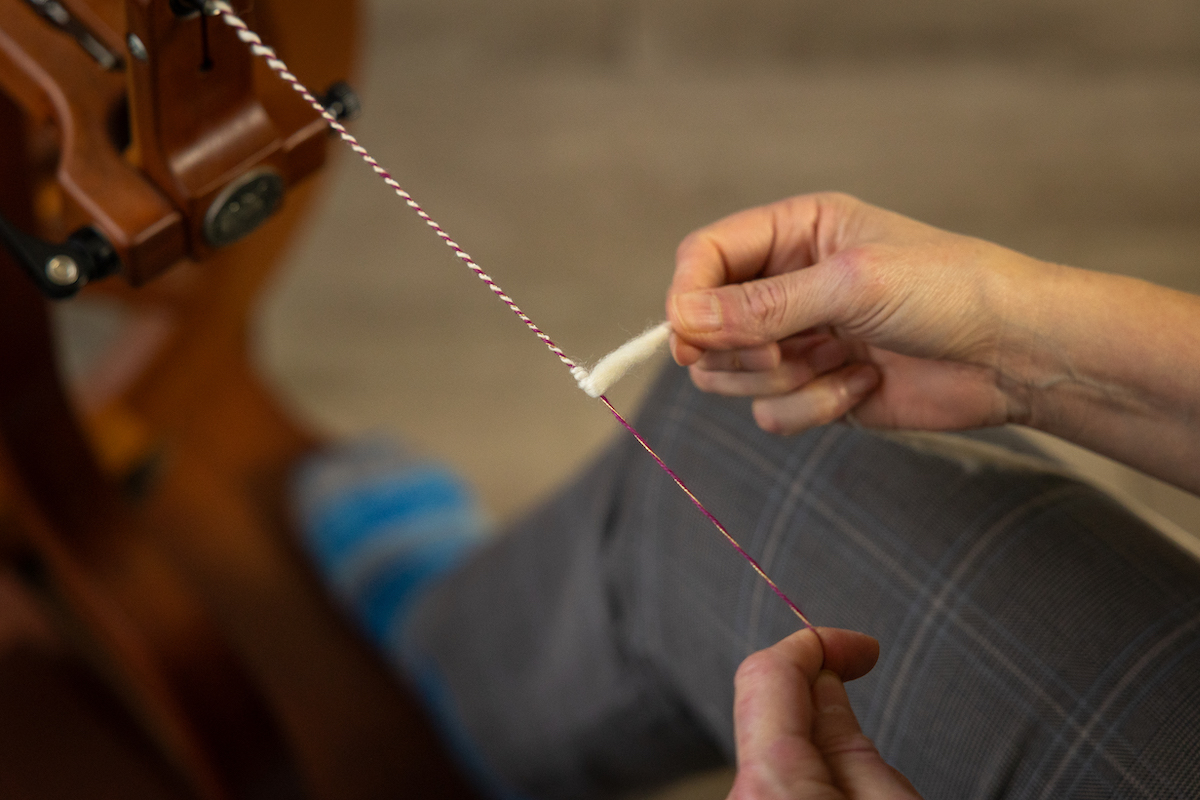
Auto-Wrapping
To add a decorative sparkle to the yarn, you can auto-wrap silver filament. When I make Faux Popcorn Garland Yarn, I auto-wrap with a silver filament at each stage of the process.
Simply attach the silver filament to the leader at the beginning of a pass. Using your pinky finger as the gentlest of guides, allow the filament to wind around the singles yarn as it is being made and wound onto the bobbin.
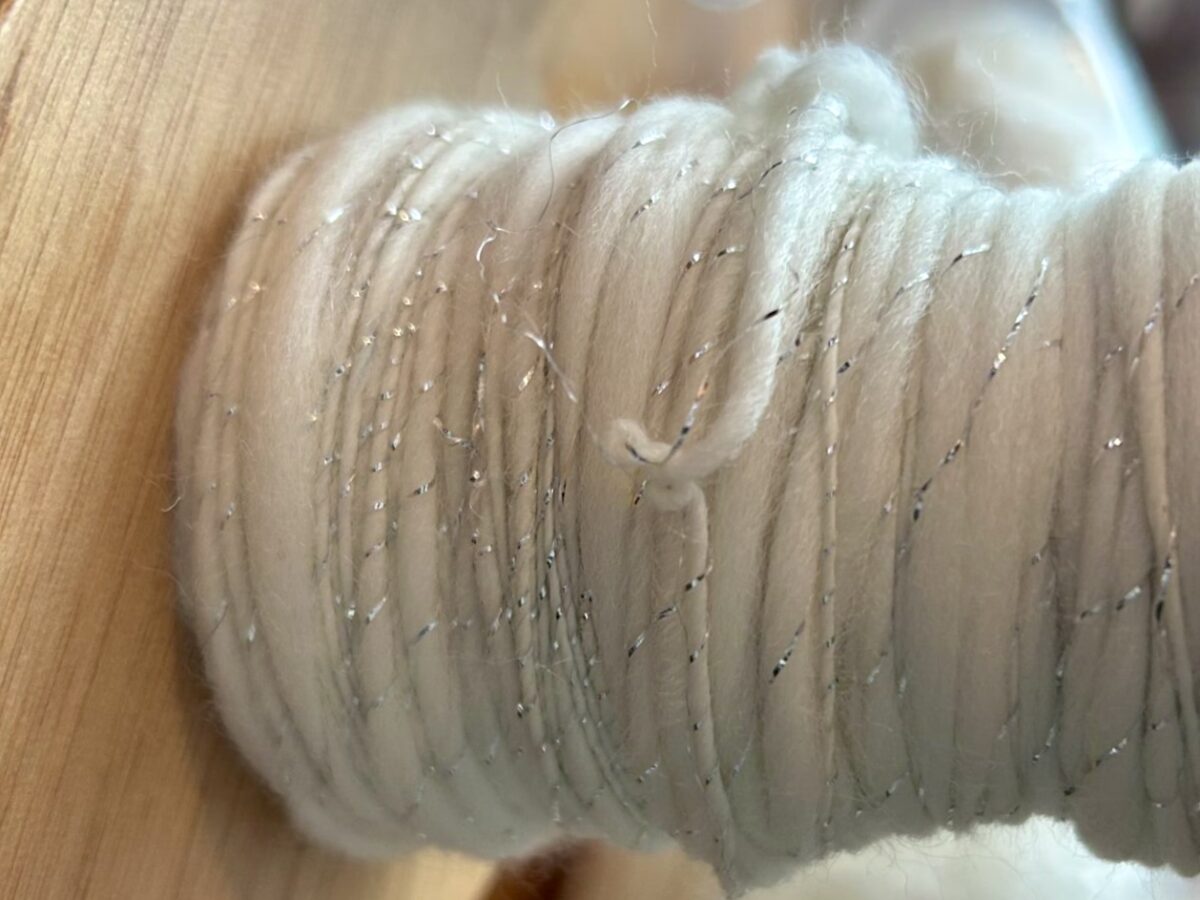
Sometimes it may barber-pole, and sometimes it will bunch up. The random aspect of the auto-wrapping is what makes it a delight to do and gives a great result!
Finishing the Yarn
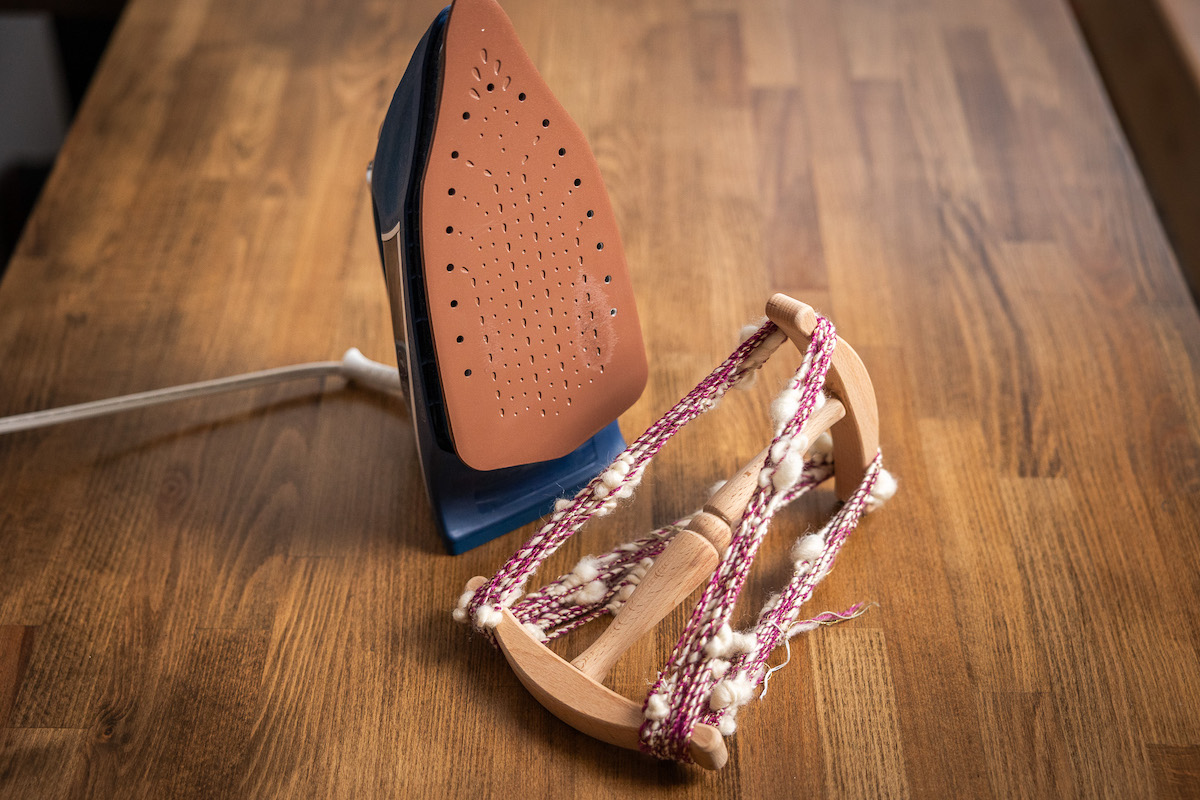
As a purely decorative yarn, you could get away with not finishing the yarn. However, I have found that a steam treatment does the trick of helping to settle the twist and providing a small amount of moisture to encourage reshaping. My plan is for this to be wrapped around a tree, so it can’t be all twisty and have a mind of its own. So, I steam it and let it dry under tension.
After the final pass, I wind my garland yarn onto a niddy noddy. I secure the skein using white crochet cotton and a figure-eight tie in four parts of the skein. Then I steam each section with a few blasts of my iron. Watch closely, and you can see the yarn relax into the twist with each blast. Afterwards, I let the yarn dry on the niddy noddy.
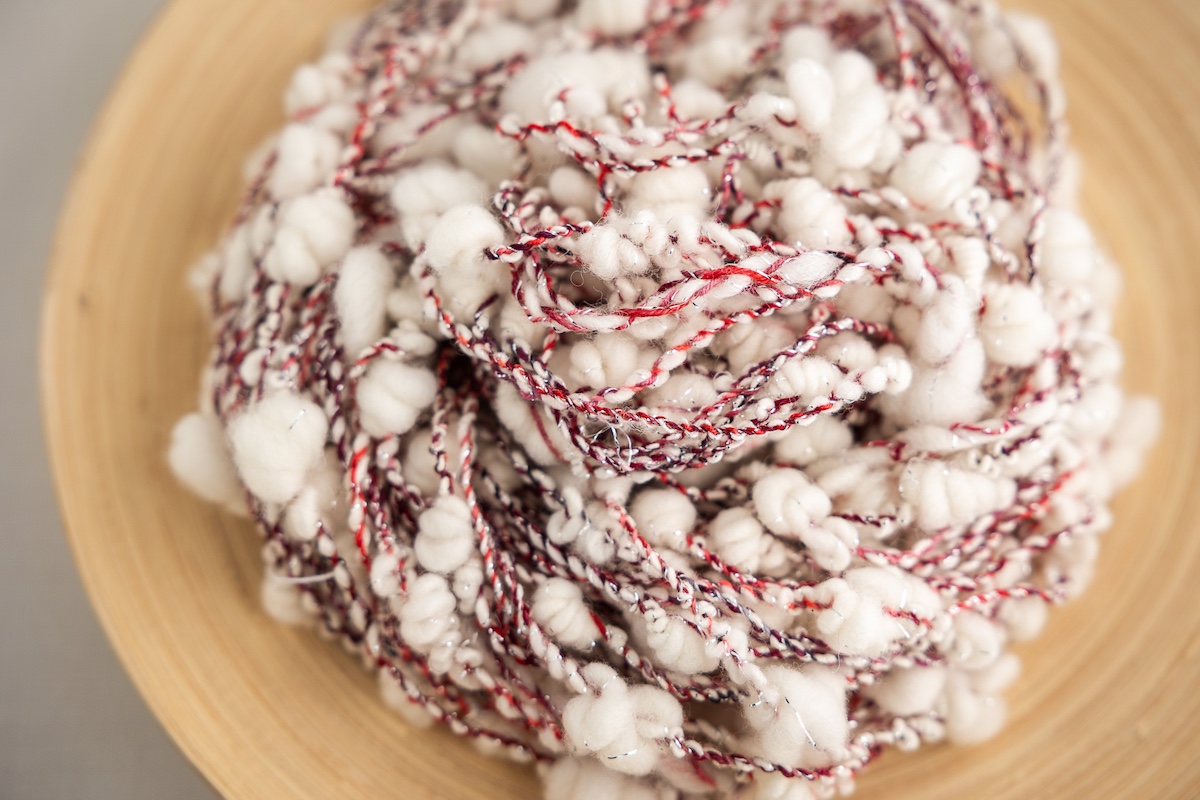
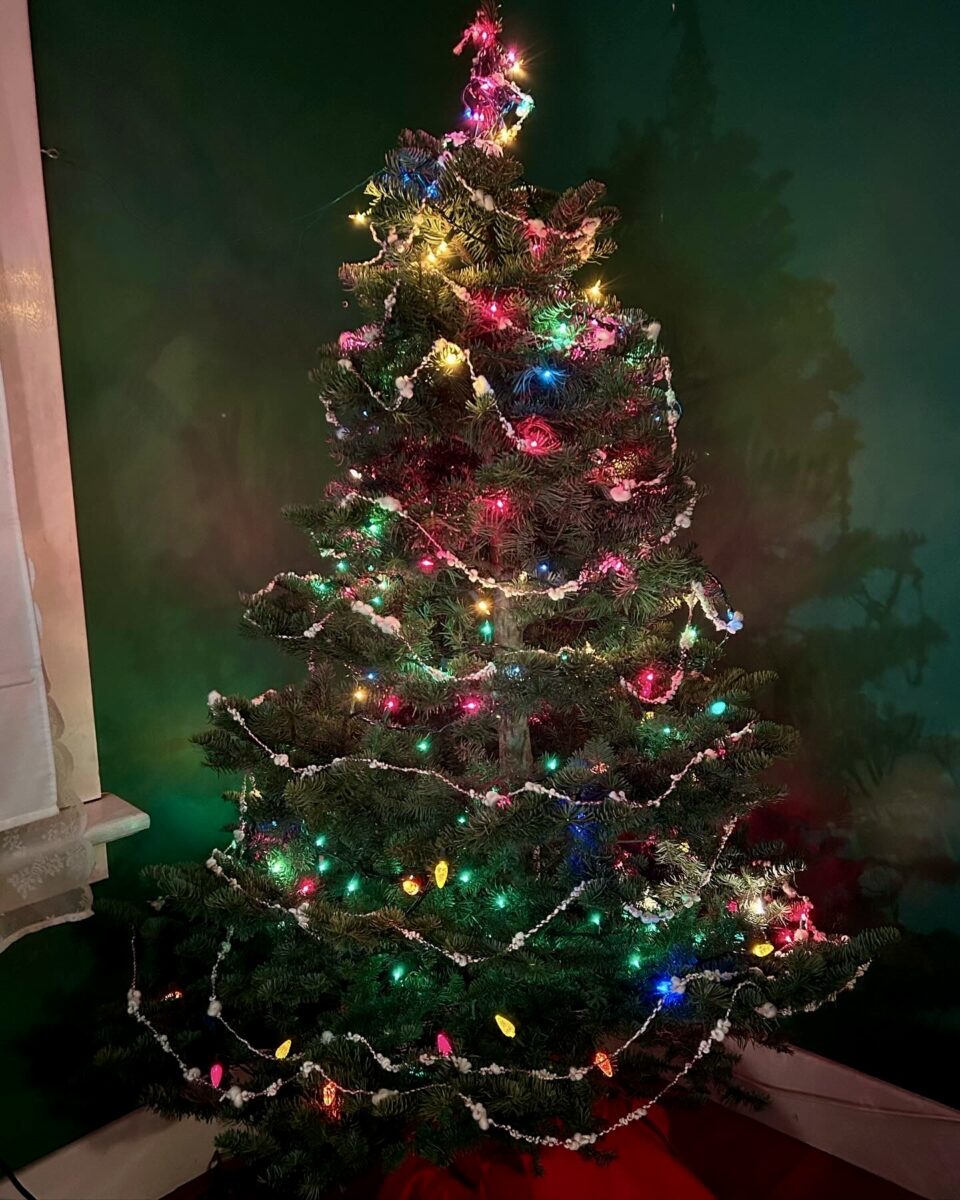
Faux Popcorn Garland Yarn
You now have a Faux Popcorn Garland for your tree or anywhere you like to decorate.
At the end of the season, I gently wind my garland yarn into a loose ball and store it in a box with a well-sealed lid.
Experiment with using different colours of variegated yarn, or auto-wrap with sparkly yarn instead of a filament.
More About Diana Twiss
- Diana’s Instagram
- Diana’s Substack
- Explore Diana’s courses at the School of SweetGeorgia
- Browse Diana’s articles to discover new techniques, refine your skills, and spark creativity.
The post Deck The Halls with Faux Popcorn Garland Handspun Yarn! appeared first on SweetGeorgia Yarns.


