
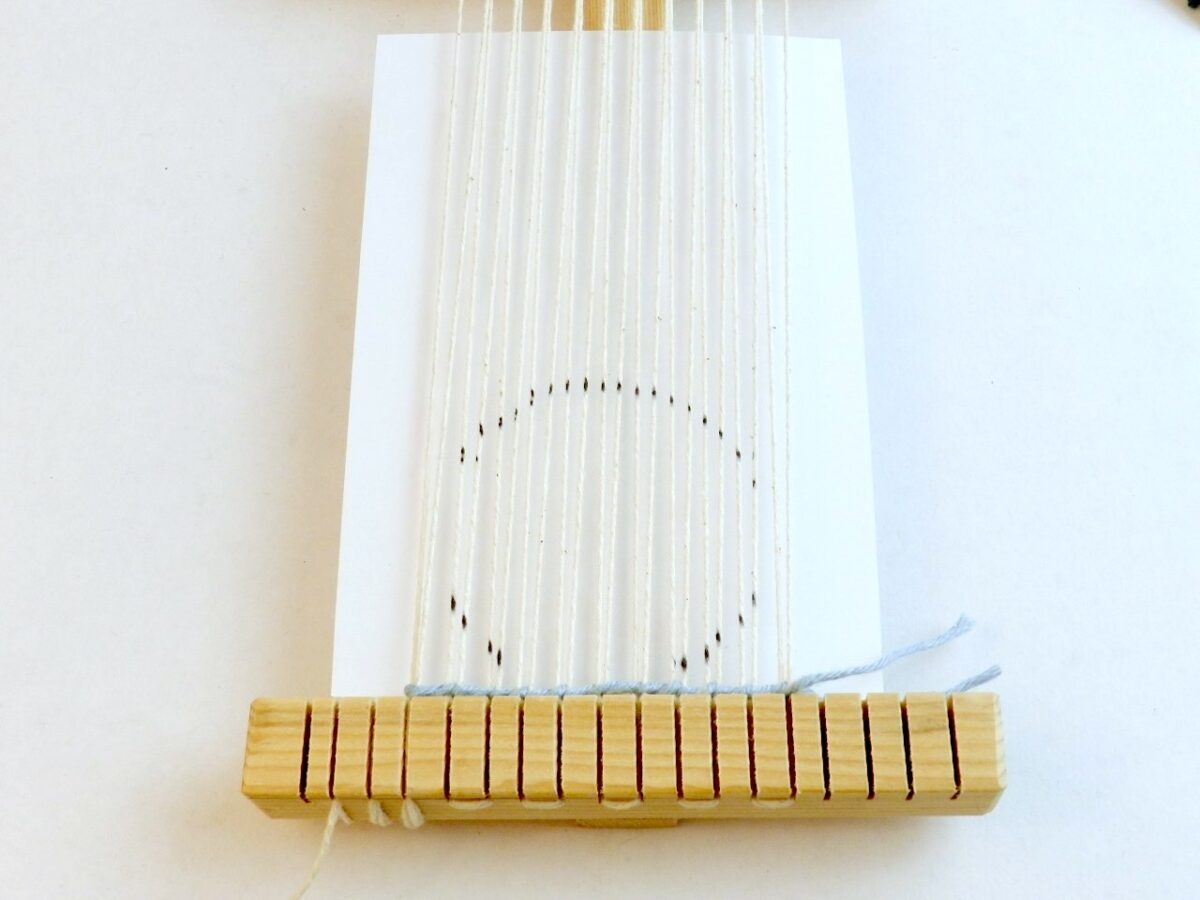
Let’s talk about weaving circles in tapestry! When weaving weft-faced circles, I always draw my circle right on the warp and follow those dots on the warp precisely. This means covering up the drawing completely.
I’m not super picky about my circles being exactly symmetrical so my stepping will not be the exact same on all sides, but I do want to point out a couple of things about stepping (decreasing/increasing) on a circle that might not seem obvious to a beginner tapestry weaver, as well as some other important tips.
Where to Begin
When weaving shapes in tapestry, you want to always build the shape that is decreasing in size first. For circles, this means weaving some of the background negative space first, i.e., not the circle, as per the illustration below.
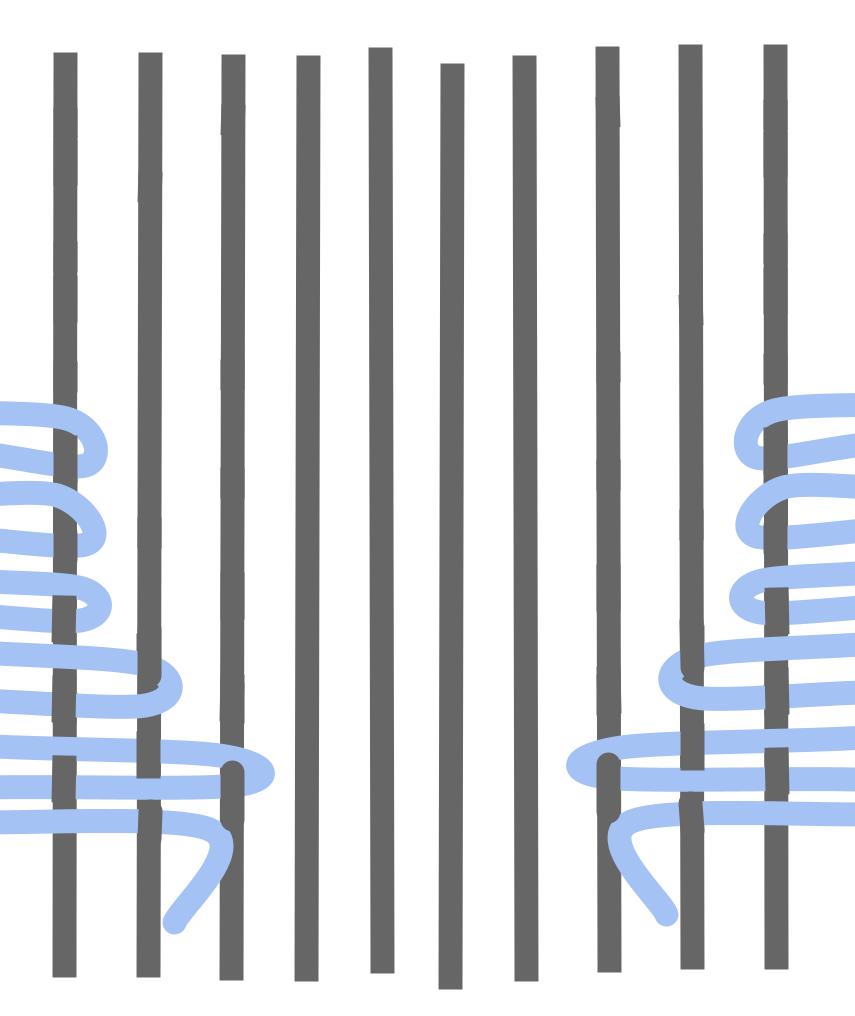
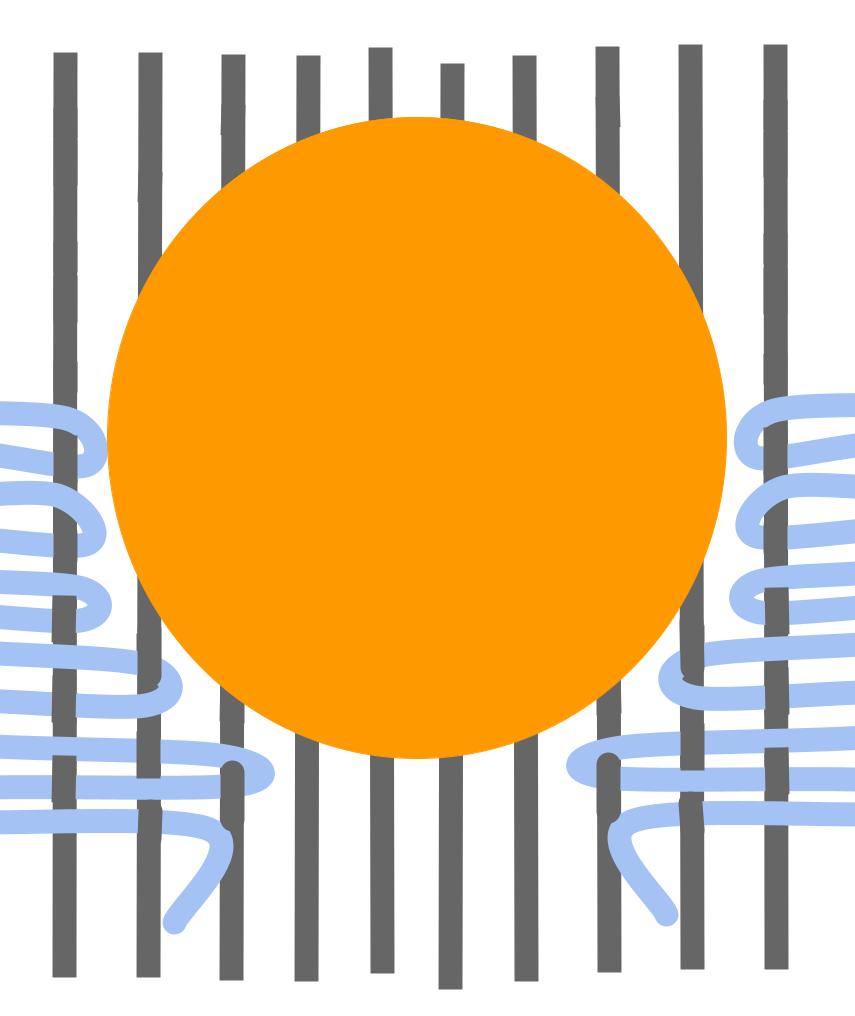
We stop weaving this area before it begins to increase in shape. It is then that we can weave our entire circle, and then proceed with filling in the negative space on either side of the circle.
Why We Build Them in This Order
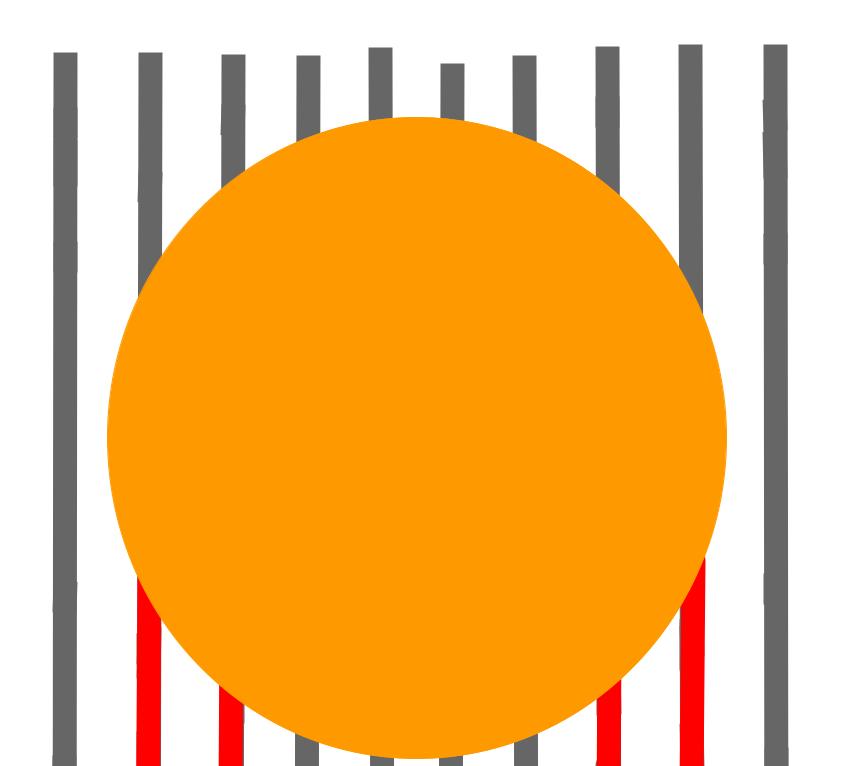
The reason we weave shapes in this way is to avoid blocking any warps from being able to achieve a shed. If we are unable to create a shed, the only way to weave your weft into the warp is to use a tapestry needle, which is more time-consuming and difficult. The illustration below shows how the warps, which are in red, would be blocked from achieving a shed if we wove our circle before weaving that part of the background first.
Woven Circles Have Straight Lines
Unless you are weaving tiny circles, woven circles have four straight lines!
For example, if you’re weaving circles with a circumference of three inches on a loom set up at six ends per inch (EPI), the top and bottom of your circle will be straight lines consisting of something like six warp ends each. The length of your straight line will change depending on how big your circle is, and the number of warp ends will change depending on what EPI your loom is set up at.
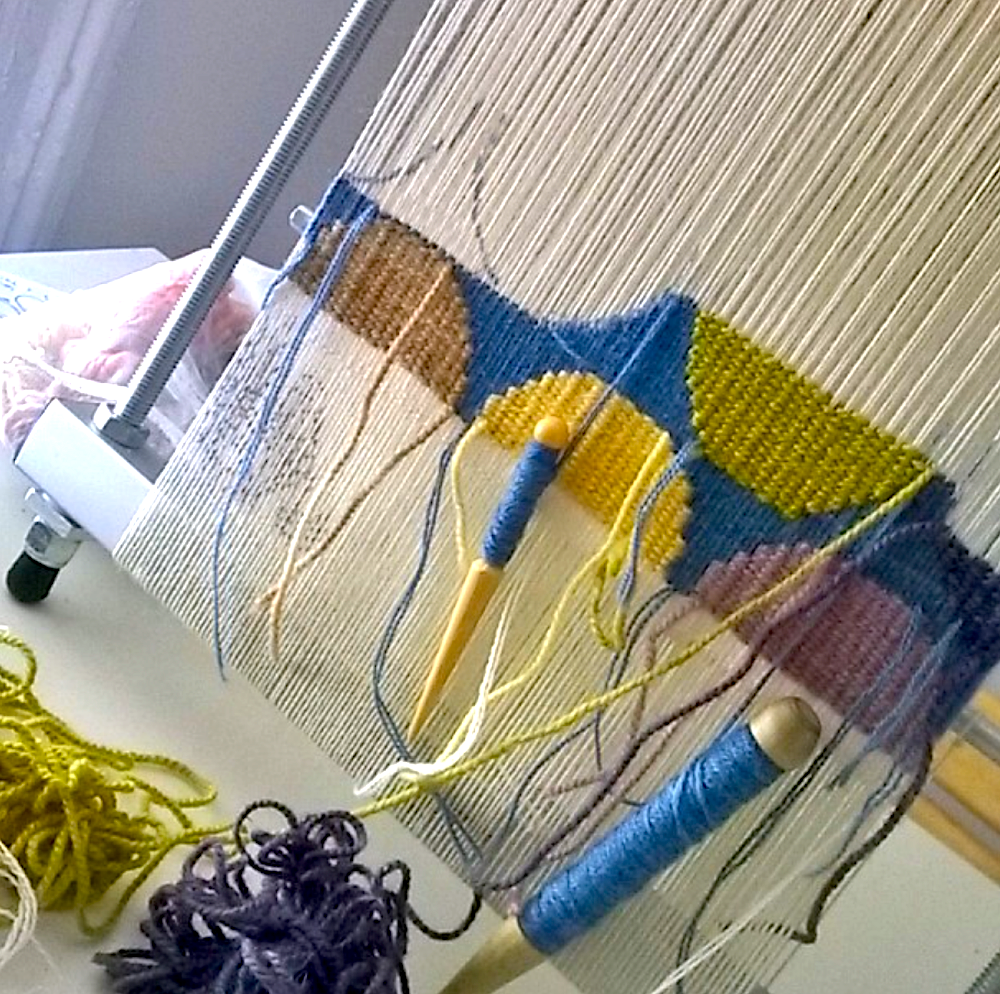
Similarly, your circle’s sides will have no stepping at all. In the weaving above, my circles go straight up for 11 wefts (or picks), mirroring the width of the top and bottom of my circles.
Drawing On Your Warp
When drawing dots on your warp, use fabric markers, Rub-a-Dub Sharpies or other permanent markers which you have tested for wash-fastness. Test non-fabric permanent markers by drawing on fabric and then throwing it in the washer with your next load of jeans to see if the pen stays on the fabric. If the marker stays, you are good to go. You never want to risk your marker seeping through your weft when you block it, or on a humid day.
I often trace objects like cups or bowls to achieve a perfect circle.
Always Beat Consistently
Consistent beating and tension are key! If you have even and tight warp tension, you will be more successful at beating well and evenly, and therefore your shapes will keep their shape and stay proportional to each other.
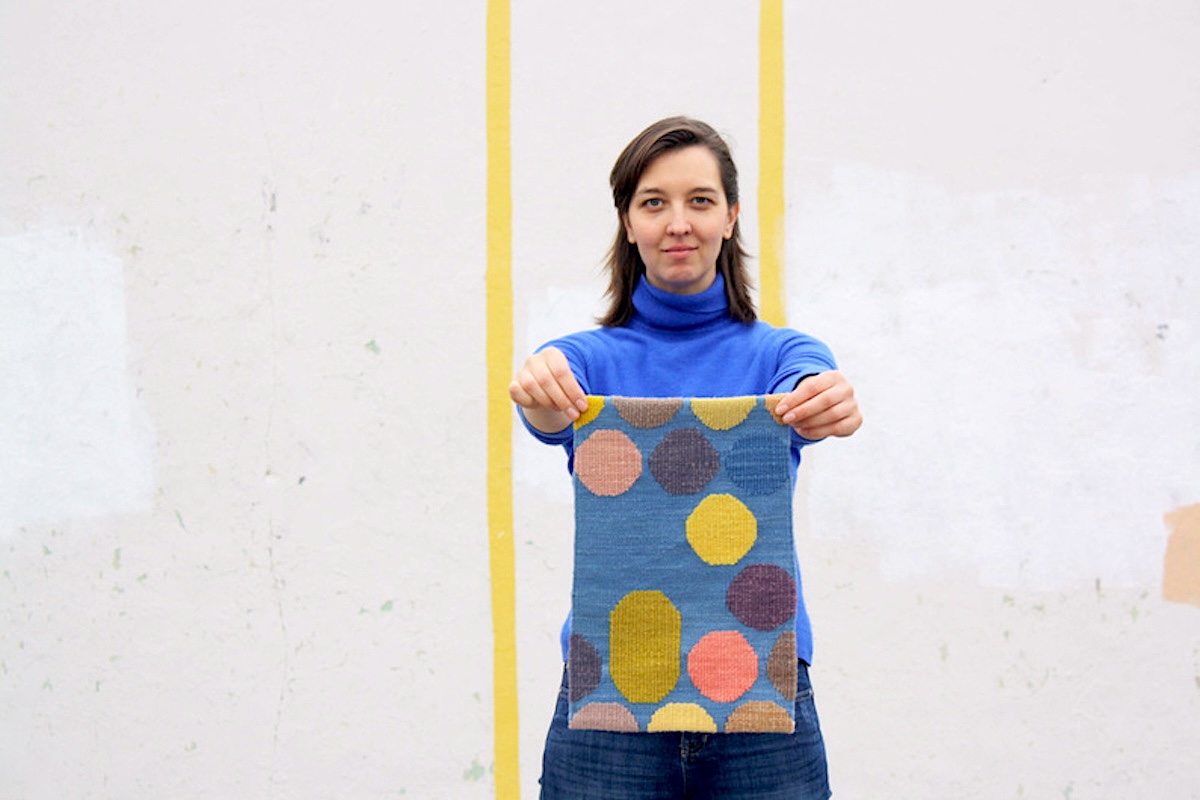
Find my lesson on weaving shapes (and circles) in my Fundamentals of Tapestry Weaving course here at the School of SweetGeorgia and my other tapestry weaving posts here!
Happy Weaving!
Original publication: July 8th, 2021; Refreshed date: October 21st, 2025
The post Weaving Circles in Tapestry appeared first on SweetGeorgia Yarns.


