
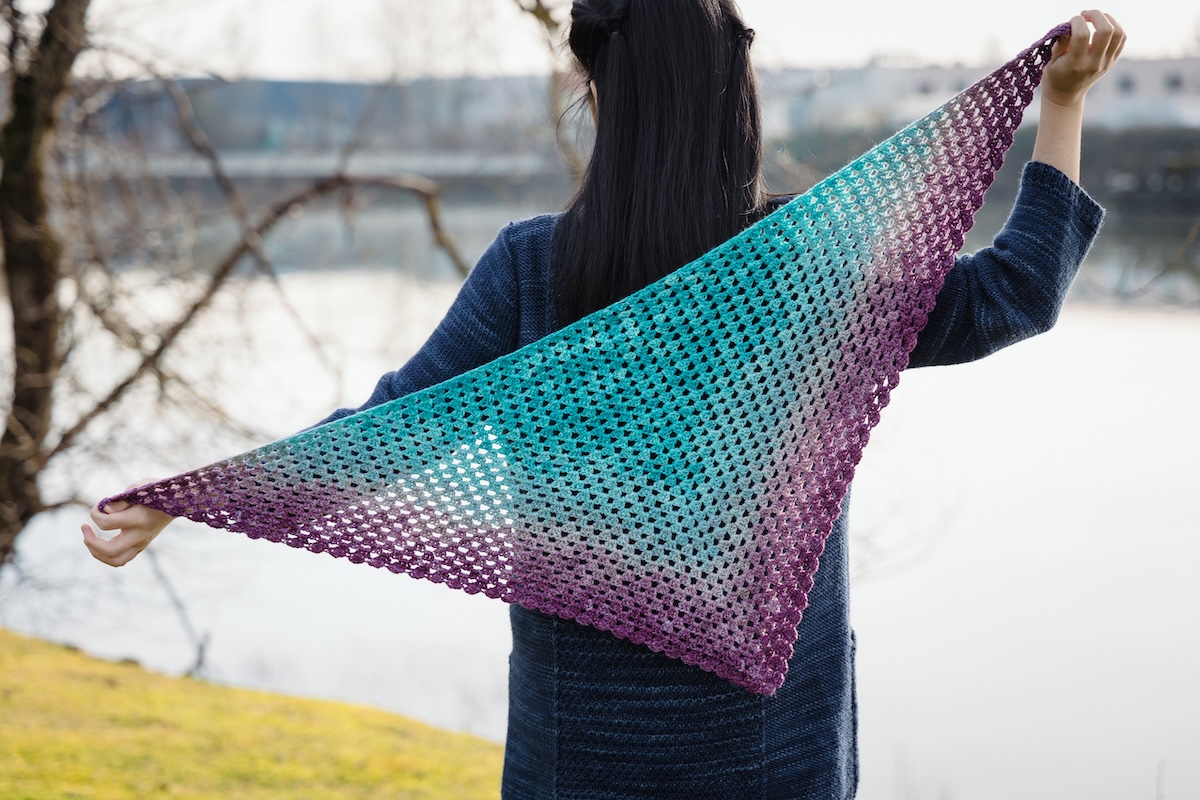
For National Crochet Month, we launched the new Coast to Colour Shawl designed by Charlotte Lee! Last week, we shared how to set up the shawl and work the Coast to Colour Stitch. This week, we’re adding the perfect finishing touch, a beautiful bobble stitch border. This textured edge adds dimension and detail, making your handmade shawl even more special. Follow the simple steps below to create this eye-catching border before binding off!
Did you miss the launch of the Coast to Colour Shawl? Stay in the loop by joining our newsletter, and be sure to subscribe to the SweetGeorgia YouTube channel to catch our latest videos as soon as they go live!
Materials Shown
More About Felicia Lo
- SweetGeorgia Instagram
- SweetGeorgia Yarns Youtube
- Explore Felicia’s courses at the School of SweetGeorgia
- Browse Felicia’s articles to discover new techniques, refine your skills, and spark creativity.
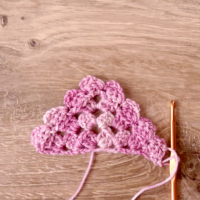
The Bobble Stitch Border
Equipment
Ingredients
- 1 skein SweetGeorgia Superwash DK
Instructions
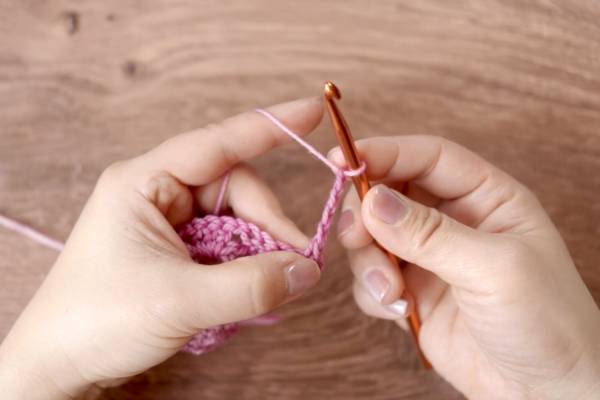
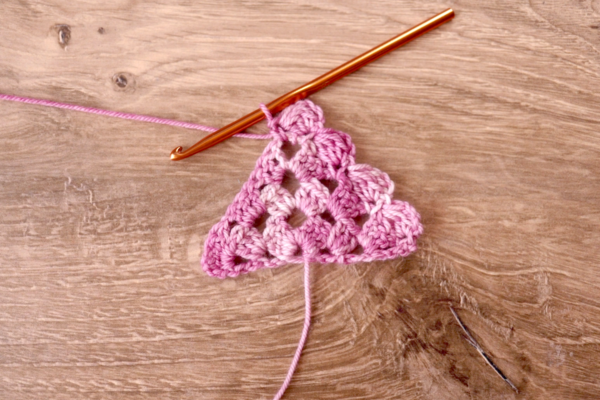
Border Setup
-
Chain 1.
-
Single crochet into the chain-one space from the previous row.
-
Chain 4.
-
Make a bobble stitch into the single crochet that we made in step two.
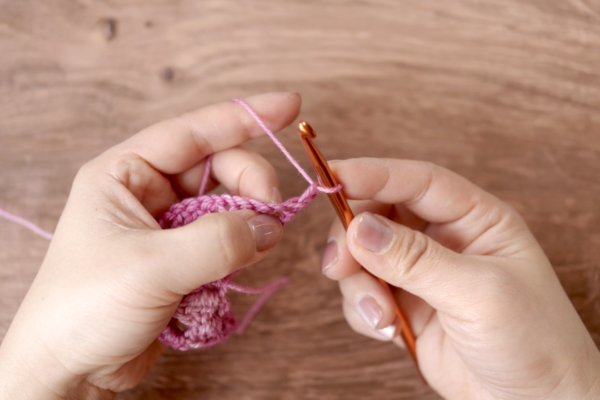
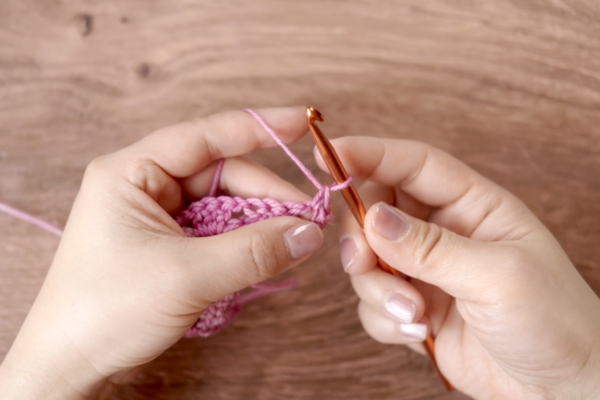
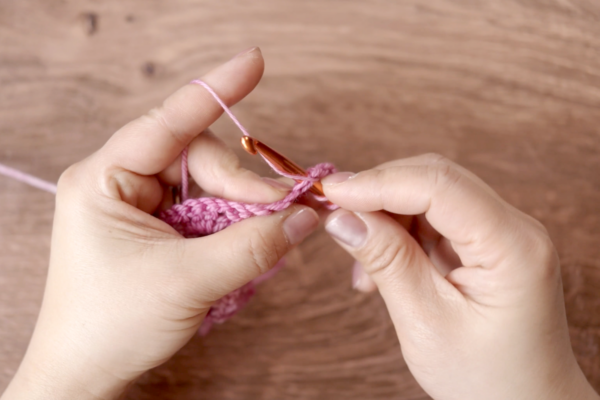
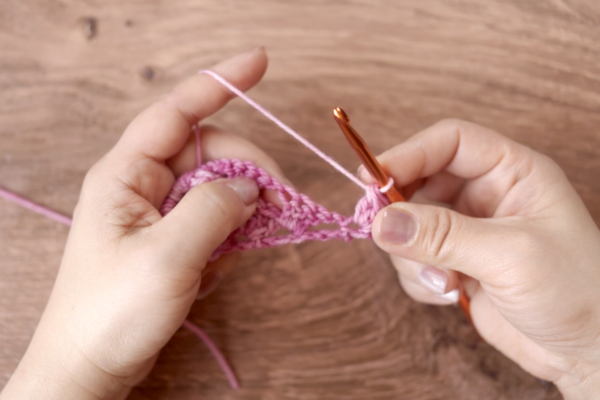
How to Make the Bobble Stitch
-
Yarn over, insert your hook into the single crochet, yarn over, and pull up a loop.
-
Yarn over and pull through only two loops on your hook. (You should have two loops remaining.)

-
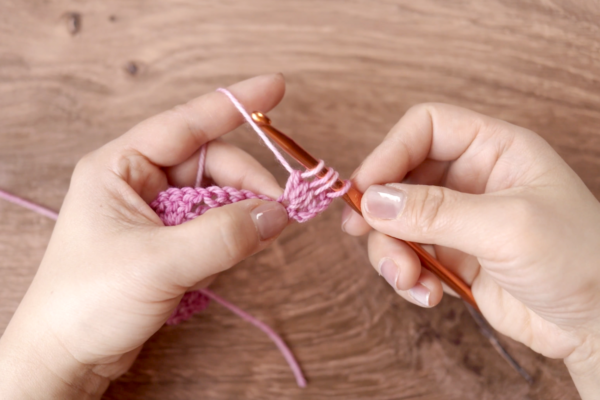
Repeat steps 1 and 2 two more times until you have four loops on your hook.
-
Yarn over and pull through all four loops to close the stitch.
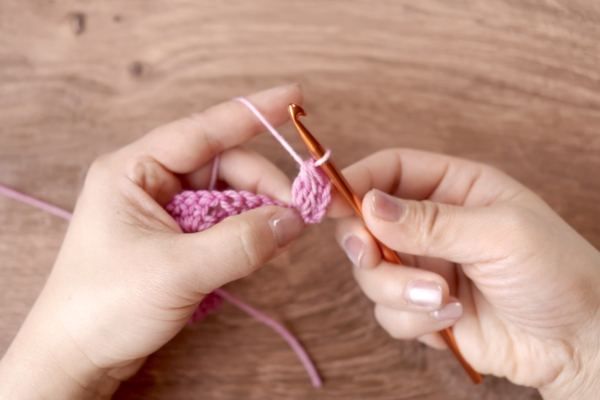
Continuing the Border
-
Single crochet into the next chain-one space, chain four, then work another bobble stitch.
-
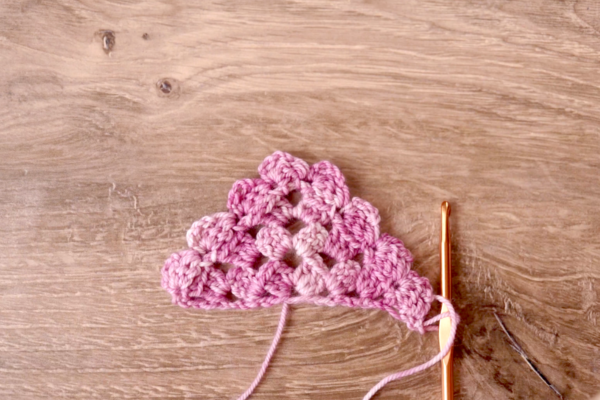
Repeat this process across the shawl until you reach the spine/centre.
-
At the centre chain-three space, single crochet, chain 4, make a bobble into the single crochet, then end the bobble stitch by making a single crochet into the same chain-three space. This helps secure the shawl’s point.
-
Chain 4, make a bobble into the last single crochet, and continue along the second side of the shawl, following the same pattern as the first side.
Finishing the Border
-
When you reach the end of the border, slip stitch into the third chain of the last edge to secure the round. Now, your shawl has a beautiful bobble stitch border!
Connecting with Our Crochet Community
We hope this post helps you with the Bobble Stitch Border! Celebrate National Crochet Month with us by sharing your projects and favourite patterns in our online communities; we’d love to see what you’re making! There are so many ways to connect with us: Instagram, Ravelry, Discord, or our School of SweetGeorgia Community Forums!
If you haven’t heard about the School of SweetGeorgia, it’s our online learning platform dedicated to fibre arts. Whether you’re interested in crocheting, knitting, weaving (rigid heddle and multi-shaft), or spinning (spindle, wheel, and e-spinners), we have something for everyone. You can dive into specific topics or choose an All-Access Membership for unlimited access to everything, including dyeing (acid, fibre reactive, and natural), as well as punch needle, needle felting, wet felting, and more from more than a dozen different instructors. Come explore what we have to offer; we would love to have you join us!
The post Try This Beautiful Bobble Stitch Border Before You Bind Off! appeared first on SweetGeorgia Yarns.


