
There are countless reasons to learn to spin yarn. It might be curiosity—playing with the beautiful colours of hand-dyed braids—or the magic of transforming wool from sheep into a garment that keeps us warm. For some, it’s the intellectual challenge of designing a yarn for a specific purpose.
Once we’ve learned the basics of spinning—adding twist to fibre, plying singles together, and wet setting the twist in our handspun yarn—where do we go next? We might explore singles or 2-ply yarns for years, or even a lifetime. Or, we may decide to spin more intentionally, taking our skills to the next level: exploring sock yarns and different yarn structures beyond 2-ply yarns.
How Do We Design & Spin Sock Yarn?
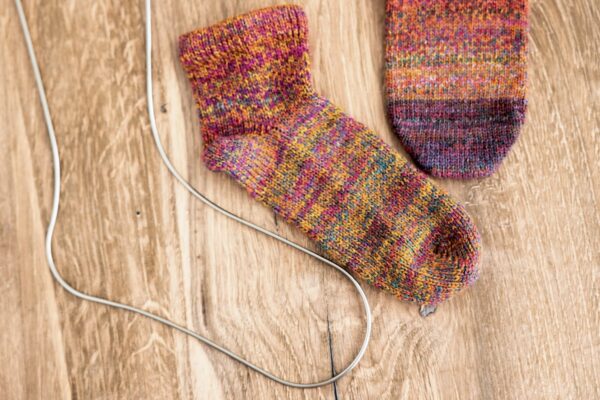
Spinning for socks is one of those next-level options. First, you need to know what characteristics a sock yarn must have. Sock yarns need to withstand the wear and tear of being on our feet. They must stay in place, protecting the person’s feet without sliding down, “hugging” the feet while resisting the pressure of walking. Sock yarns should absorb moisture from sweat while keeping the wearer comfortable, and be smooth enough that the person forgets they’re even wearing them.
A Good Place to Start for Spinning for Sock Yarn
- Use combed top; ideally, don’t attenuate the fibre.
- Use a worsted draft, aligning the fibres as you spin.
- Spin singles with a medium to high twist.
- Ply singles with a medium to high twist.
- If you’ve only explored spinning singles and 2-ply yarns, this is the perfect time to try 3- and 4-ply yarns (or even more).
It’s important to note that these considerations are a good starting point for spinning sock yarns; however, with experience and a bit of curiosity, changing one of the parameters above may give you different characteristics in your handspun sock yarns that may be attractive to you.
Sock Yarn Structures for Beginner Spinners
The first yarn structures you might explore are traditional 2-ply, 3-ply, or chain-plied yarns.
- Traditional 2-ply. Split the fibre in half, spin each half onto a different bobbin, and ply them together in the opposite direction.
- Traditional 3-ply. Separate the fibre into three parts, spin each onto a different bobbin, and ply them together in the opposite direction.
- Chain-plied. Spin all the fibre onto one bobbin, then chain ply the singles in the opposite direction.
Your Spinning Skills Will Improve Along the Way
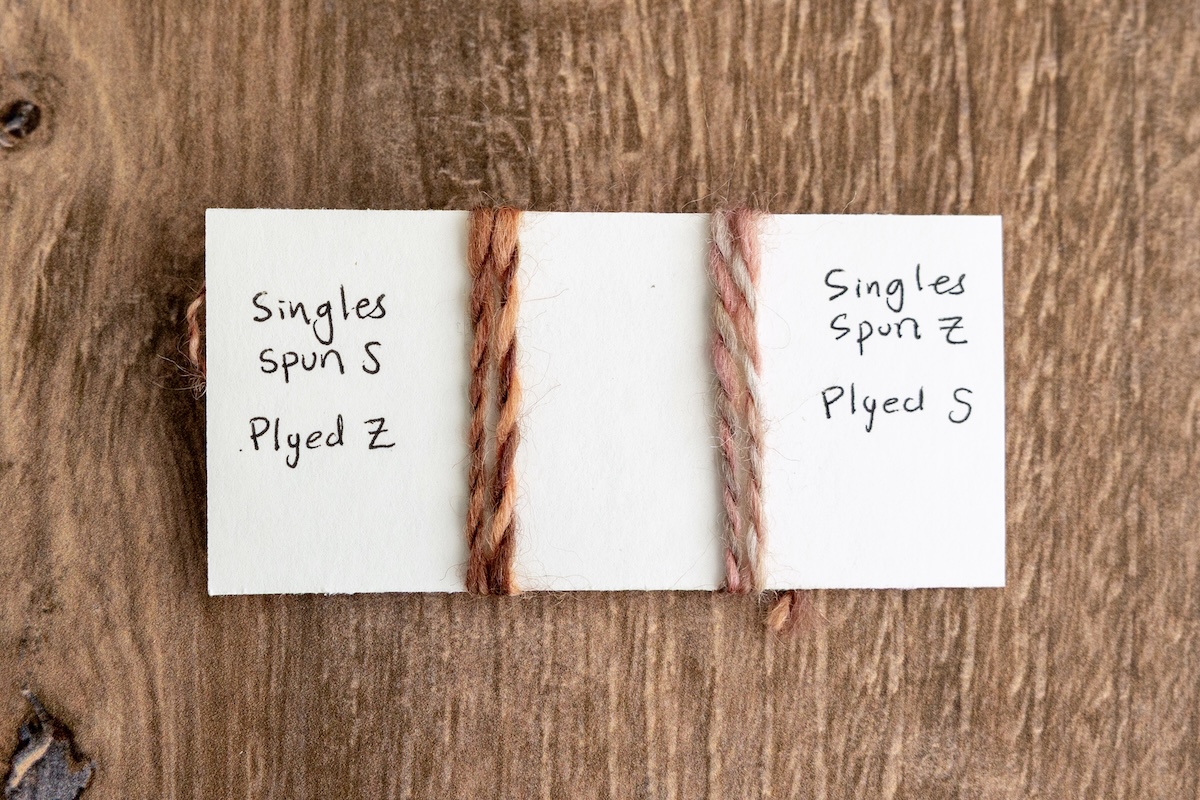
You’ll become comfortable spinning your singles in one direction and plying in the opposite direction. Traditionally, we spin singles in the Z-Twist (to the right) and ply in the S-Twist (to the left).
Spinning a more consistently sized single will become easier. Use a control card and refer to it often to keep your singles as consistent as possible. If you need more practice spinning consistent singles, try using Katrina Stewart’s Spinning Up a Level course (and worksheets).
Adding the same amount of twist will also improve. Be consistent in how many times you treadle before the singles go onto the wheel, the force you apply to the spindle, or the seconds you draft in front of the e-Spinner. Keep your drafting distance consistent, too. These two factors, together with consistent singles, will give you a more consistent yarn.
Plying can feel messy or daunting at first. I’m a big fan of rewinding singles onto weaving bobbins and plying through the rings, a technique covered by Kim McKenna in her Nuances to Spinning Better Yarns course. For more tips, read Kim McKenna’s article Plying Tips for Handspun Success and my post, Top 10 Plying Tips for Handspun. If you spun your singles on spindles, the From Singles on a Spindle to Plied Yarn in Your Hands article by Diana Twiss offers many plying options. If you decided to chain ply your singles, Diana Twiss’s post, Chain Plying on a Wheel or a Spindle, has a video and step-by-step pictures to guide you on your way.
I have added an exercise for you to try further down this post. It will help you practice your spinning twist and plying skills!
Sock Yarn Structures for Intermediate Spinners
While exploring more advanced yarn structures, you’ll learn to manage more than three singles while plying, change with the twist direction of some of the singles, adjust the amount of twist added to singles or plied yarns, as well as learn structures like crepe and cable yarns.
In the School of SweetGeorgia course, Spin to Knit Socks, Rachel Smith mentions five popular yarn structures for spinning socks: opposing 3-ply, crepe, traditional 4-ply, cable, and hawser yarns. Find the basic characteristics of the yarn structures below:
- Opposing 3-ply. Separate the fibre into three parts, spin two of the singles on separate bobbins with Z-Twist and spin the last single with S-twist. Ply all three singles together with S-Twist.
- Crepe (3-ply). Separate the fibre into three parts, spin two singles with S-Twist, and one with Z-Twist. Ply the two S-spun singles with Z-Twist, adding extra twist, then ply this with the Z-spun single with S-Twist.
- Traditional 4-ply. Separate the fibre into four parts, spin each part onto a different bobbin with Z-Twist, and ply together with the opposite, S-Twist.
- Cable (4-ply). Separate the fibre into four parts, and spin each to separate bobbins with Z-Twist. Ply two of the singles together with S-Twist, adding extra twist. Repeat for the other two singles. Now, ply these two 2-ply yarns together with Z-Twist.
- Hawser (4-ply). Separate the fibre into four parts, and spin four singles on separate bobbins with Z-Twist. Ply two of the singles together with the same Z-Twist. Repeat for the other two singles. Now, ply these two 2-ply yarns together with S-Twist, adding extra twist.
Your Spinning Skills Will Improve Along the Way
You’ll learn to spin consistently thinner singles, so 4-ply and cable yarns are still the grist you want for the handspun yarn to knit socks.
Organization! Designing intentional yarns for your projects means you will be more intentional with your notes as well. Keep a control card with a checklist of all steps, and tag your singles and bobbins.
Lastly, not a skill, but you also get bragging rights as you become a hand-spinning ninja!
To learn more about considerations when spinning these yarn structures and managing colour, watch Rachel Smith’s Spin to Knit Socks course. Below is a self-study recipe to get started on your sock yarn structure exploration.
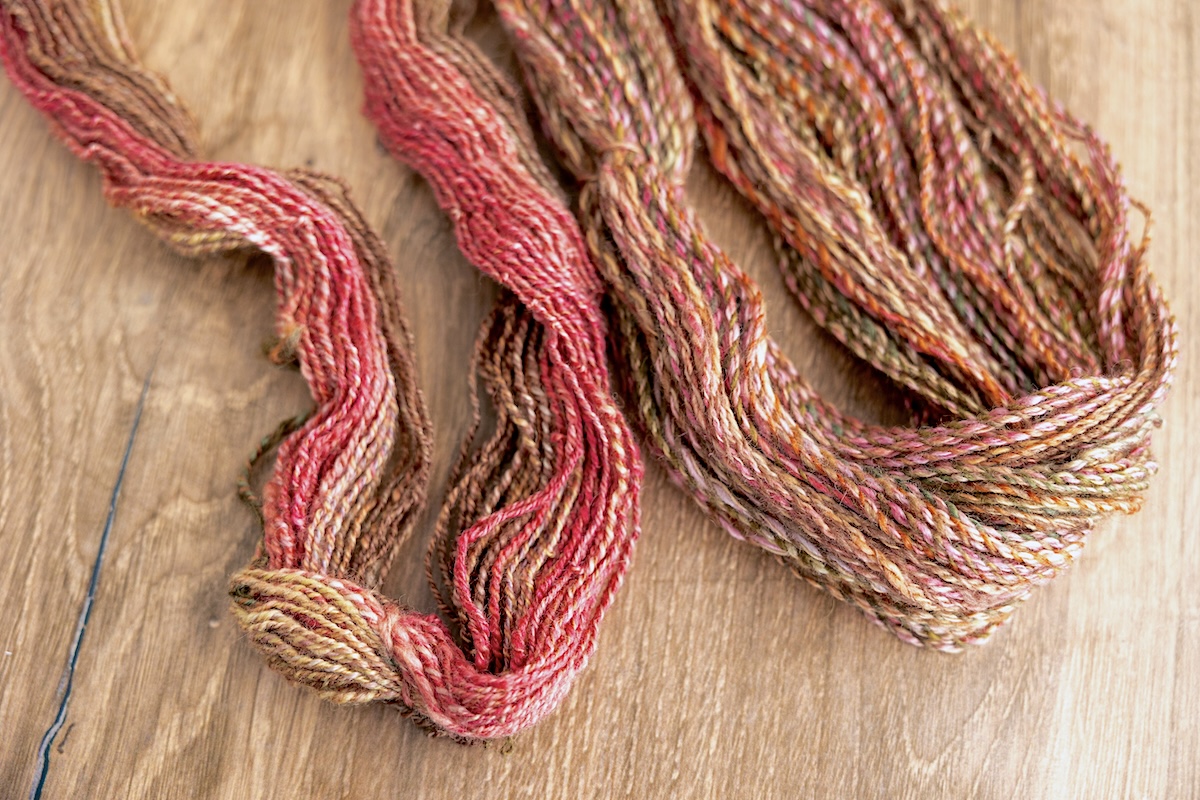
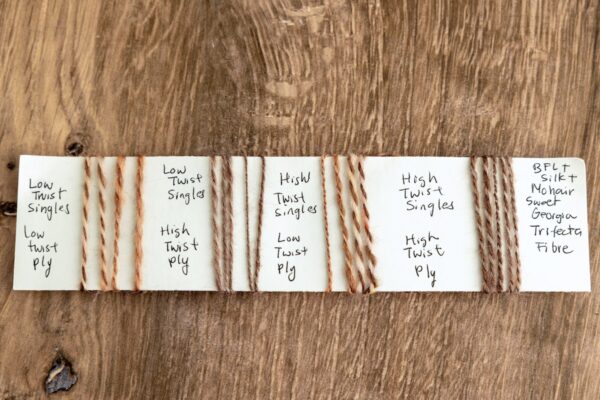
Experimenting With Twist for Beginner Spinners
Equipment
-
1 Spinning Tool of Choice
Materials
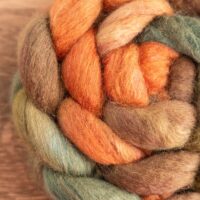
- 1 braid SweetGeorgia Trifecta fibre
Instructions
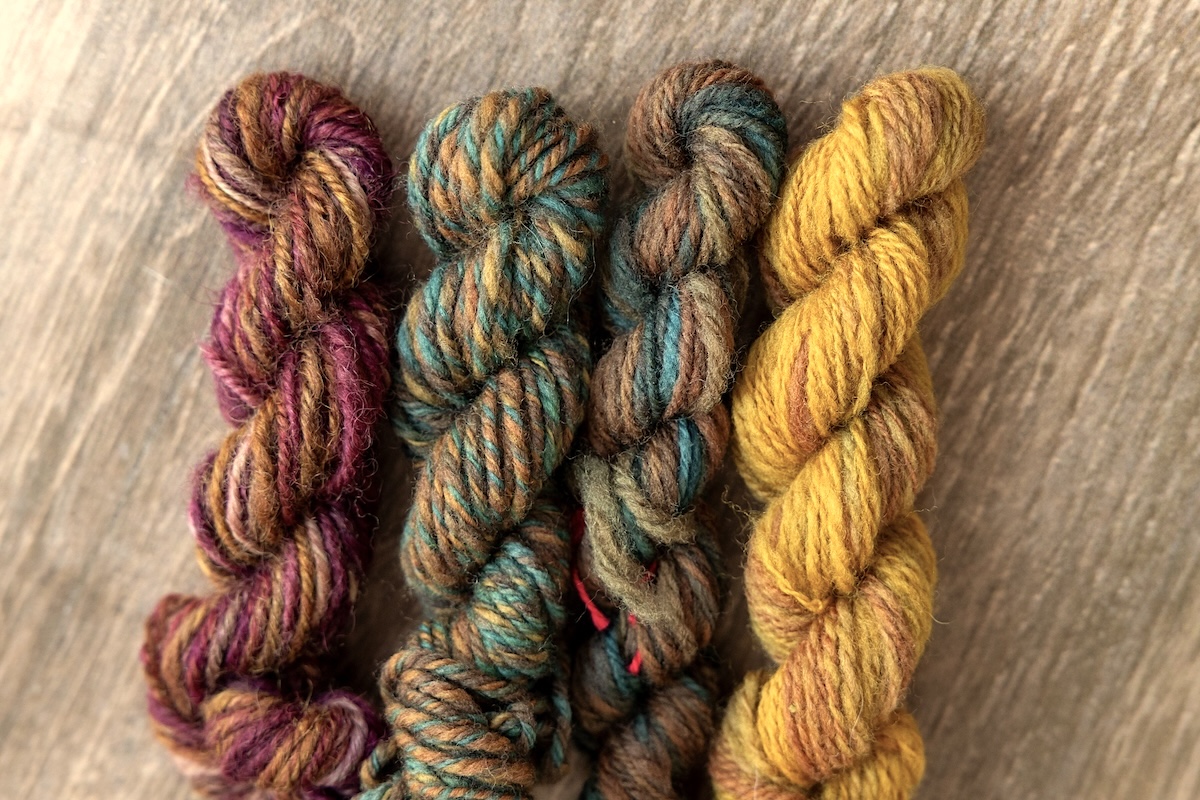
Spin and compare the following four samples:
-
Low-twist singles, low-twist plying
-
Low-twist singles, high-twist plying
-
High-twist singles, low-twist plying
-
High-twist singles, high-twist plying
Notes

Sock Sampling for Intermediate Spinners
Equipment
-
1 Spinning Tool of Choice
Materials
- 1 braid SweetGeorgia Trifecta fibre
Instructions
Before You Start to Spin Sock Yarns
-
Gather Your Learning Resources • Watch the Spin to Knit Socks course at the School of SweetGeorgia and download the workbook. • Another great resource is The Spinner’s Book of Yarn Designs by Sarah Anderson.
-
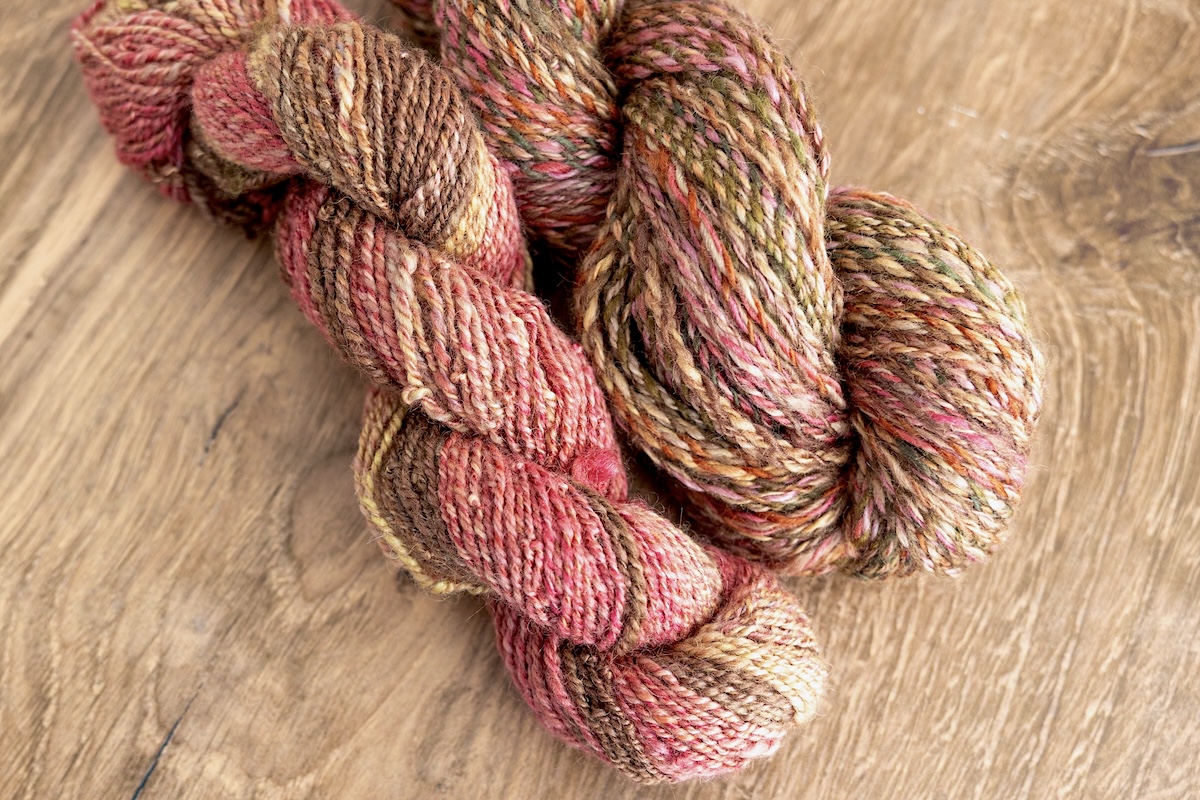
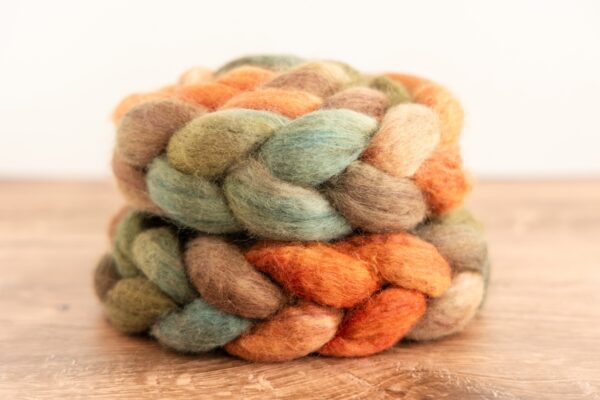
Choose Your Sock Spinning Fibre(s) • If you plan to machine wash your socks, select a fibre resistant to felting, such as a down wool (e.g., Charollais) or a superwash wool. • If you plan to wash your socks by hand, you might want to try a strong, lustrous blend of Bluefaced Leicester (BFL), mohair and silk like the SweetGeorgia Trifecta fibre. • Keep in mind that fine wools (e.g., Merino, Cormo, or Rambouillet) produce less durable sock yarns than medium and long wools (like BLF or Corriedale). You may choose a similar fibre base for all your handspun sock yarn samples so you can compare them, or use any fibre from your stash. It is your study, so you get to make the rules!
-
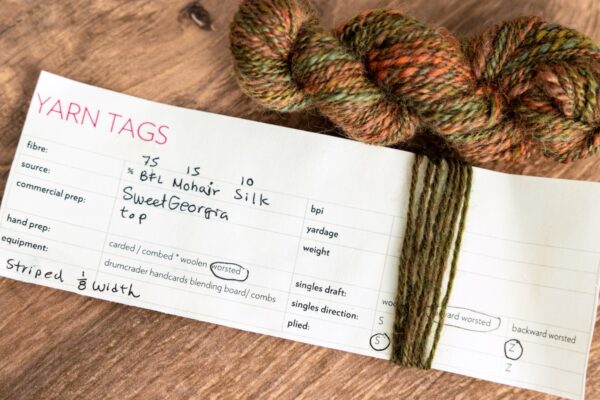
Sample Your Chosen Fibre with a Controlled Structure • Spin a 5-10 g, traditional 3-ply sample. This gives you a controlled structure for comparing sock yarn samples. • Don't forget to attach one of the singles to a card before plying. This will be your control card. You can use this to compare your singles.
-
Complete All Prep Work Before Spinning • Do all fibre prep ahead of time. • Take your fibre and add your plan for each fibre/yarn structure with instructions into individual bags to keep organized. • Get a notebook and a pen. If spinning, knitting, and wearing the socks are all enjoyable, you’ve found a fabulous combo you may want to repeat again and again. Having detailed notes will help!
Spinning Your Sock Samples
-
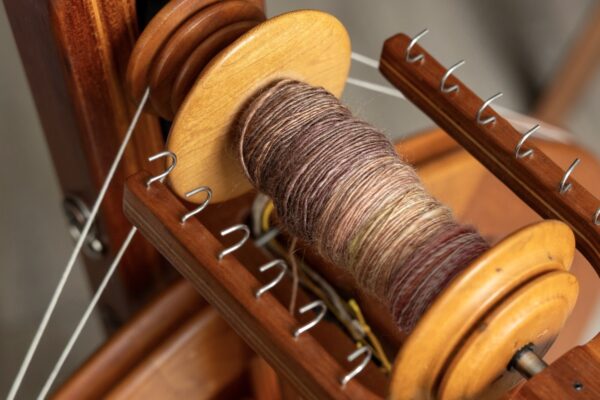
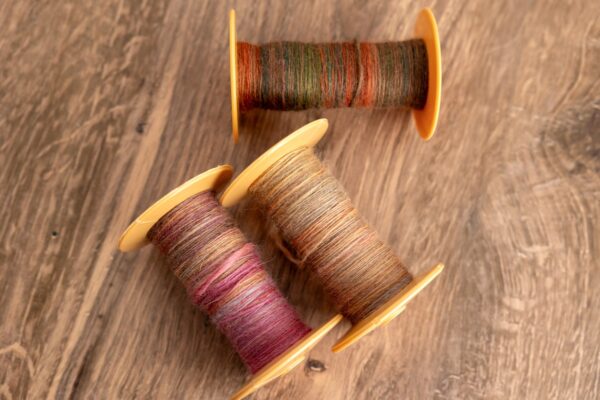
Spin all your singles
-
Rewind the singles to storage bobbins and label (optional but recommended)
-
Ply the singles Try plying through the rings taught in Kim McKenna's Nuances to Spinning Better Yarns course at the School of SweetGeorgia.

-
Finish with your favourite method. I love Kim’s stovetop method, found in her Working from Fleece course.
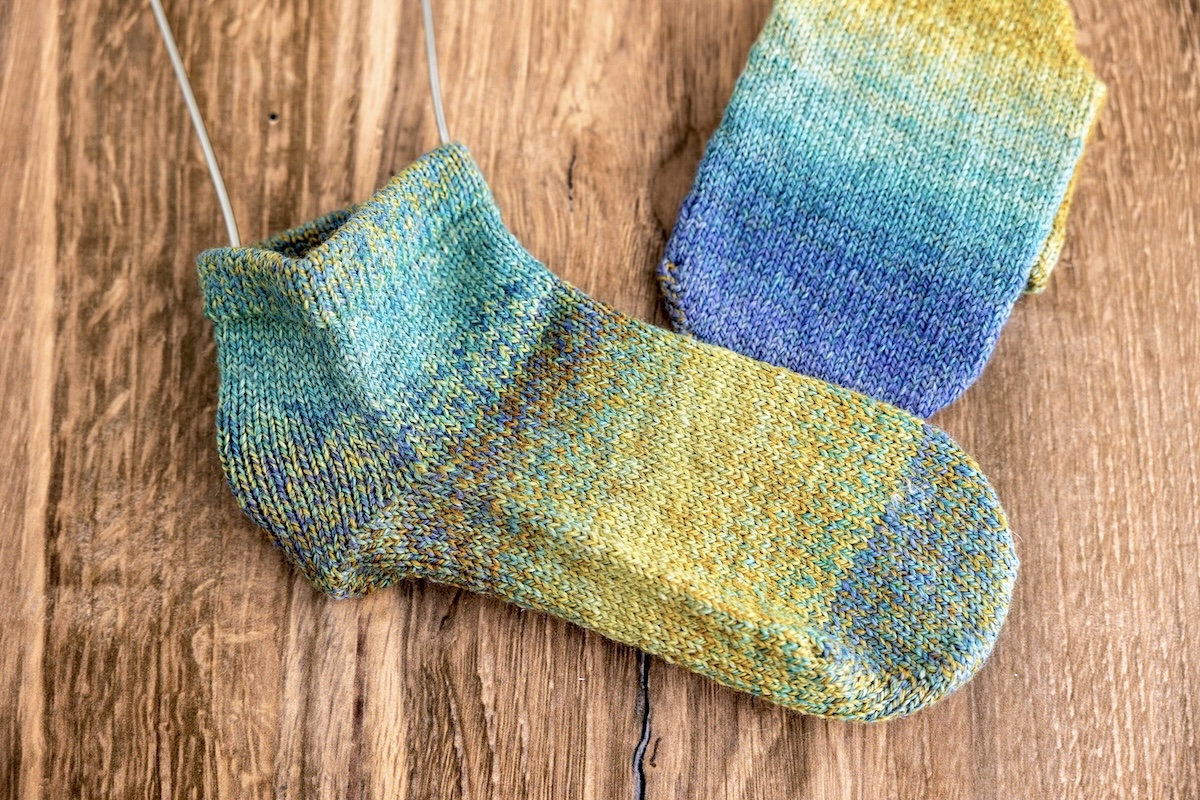
-
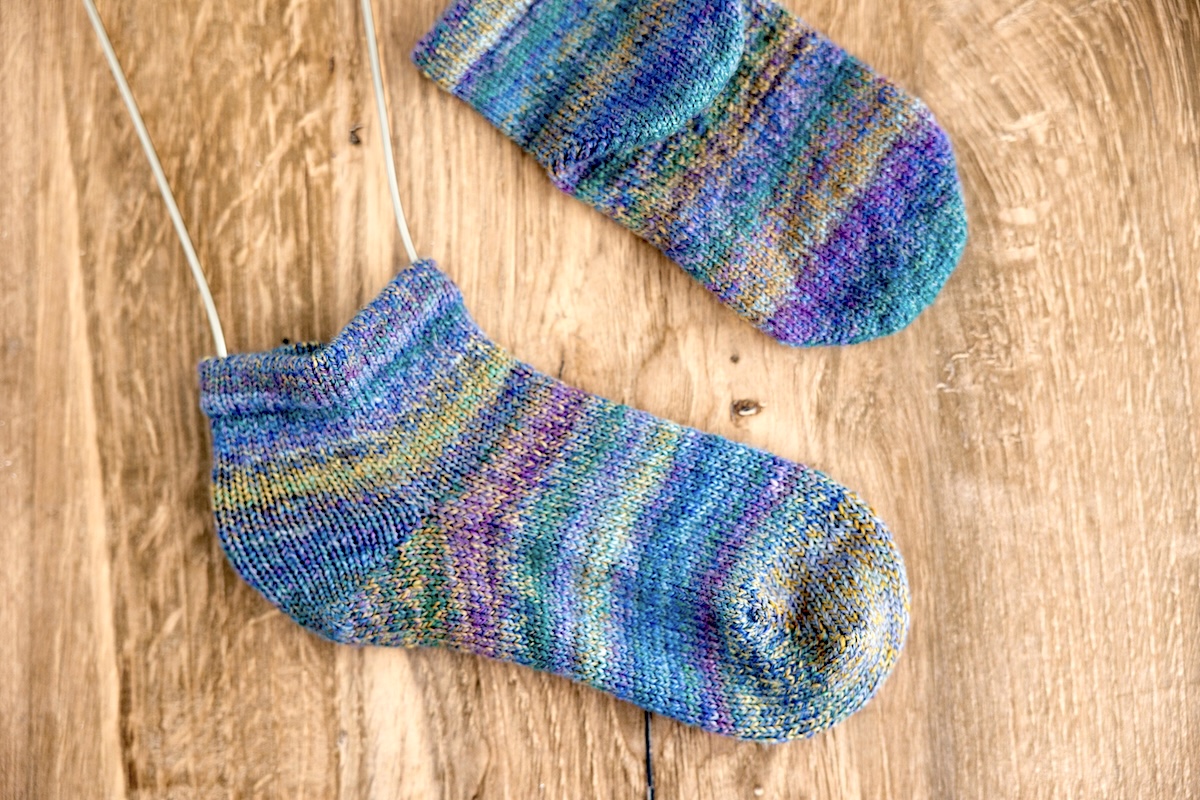
Knit your socks. You may use the same sock pattern, such as using the Custom Toe-Up Socks recipe, or your go-to sock recipe. Keep in mind that handspun sock yarn may be thicker than commercial sock yarns, so be ready to adjust your sock pattern as needed.
Notes
I’m excited to work on a yarn construction for sock yarn exploration. With Rachel Smith’s Spin to Knit Socks course, Sarah Anderson’s book, my spinning tools, and a few braids of SweetGeorgia Trifecta fibre, this is sure to be a fun adventure in my spinning future. Let me know in the SweetGeorgia Community—are you spinning for socks?
The post Start Spinning Sock Yarn: Twist, Ply & Structure appeared first on SweetGeorgia Yarns.


