
When planning a project, it’s always a good idea to think about how the ends of the item are going to be treated. Choosing how one is going to do the finishing, both dry and wet, hem or fringe, before starting a project, will allow for some creative approaches to securing the selvedges. The usual methods are to leave a fringe or to hem, but there are other options, too.
Considerations with Fringe
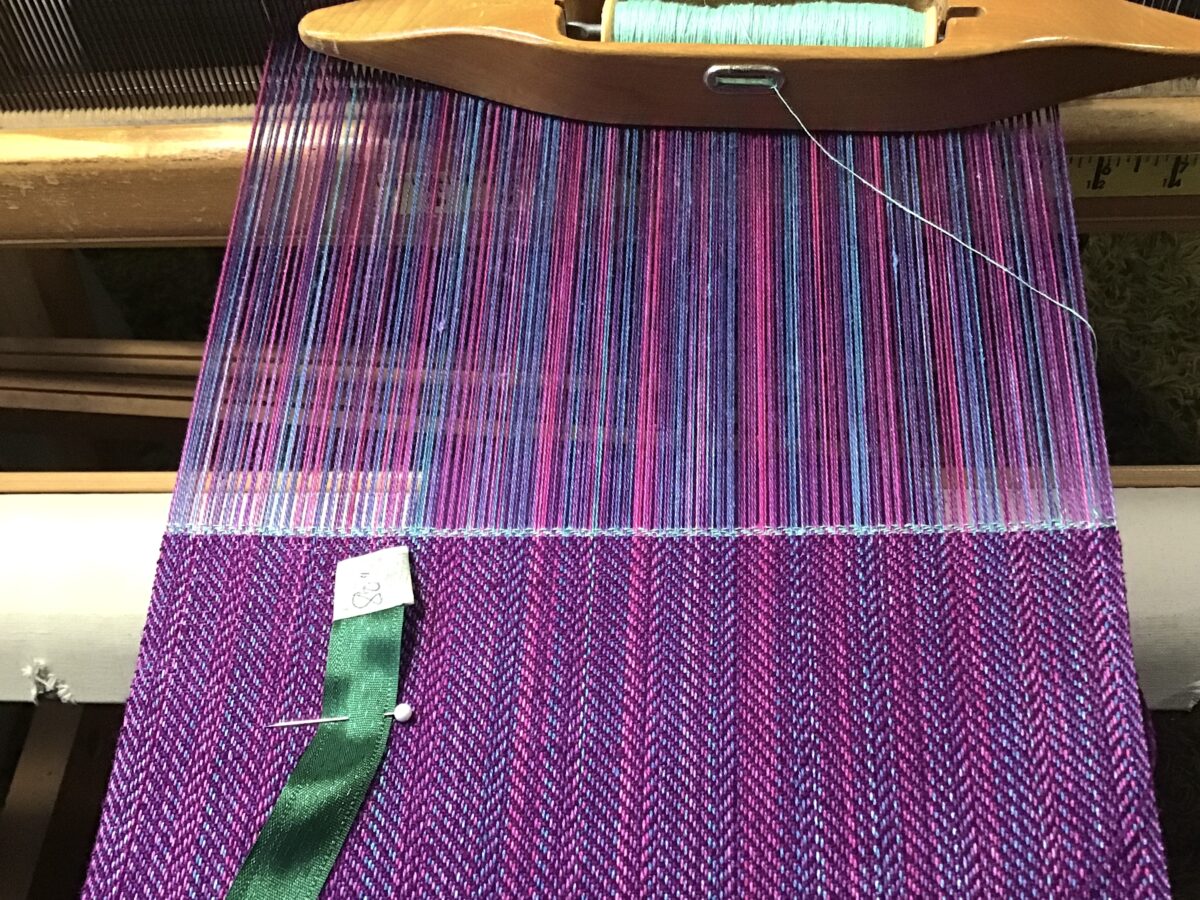
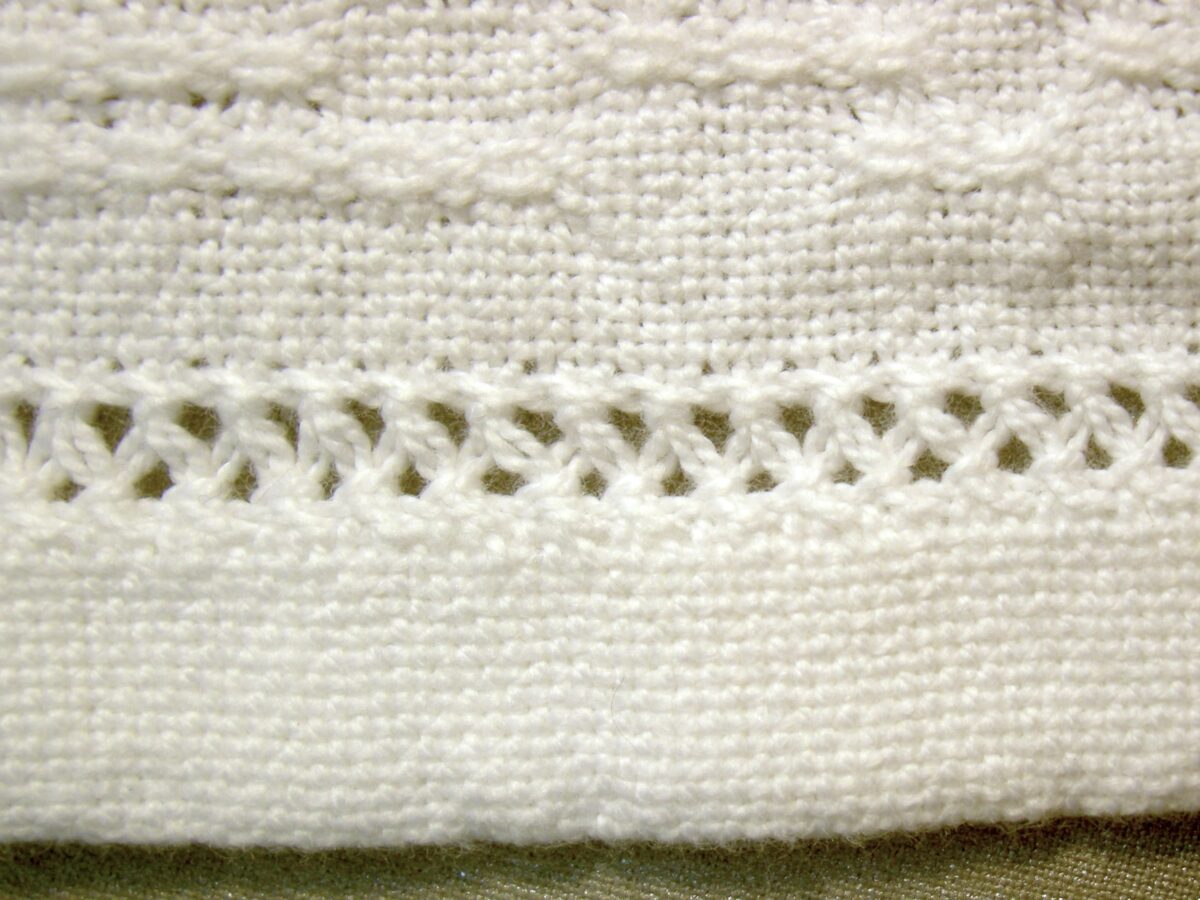
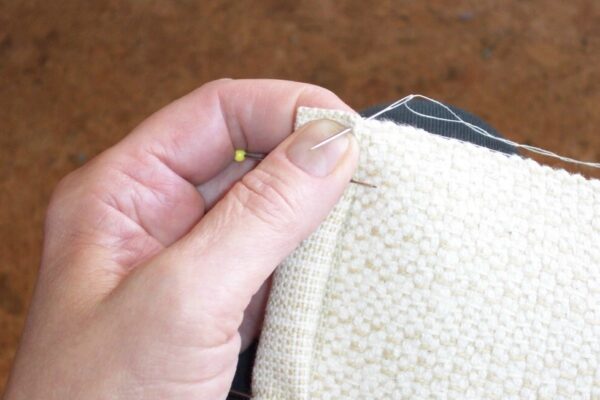
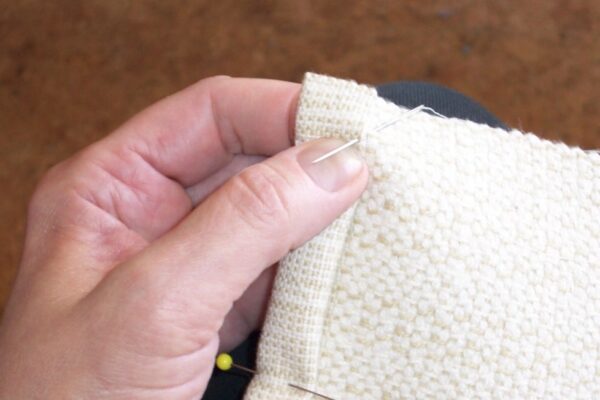
When leaving a fringe, the weaver can hemstitch while the item is still on the loom. There are several different stitches that can be used. Most weavers have their favourite that they tend to use as their ‘default’. Mine comes from Weaving: A Handbook of the Fiber Arts, by Shirley Held. She shows several different stitches, and I find one of them suitable for most of my needs.
Twisted Fringe
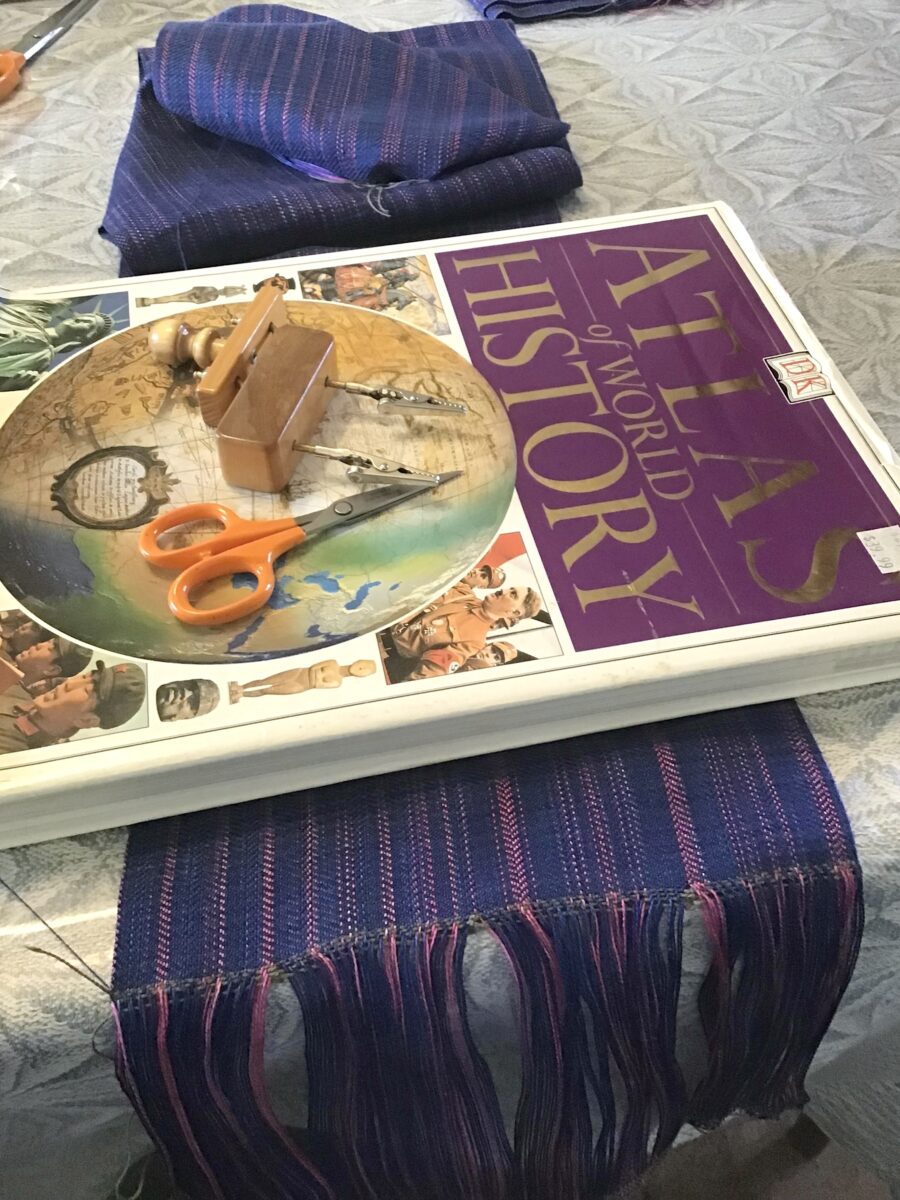
Fringe twisting is another end finish that is appropriate for a number of different types of textiles. I find fringe twisting useful for things such as scarves/shawls, blankets, and table runners. Again, there are a number of approaches that are used when planning for twisted fringes. Some people do a two-ply, some prefer a three-ply as that creates a ‘rounder’ effect. Some people like to hemstitch first, others don’t do that step, but just twist the fringes.
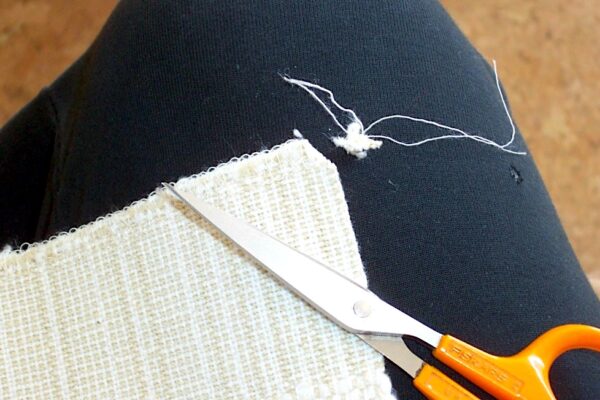
I tend to weave in a few picks of waste yarn at the beginning and end of the scarf, then cut that out as I twist the fringes. A pair of embroidery scissors with sharp points is helpful. Using a yarn that is very different from the intended finished item helps with the cutting and removal of the waste yarn during the fringe twisting process.
This treatment is particularly good for any yarn that needs to have the warp ends protected, such as rayon chenille, other rayons, cotton, and silk. For wool, I might just hemstitch and leave about a 1” length of fringe, cut to length after the scarf has been wet finished. Some people get very creative and add beads, either to the fringe or along the end/edge of the cloth.
Considerations with Hems
If I’m hemming, I tend to cut and serge the raw ends of things like tea towels, place mats and table runners, wet finish the cloth including a good hard press, then hand hem using a whip stitch, and a thread as close to the same value and hue as the cloth I’m hemming. I use smaller stitches than most tutorials I’ve seen, at about 6 stitches per inch. Once the hem has been sewn, the cloth gets a final hard press.
Find step-by-step instructions for how Laura hems her towels, as well as links to her courses at the School of SweetGeorgia, at the end of this article.
I wet finish and hard press before hemming so that the cloth is flattened and thinner, and when the hem is turned, it isn’t quite so bulky. Some people press the folds before stitching, but for most of my purposes, I just pin and sew, then press.
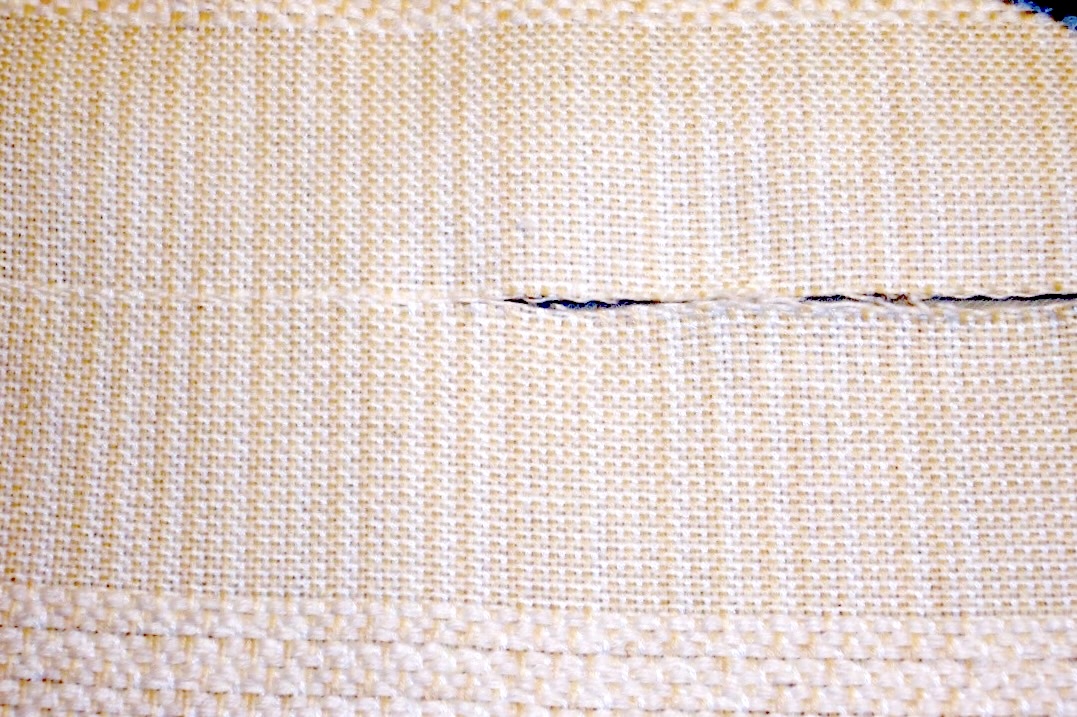
When I’m preparing to hem, I will weave in a cut line, either by varying the treadling to create a line in the cloth, or by weaving a contrasting colour of about the same thickness. This makes cutting a straight line accurate and easy.
There are other finishes, especially for special textiles like rugs or tapestries. These finishes are well documented in Peter Collingwood’s book, The Techniques of Rug Weaving. I used one of them to finish the tapestry for the Guild of Canadian Weavers (GCW) final level of their master weaver program.
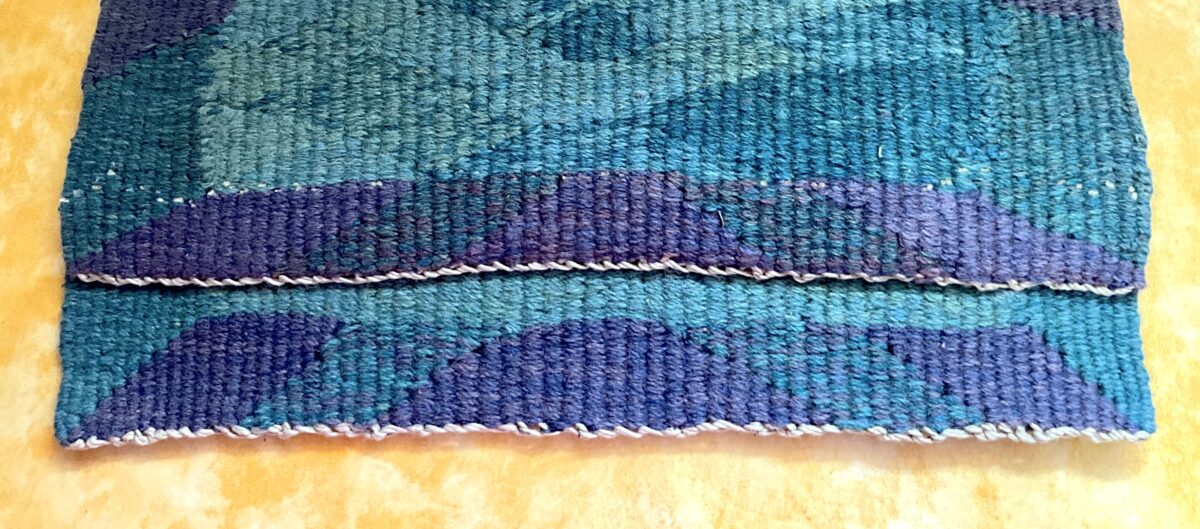
Some of these finishes can be quite time-consuming, but very effective in protecting the warp from wear and tear.
Other Hem & Fringe Considerations
There are also ‘fancy’ finishes that can be done using various stitching and macrame techniques. I know some people who have done bobbin lace with the warp ends to create a fancy lace to finish off special textiles. Or people might knit or crochet the ends after hemming the textile. There are other stitches that can be used for a fancier effect. Most embroidery books will have a variety of stitches that can be used.
Use Bulky Yarn to Make the Process Easier
On the Loom
One finish I like, although it takes longer, is to prepare the cloth by weaving the hem, reserving a long length of the weft to use for hemstitching later, then weaving in a bulky yarn to create a space. Once that has been done, begin weaving the place mat or table runner, etc. I use something in a contrasting colour to make the space holder yarn easy to see, and will double or triple the yarn and weave it into the cloth with two picks of plain weave, leaving a loop at one side and the loose thread hanging out the other about an inch or so.
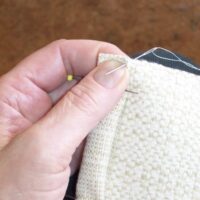
After weaving three picks of the runner or mat, I hemstitch, being careful not to pierce the bulky yarn, which will be removed after wet finishing. A tapestry or blunt-nosed needle is best for hemstitching, I find.
At the other end of the mat/runner, hemstitch the end, then weave in two picks of the bulky yarn to create a space, then weave the hem, leaving a long length to be used for hem stitching later. This long length can be wound into a butterfly and pinned to the cloth. If I am making a set of mats, for instance, I will weave a cut line in where the hem for the first textile ends and begin weaving the hem for the next. Then weave in the bulky yarn and begin weaving the next item.
Off the Loom
I wet finish the woven items, including a hard press, then cut the items apart to prepare for hemming. Or, the items can be cut apart and serged so that each item is separate, which may make wet finishing them easier than doing a long length. Either way, make sure the long lengths for the hemstitching are secure so that they can’t tangle with the other hemstitching lengths.
I leave the bulky yarn in place until I am ready to hem, then, using the loop at one side, I gently begin to pull the loop and remove the bulky yarn, creating a space. Once the bulky yarn has been removed, I fold the hem over and, using the long length I reserved for the purpose, begin to stitch the hem down using the same hemstitching style as I used on the body of the cloth.
Four-Edge Fringe
Another edge treatment is to weave multiple items across the width of the loom, then creating a textile with fringes on all four sides.
I do this by adding ‘waste’ warp ends during beaming and colour code them to show the ends that will be used as a cut line to separate the individual items, then to pull warp (and weft) threads to create a ‘ditch’. Then, I sew a single straight line of stitching beginning at one corner of the textile, then pivoting in the ‘hole’ at the intersection of warp and weft ends that have been pulled, pivot the needle in order to change direction. I end the line of stitching by overlapping the beginning of the straight stitching for 1-2”. After the item is completely stitched, the waste warp and weft ends get pulled out and the items wet finished. A final trim of the corners and the item is complete.
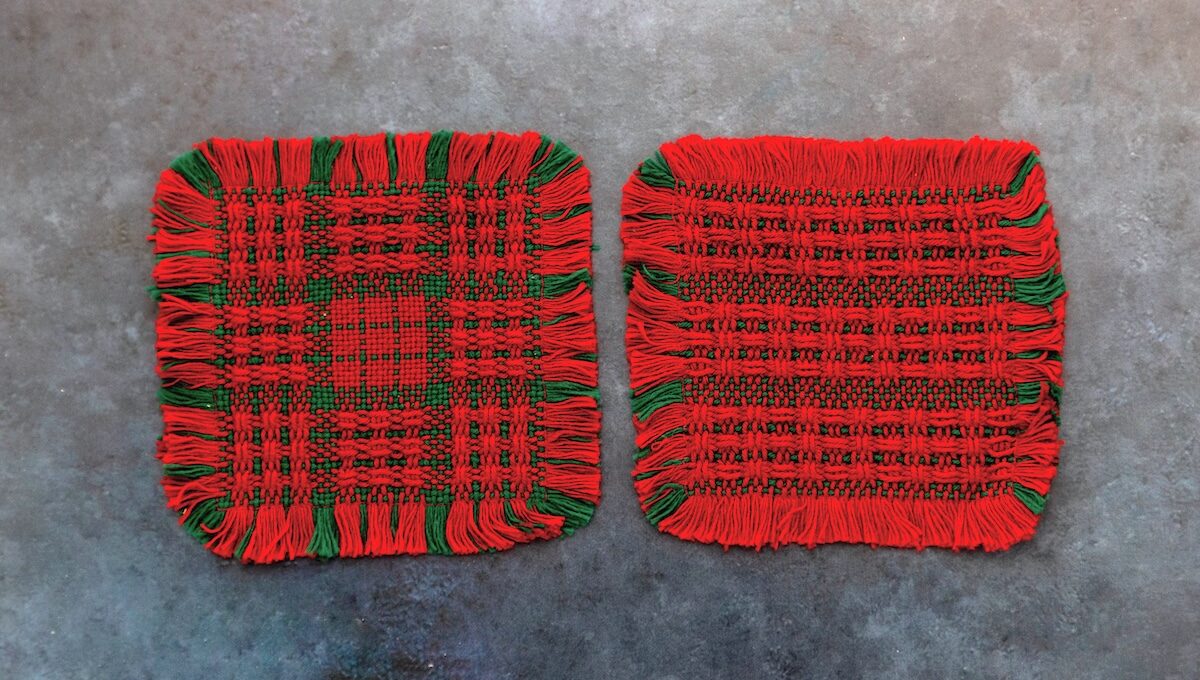
By weaving the same distance in the weft as has been left in the warp for fringe, this creates a nice finish for things like place mats or mug rugs and so on.
Doup Leno
Lastly, if the weaver has enough shafts, a leno structure can be used when doing multiple items, like scarves made from yarns that will full. Again, space is left between the items in the loom, the doup leno secures the outside edges and the scarves are then cut apart after wet finishing, leaving a very short, but secure edge treatment.
How to Hem Towels
Equipment
-
1 Sewing needle
-
1 Sewing thread in matching colour
-
1 Woven towel
Instructions
-
After wet finishing, pressing, and zigzag stitching the towels, trim the corners to reduce bulk.
-
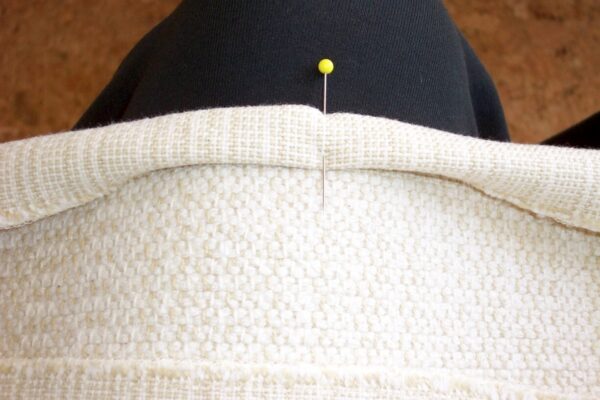
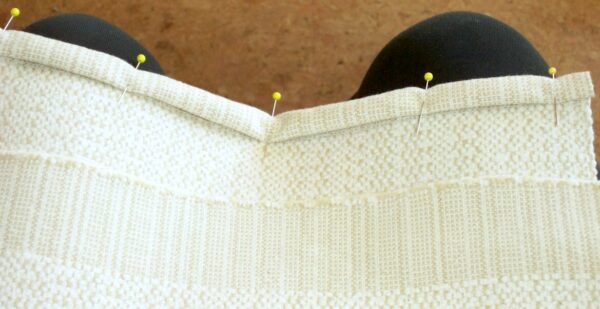
Starting at the centre, fold the cloth over twice and pin it in place.
-
Working from the centre out, pin along the entire edge.
-
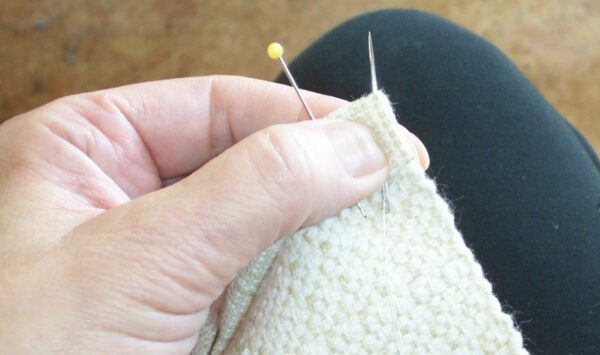
Insert the needle and bring it to the outer edge corner.
-
Using a whip stitch, sew the outer selvedge down.
-
Continue the whip stitch, with Laura using about 6 stitches per inch, along the entire hem. Don’t forget to sew down the other outer edge to the corner.
-
When you are finished, give the towel one more press to set the new edge, and you’re done.
Notes
More About Laura Fry
- LauraFry.com
- Weaving a Life Blog
- Explore Laura’s courses at the School of SweetGeorgia
- Browse Laura’s articles to discover new techniques, refine your skills, and spark creativity.
The post Finishing Touches: Hems & Fringe for Handwoven Projects appeared first on SweetGeorgia Yarns.


