
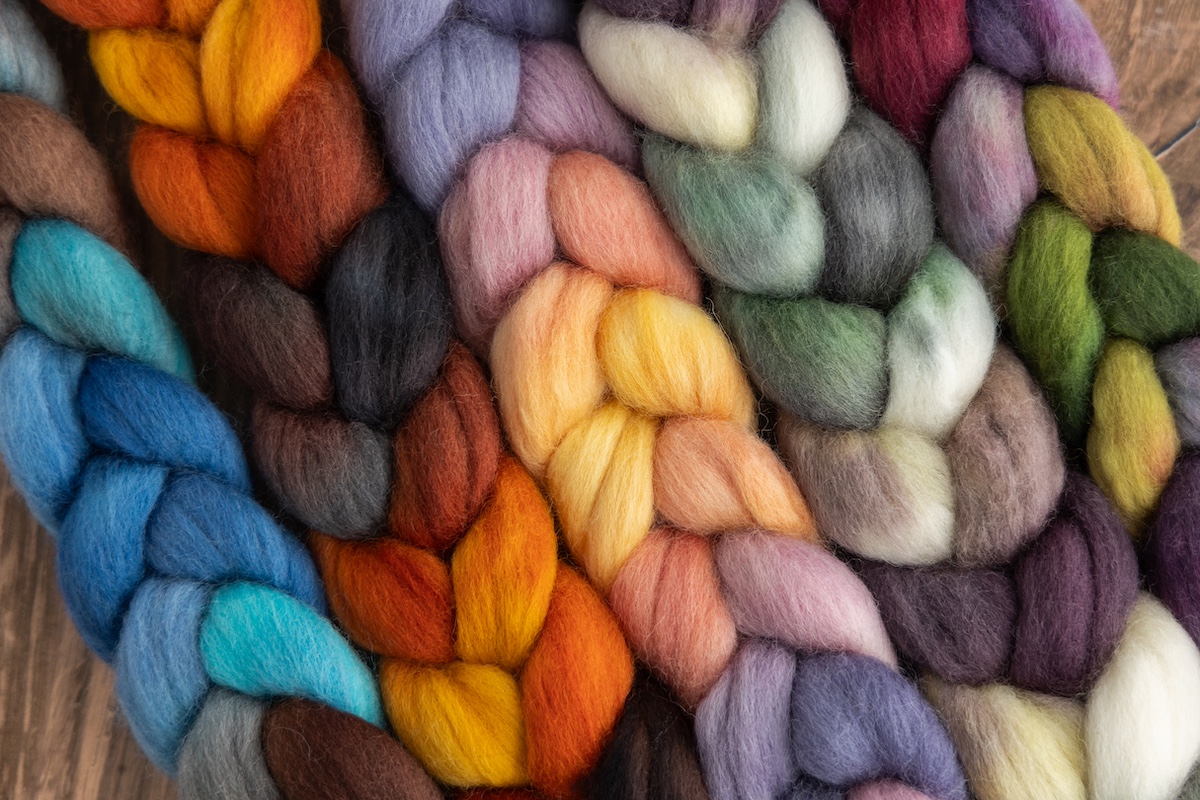
It is Fibre Prep February, and we’re diving in with a special focus on rolags. In the studio, we’ve been experimenting with different techniques and tools to create soft, airy rolags for spinning. Why rolags? Rolags are ideal for creating lofty, woollen-spun yarns. They introduce air into the fibre, making the final yarn light and warm. We have made dozens of rolags over the last couple of weeks; we would love to share some of the ways we have perfected our rolags on blending boards and hand cards!
Check out the video below from our SweetGeorgia YouTube channel, or scroll down for step-by-step instructions and troubleshooting tips!
Materials & Tools for Making Rolags
Fibre
- SweetGeorgia Fibre on a variety of bases including our new Trifecta blend!
- Also, check out our new limited Colour Callab colourways, hand-dyed fibre inspired by our School of SweetGeorgia spinning instructors!
Blending Board
Hand Cards
Additional Accessories
- SweetGeorgia Spinning Mix-Ins: Add depth and texture with fun extras like Angelina, wool neps, Sari silk and more!
- Brush: Both Ashford and Louët include a brush with their blending boards. If you’re using hand cards, the Ashford Flick Carder (which is included with the Ashford blending board) is sold separately.
- Wooden dowels: These are also included with blending boards, but if you need a set, you can find them easily in craft and hardware stores or even use knitting needles as an alternative.
Resources to Explore
- The Spinner’s Blending Board Bible, Debbie Held: A valuable resource for spinners looking for more ways to utilize their blending board and learn new techniques. We are taking pre-orders now!
- The School of SweetGeorgia: Dive deeper into all things spinning with our online courses. We cover everything from dyeing fibre and working with raw fleece to spinning on spindles, e-spinners, and wheels. Explore different ways to spin colour, delve into sheep breeds, luxury fibres, and much more!
How to Make Rolags!
Equipment
-
1 Blending Board
-
1 Hand Card
-
1 Carding Brush
-
2 Dowels
-
1 SweetGeorgia Fibre
-
1 Mix-Ins (Angelina)
Instructions
Rolags on a Blending Board
-
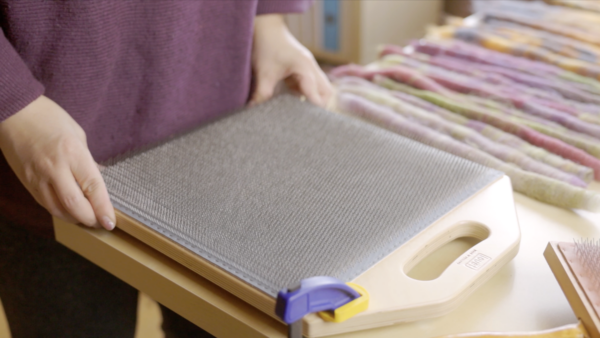
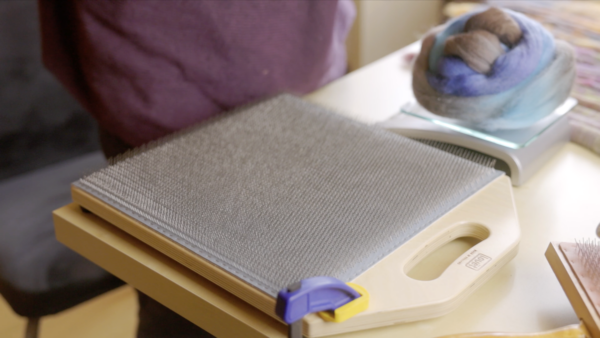
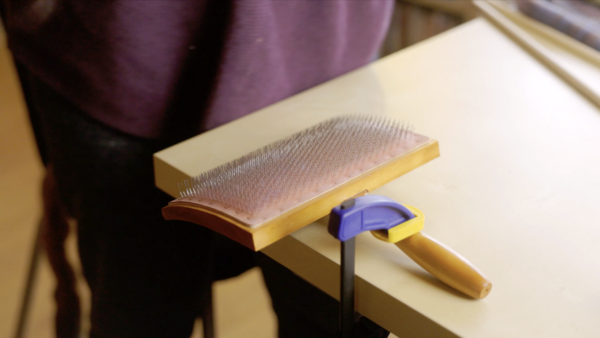
Clamp the blending board to the table to keep it from moving.
-
To make sure you don’t use too much fibre, weigh out your fibre first on a scale. 15g is a good amount of fibre.
-
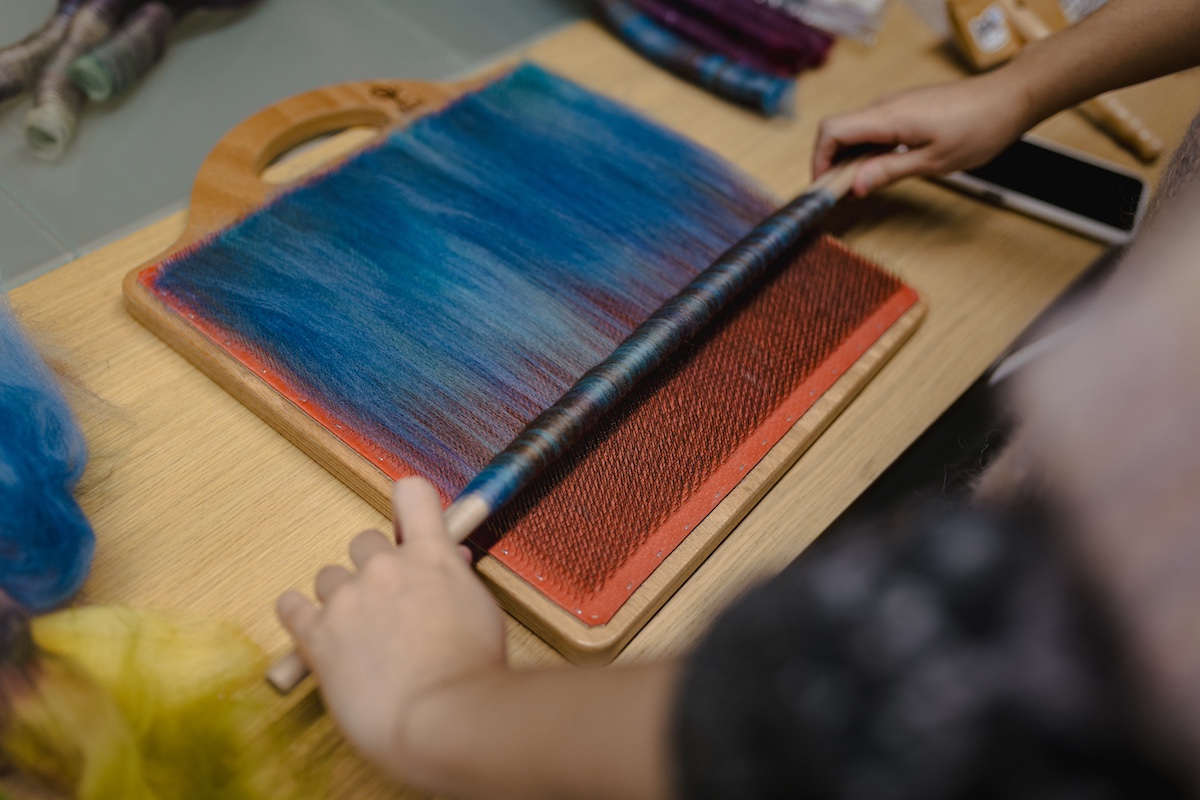
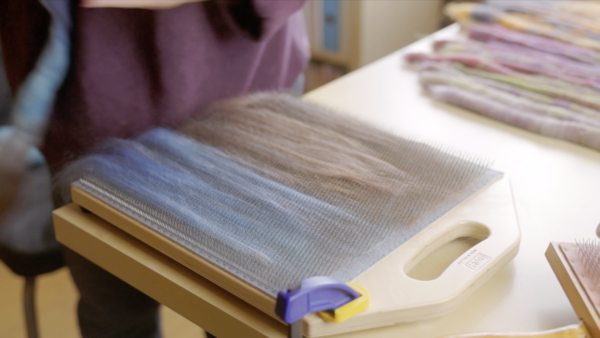
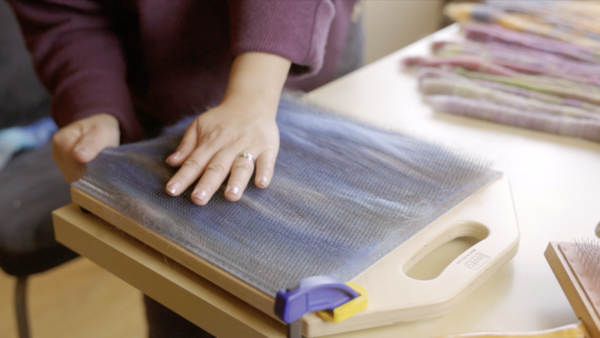
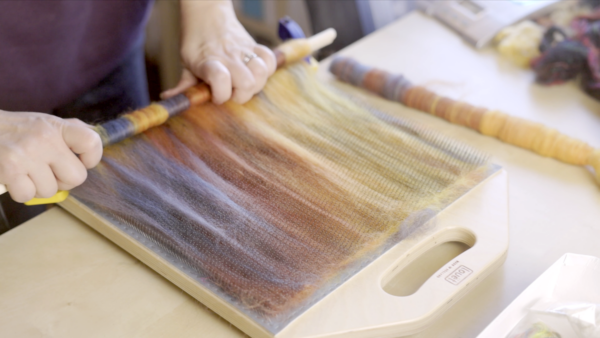
Lay down a thin layer of fibre, working from the top down for even coverage.
-
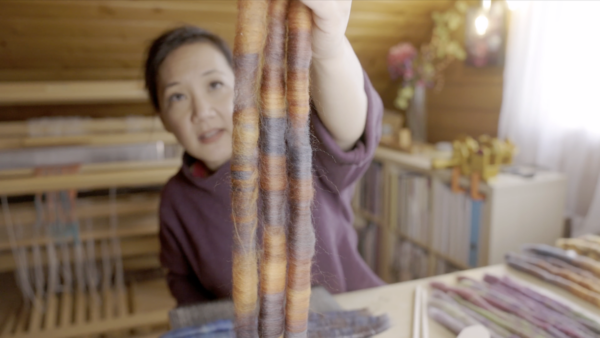
This is where to have fun. Try blending colours or making gradients!
-
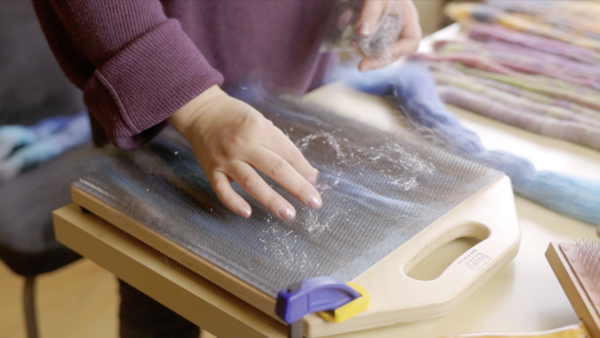
Adding 'extras' like neps or sparkle can create texture and depth in your finished yarn. In this example, we used Angelina. Be sure to seal it in with a thin layer of fibre once you're finished.
-
Watch out not to add too much fibre near the bottom, which can create a thick lip of fibre. If you do find there is too much fibre, you can always pull down on the lip of fibre to remove it and add it back to the top of the board.
-
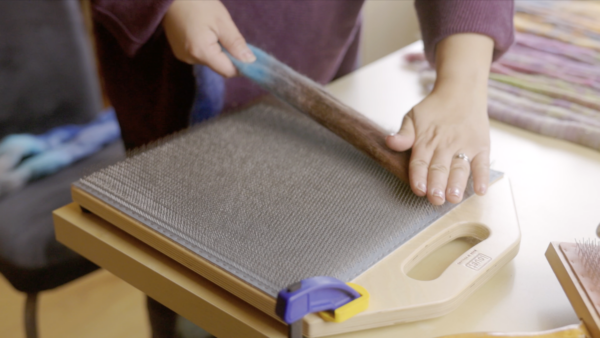
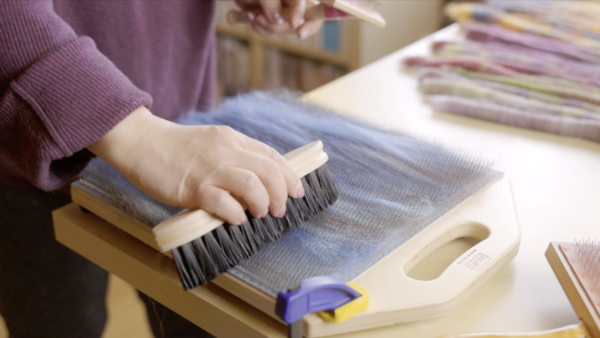
Use the Loüet brush or Ashford flicker to gently press down (not brush down) the fibre.
-
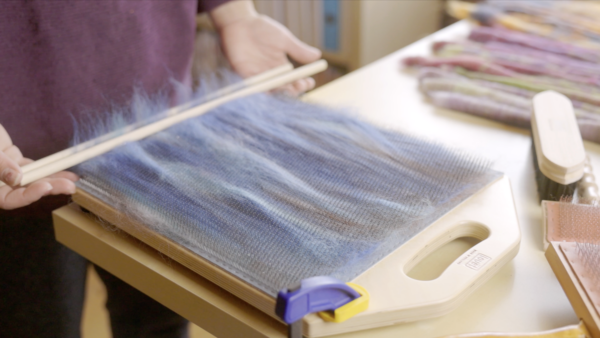
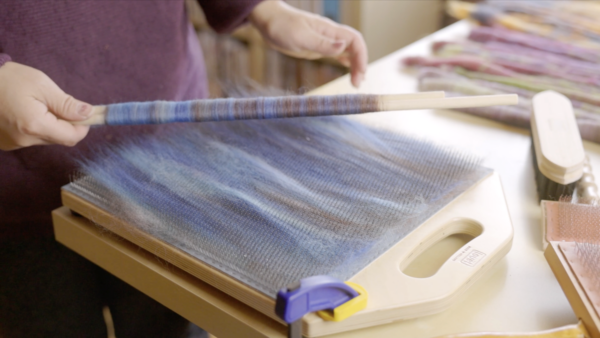
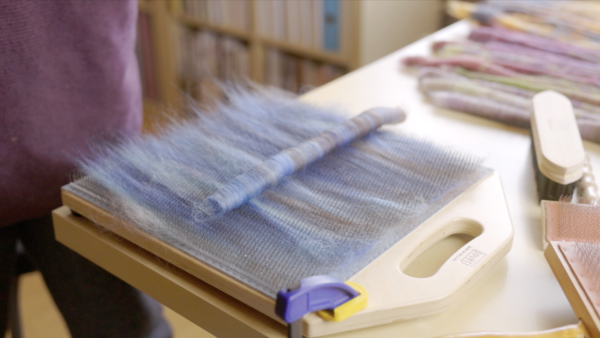
Place the fibre between two dowels, offsetting them slightly.
-
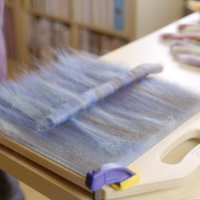
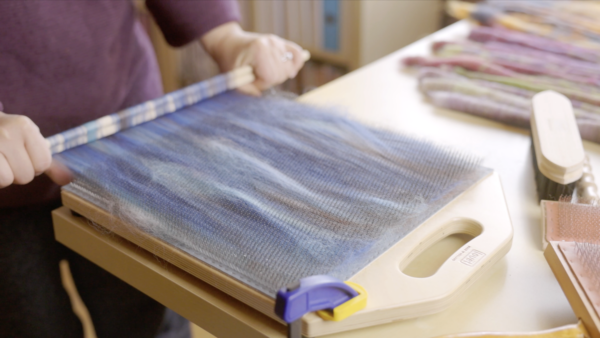
Use your thumbs against the board to push the fibre through the tines while rolling.
-
Lift the fibre gently as you continue rolling. Be careful, if it’s too tight, it will be dense and hard to draft.
-
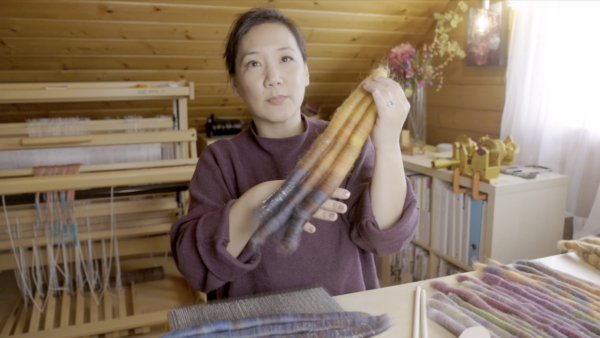
Remove one dowel to slide the rolag off easily.
-
If you have trouble locating the edge of the fibre for the next rolag, use a flicker to loosen and lift it. Continue until the board is empty, leaving the last half inch of fibre at the top. This portion is not as easy to draft and spin, so it's considered waste. On average, about four rolags can be made from 15g of fibre.
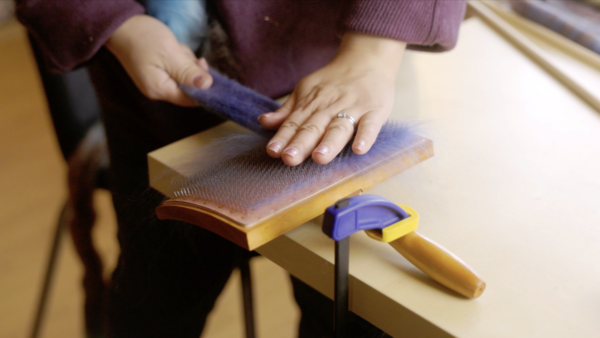
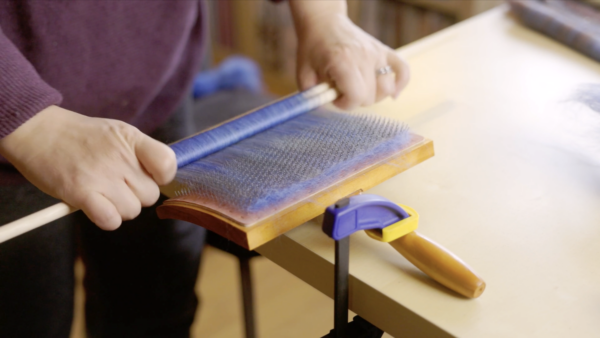
Rolags on a Hand Card
-
Similar to the blending board, clamp the hand card to the table to keep it steady.
-
Lay down a small amount of fibre (Felicia used 6g per hand card and made two 3g rolags).
-
Follow the same steps as with the blending board to create rolags on your hand cards.
Troubleshooting
-
If it's hard to roll off, try using less fibre. This can make it easier to control and roll smoothly.
-
If your mix-ins or extras are only in one rolag, make sure to distribute them evenly across the board and seal them in place with a thin layer of fibre on top.
-
Breaking apart? This can happen when the fibre distribution across the board is uneven. As a result, some rolags may have thick and thick spots. Try to be as consistent as you can when loading the board or card.
-
Want your rolags to be more consistent? Practice!
Notes
Continue the perfecting rolags conversation and share your work with us on the SweetGeorgia Discord server, in the School of SweetGeorgia forums, or on social media like Instagram using the hashtag #sweetgeorgiayarns.
The post Secrets to Perfect Rolags on Blending Boards & Hand Cards appeared first on SweetGeorgia Yarns.


