
I first learned how to knit when I was about seven years old and to crochet when I was nine. These crafts have been pretty steady companions throughout my life, and it’s rare to find me sitting and not doing something with my hands. My kids often laugh at me because I couldn’t even pick them up from school without having a project with me to work on in those few moments of waiting for them.
In all the years that I have knit and crocheted, I never considered the structure of my yarn when I was choosing it. It wasn’t until I learned how to spin that I started to recognize how the ply structure of my yarn can actually make a difference to my finished projects, and I started to be more intentional in how I choose my yarn.
How is Yarn Made
In order to understand our yarn structure, we need to first understand a little bit about how yarn is made. All yarn is made from fibre, which comes from different sources. For instance, wool comes from sheep, mohair comes from goats, silk is made by moths, cotton comes from a plant, etc. Once the fibre has been shorn/collected, washed, and prepped, it then needs to be spun.
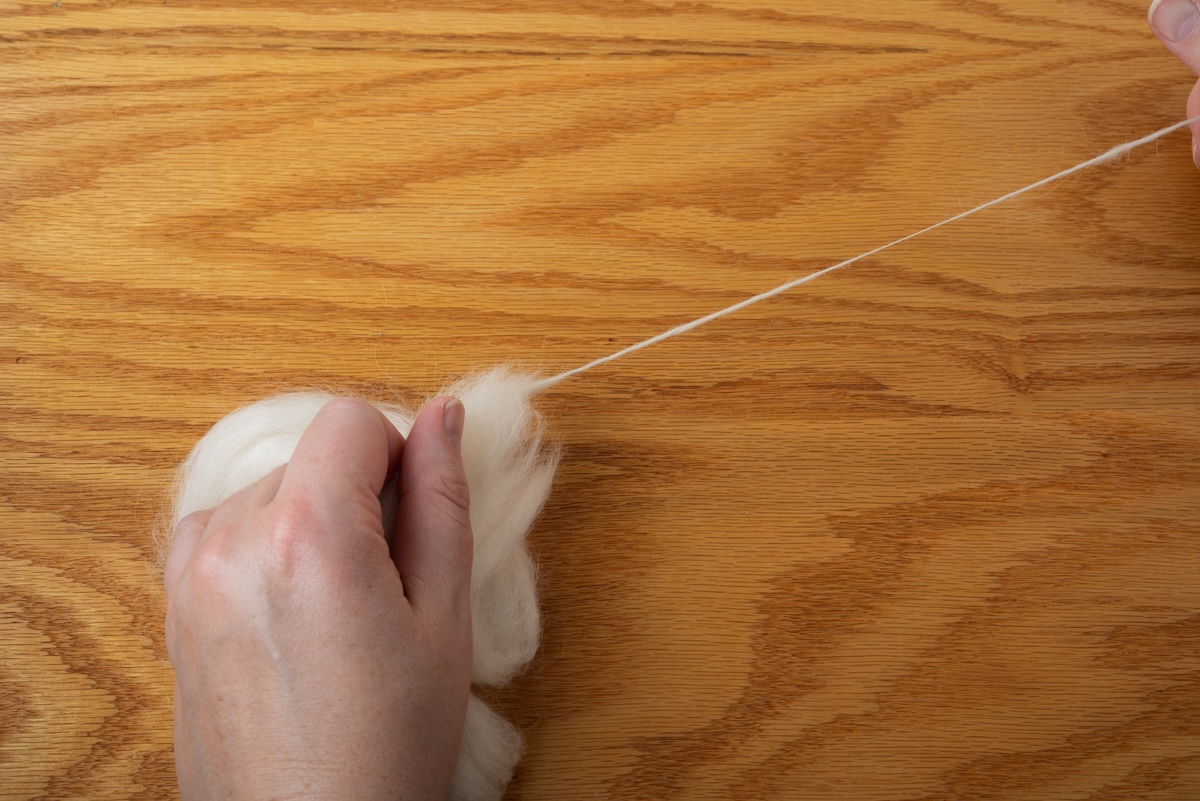
Before the spinning starts, we can decide what weight we want for our finished yarn to be. This is done by choosing how many plies we want in our final yarn, and then we can determine how thick each ply needs to be to achieve the weight that we want. These individual plies are also called singles.
Yarn Twist Direction
We start by spinning our singles, which is where twist is added to the fibre to hold it together. It doesn’t matter if you are spinning the yarn by hand or it is being spun by a machine in a mill, all twist has a direction. If the wheel is spinning in the clockwise direction you are creating Z twist and if you are spinning in the counterclockwise direction, you are creating S twist. If you focus on the centre part of the yarn, you will see why these twist directions were so named. You can determine how your yarn was spun by looking at it vertically. If it appears to be running from top left to bottom right, this is S twist. If it is running from top right to bottom left, this is Z twist.
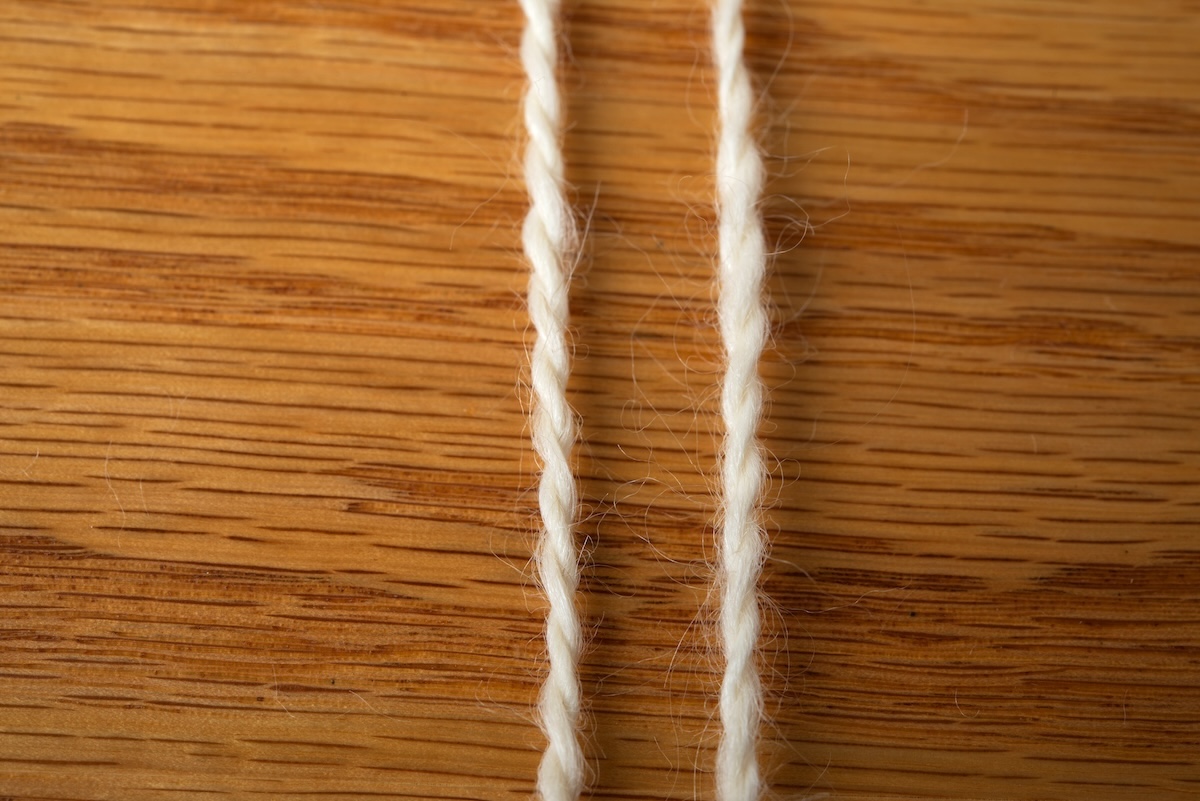
While the general rule of thumb for hand spinners is you spin your singles with Z twist, you ply with S twist, yarns can absolutely be spun with the opposite combination of S twist singles and Z twist ply. Anecdotally, I have heard that some crocheters prefer yarn that has had the singles spun with S twist and then plied with Z twist. They feel that the yarn is less prone to splitting because of the way it wraps around the hook. For me, I have not found that yarn spun one way or the other makes a difference to my knitting or crochet. When it comes to the structure, the only thing that really matters is that you ply in the opposite direction to how you spun your singles. Plying serves a few purposes: it balances your yarn, adds strength, and removes any additional twist in your singles.
Yarn Classifications
The use of yarn dates back to prehistoric times, with its development varying across regions based on the fibres available in each area. As such, there was never a universal way that yarn was classified, and as the world has become “smaller” thanks to the internet, these different classifications can sometimes lead to confusion. In North America, yarn is classified by weight, where the weight refers to how thick or thin the yarn is, not how heavy the skein is. You will hear yarn referred to with names such as lace weight or worsted weight. However, in the UK, those same weights will often be referred to as 2-ply or 10-ply. This dates back to a time when the yarn weight and the number of plies were in direct correlation. All the singles were spun to the same thickness, and then, to get a thicker yarn, you simply added more singles to be plied together. This practice still exists in some mills for efficiency, where they have standard sizes for their singles and simply add more of them to create heavier-weight yarns.
The Craft Yarn Council in America has been working to standardize how we refer to yarn; it has created a numbering system from 0-7 for yarn weights and has developed charts to help you understand the classifications. However, this system has not been universally accepted or adopted, so there will always be some confusion depending on what region you are in.
You will sometimes see charts that refer to WPI or wraps per inch. This is another way to measure how thick or thin your yarn is, which is especially useful if you’ve lost the yarn band and don’t know what needles to use for your project. Simply wrap your yarn around a ruler or pencil and then count the number of wraps you get in an inch. The more wraps there are in an inch, the thinner the yarn is. A number of the charts that have been created online for yarn weights will also reference WPI.
How to Choose Projects Based on Yarn Plies
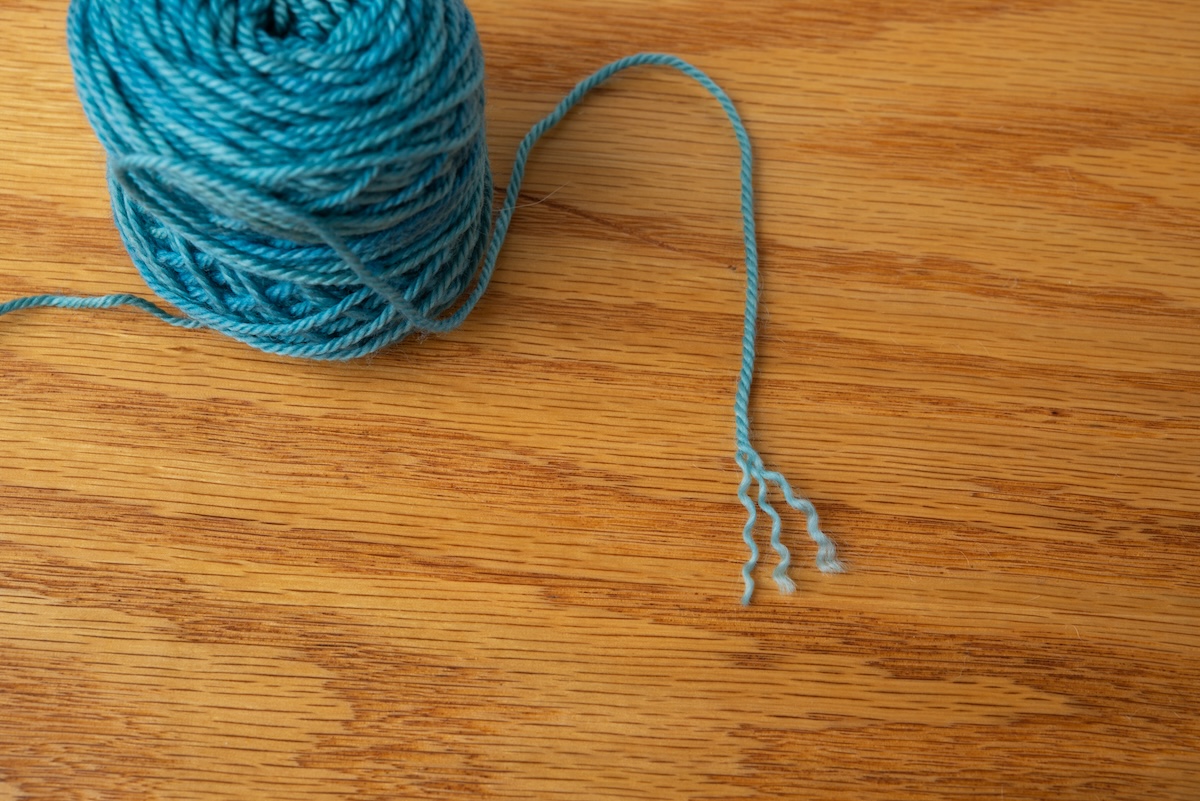
Now that you have some background information, what does this mean for the yarn in your stash? You can discover the makeup of your yarn by taking one end of it and unravelling it to see how many plies it is made up of. This information can then be used to make the best choices for the yarn structure you have.
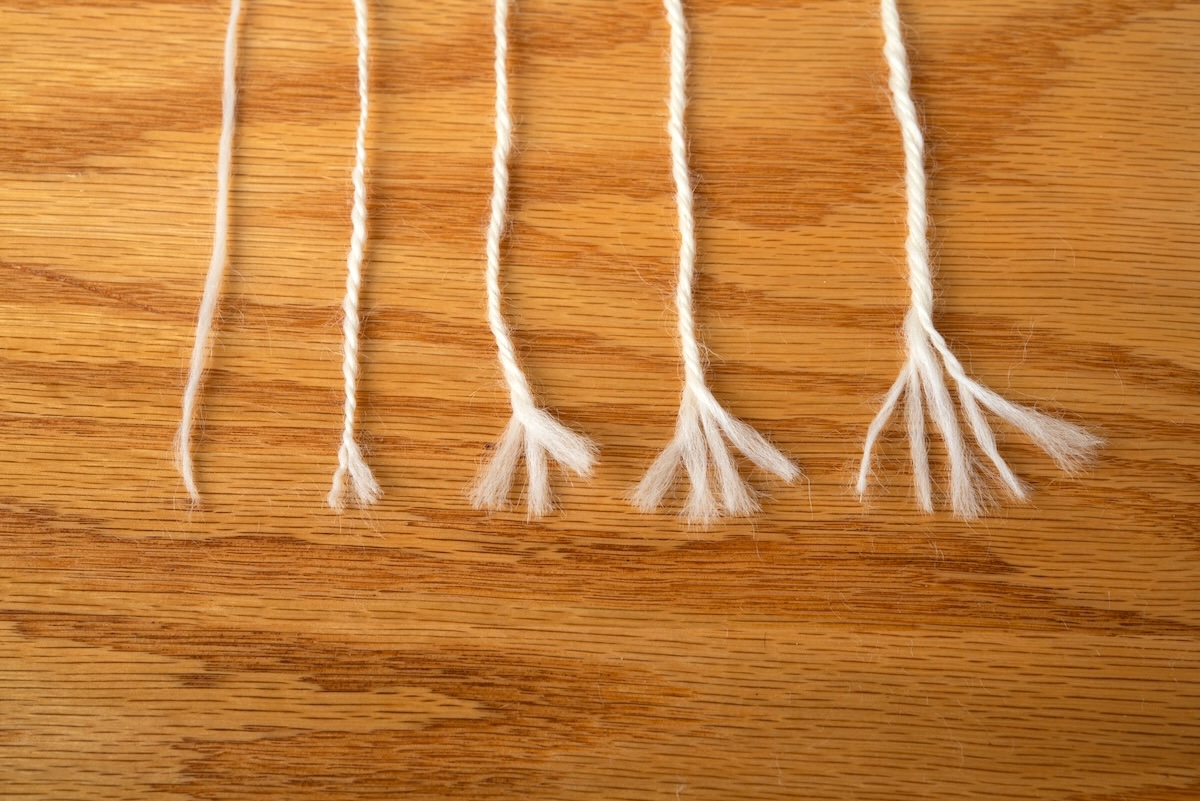
Single-Ply Yarn
Let’s start by talking about a singles yarn and what to expect when working with it. When I first learned to spin, I was taught that plying your yarn helped to make it balanced and create more strength. Depending on how the singles yarn you are working with was created, it may have a slight bias when knitting towards the direction that it was originally spun. There are ways to balance a yarn without plying it, so most commercially prepared yarns will be balanced, but if you see a slight bias to your knitting, this is why.
A singles yarn does not tend to be very durable and is more prone to pilling. It is also notoriously hard to take apart should you need to pull out the project you are working on. This is because the fibres in the stitches will tend to grab onto the ones next to it a little more, causing them to stick together, especially if you are working with wool. This can be amplified if you tend to have really warm/sweaty hands while you are working. The heat and friction will create an environment similar to what happens when you are felting a project.
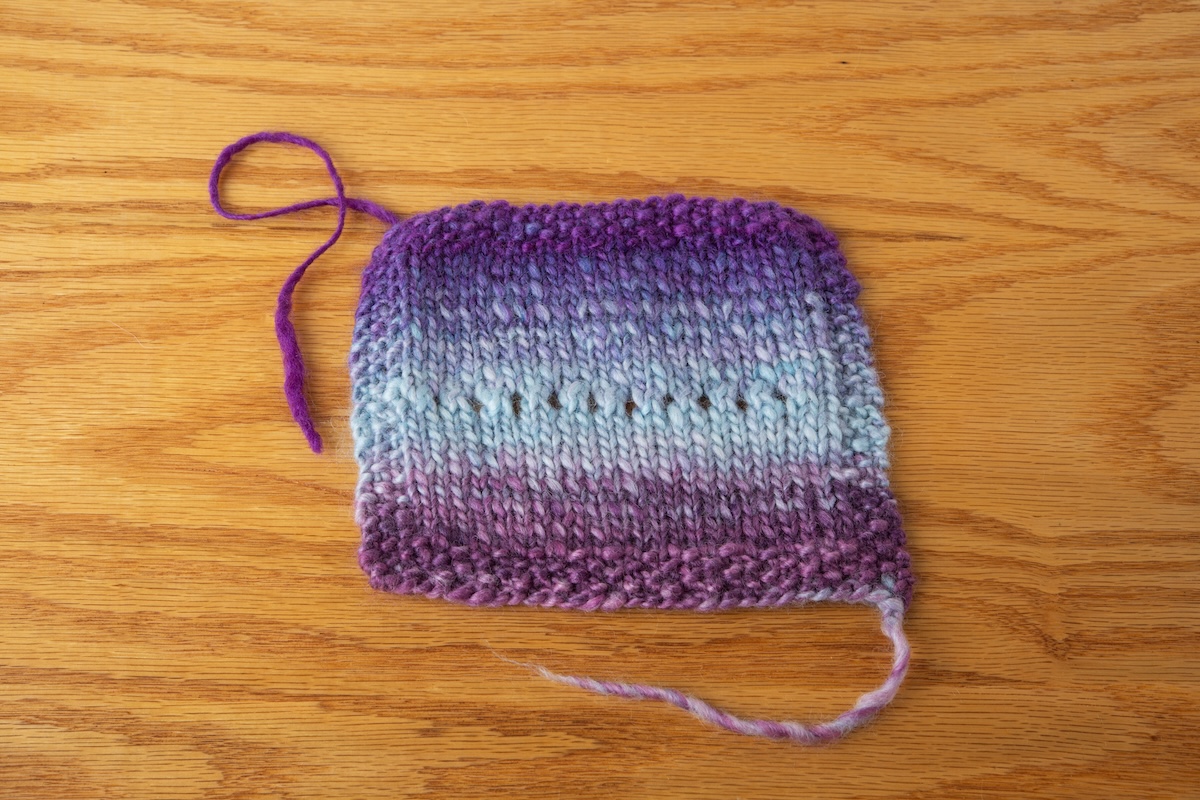
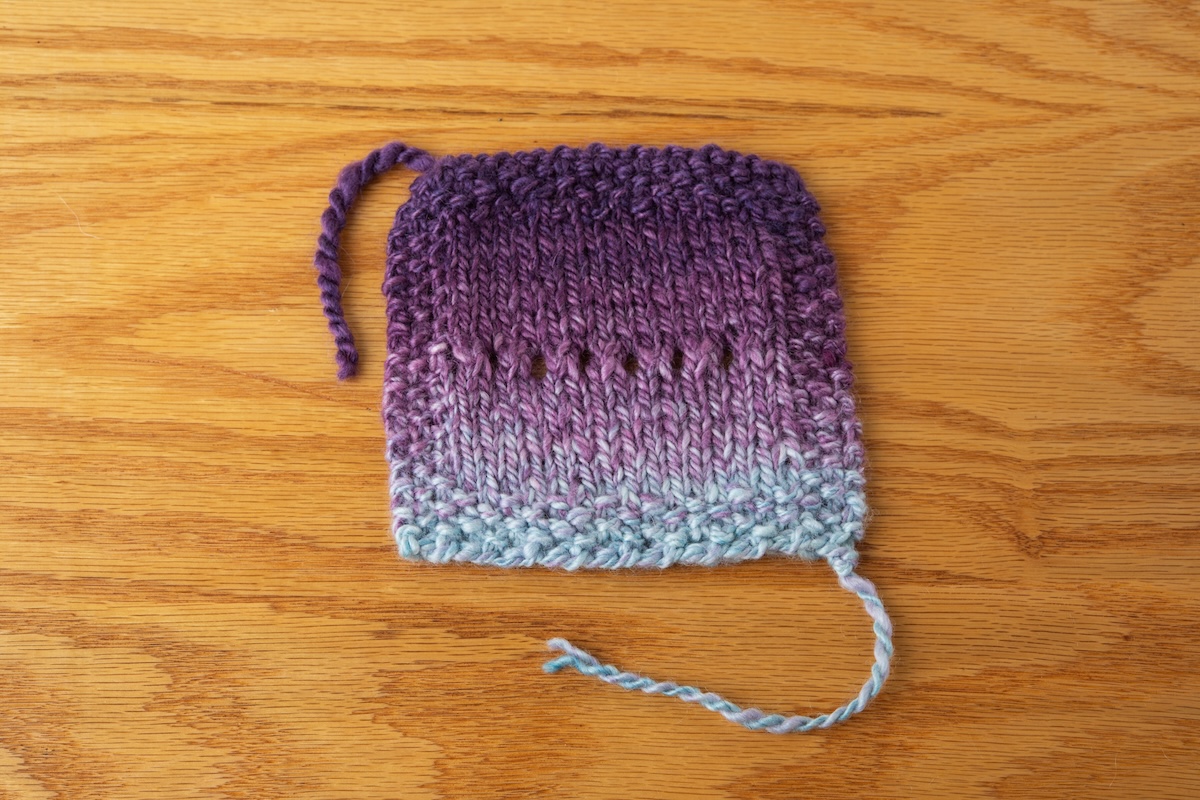
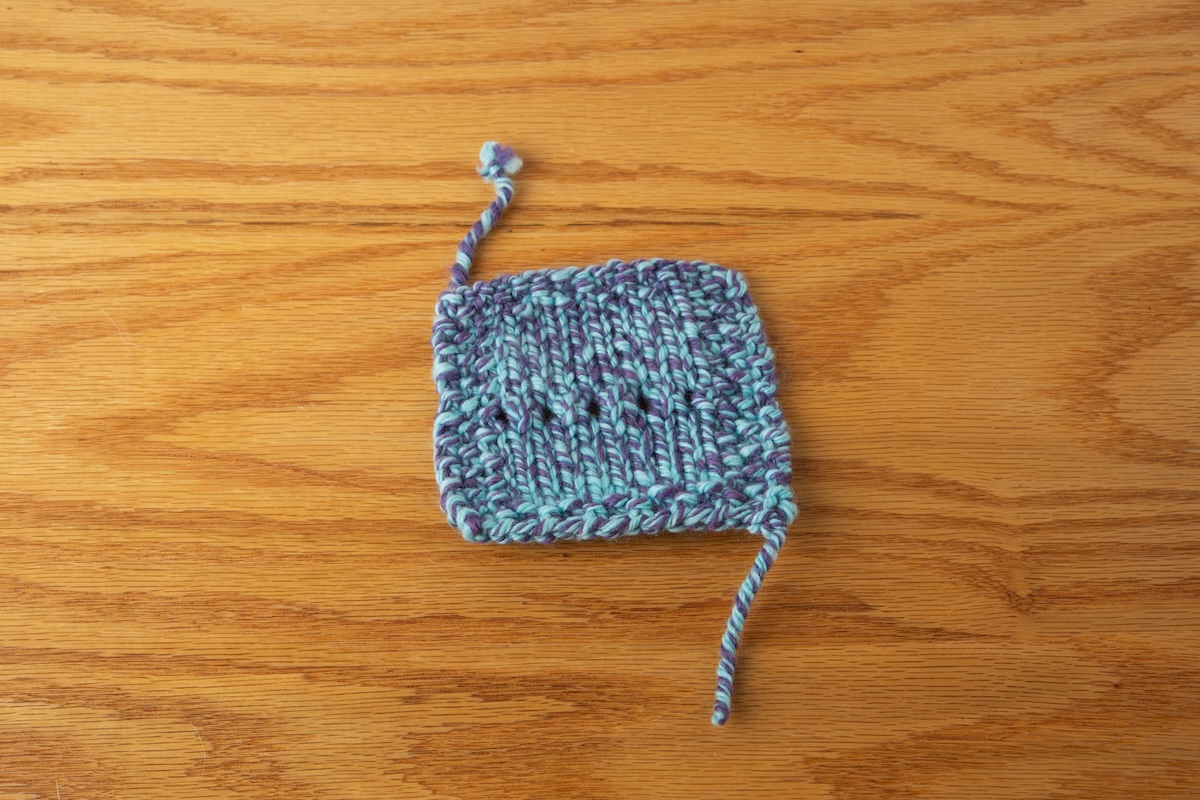
Stitch definition tends to be very flat with a singles, so it will not produce cables that stand out very well and it also does not hold open lace work very well. My recommendation for working with a singles is to choose a project that will not be subject to a lot of abrasion like a scarf or shawl.
2-Ply Yarn
2-ply yarns have a more oblong shape to them, and they are great for knitting lace. The two plies pull against each other and really help to hold open the holes in lace work. While it will have a better stitch definition than a singles yarn, it will still knit or crochet very flat. While two plies are better than one, I would not recommend them for socks, as they are not as durable as a yarn with more plies. I have knit several mittens out of my 2-ply handspun, and it’s great for projects like toques, scarves, or shawls. I also know a lot of knitters and crocheters who will happily make sweaters from 2-ply yarn.
3-Ply Yarn
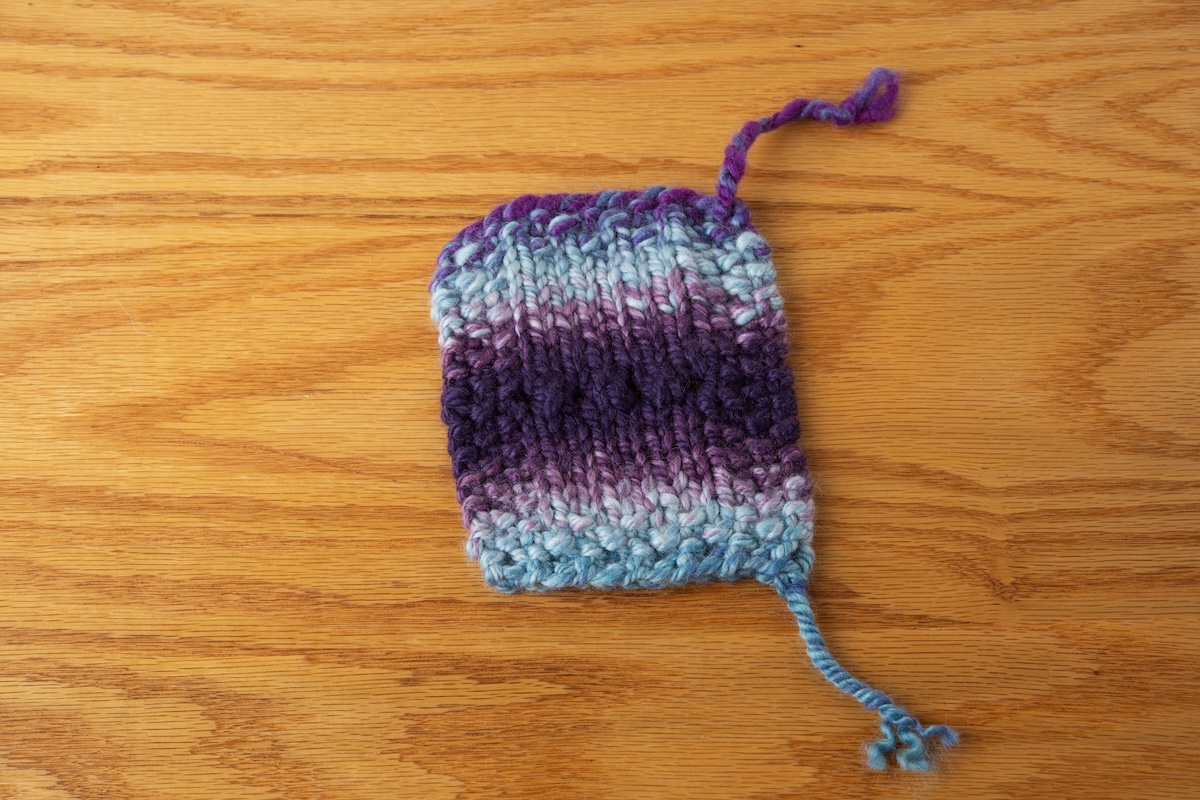
3-ply yarn is much rounder and is great for stitch definition. They are one of my favourites for cables and for socks. The additional ply makes the yarn stronger, and the roundness makes the stitches pop. A good majority of commercial yarns, especially the heavier weights of DK or Worsted, are more likely to be 3-ply yarns than 2-ply.
4-or More-Ply Yarn
As the number of plies increases, each ply adds strength and durability to the yarn. It also adds density. This means, for example, that if you are comparing the yardage of two yarns where the skein weight is the same, a 5-ply DK weight yarn will have less yardage than a 4-ply DK weight yarn.
I know that when I started to better understand the structure of my yarns, I started to have better success with my projects, and I hope the same is true for you.
Find more of Katrina’s articles here on SweetGeorgia and her courses at the School of SweetGeorgia!
The post Understanding Yarns Plies For Knitters & Crocheters appeared first on SweetGeorgia Yarns.


