
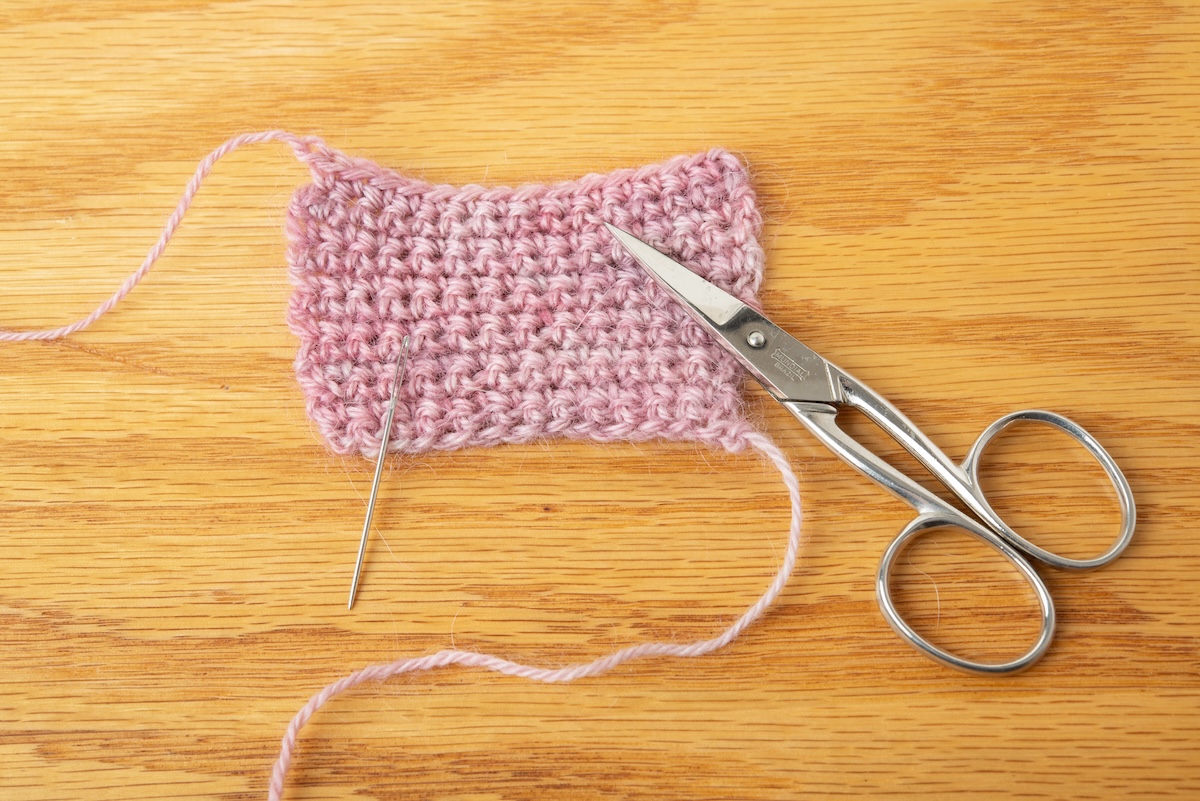
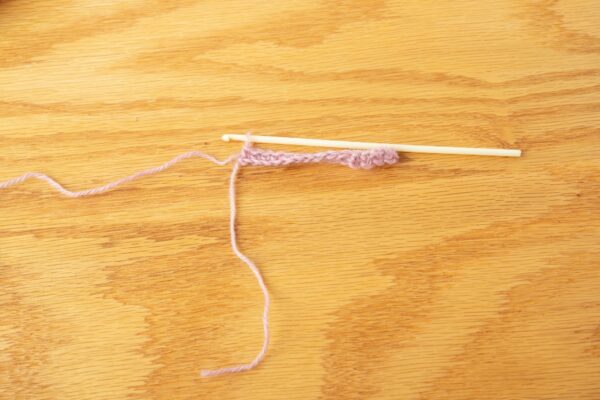
Way to go, you finished your project! Now, the only thing left to do is to weave in your ends. For some, this is the most daunting part of the making process, especially if you’ve been using up scraps or making a project with a lot of colour changes. All those ends!
There are many ways to handle your ends, and while this article focuses on using a darning needle, I will also show you my favourite way to manage it while you’re working so that it’s not a huge task at the end of your project.
There are a lot of similarities between weaving in your ends when you’re knitting and when you’re crocheting. Weaving in our ends serves two purposes: the first is to hide the end, and the second is to secure the end so that the project doesn’t unravel.
Different Ways to Weave in Your Ends in Crochet With a Darning Needle
Instructions
How to Thread a Darning Needle
-
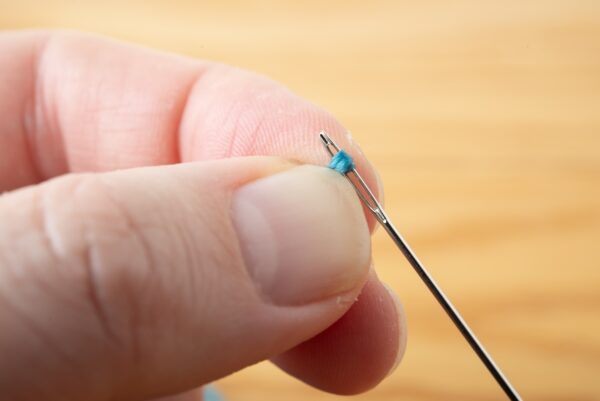
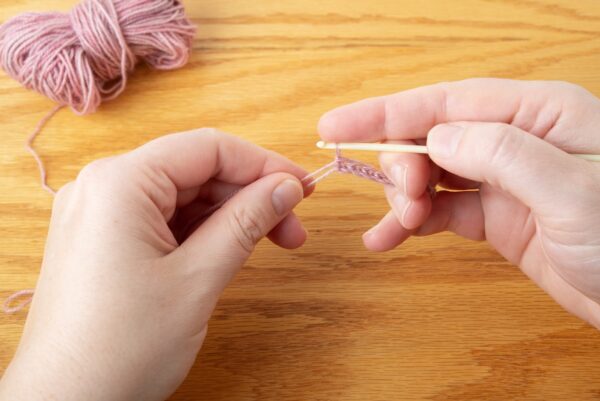
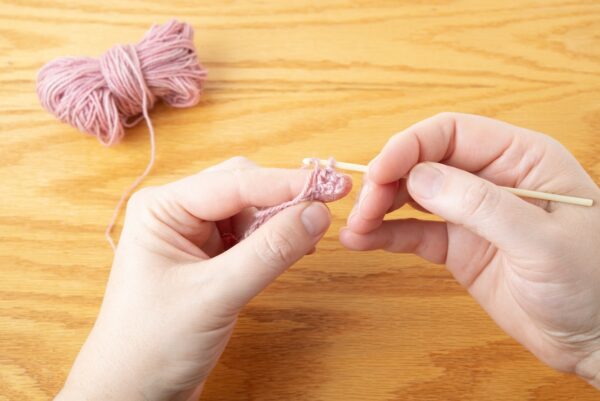
Before we get started, I wanted to share this tip I learned from my grandma on how to thread my darning needle. Step one: take your end and fold it tightly over the needle with the eye facing towards you.
-
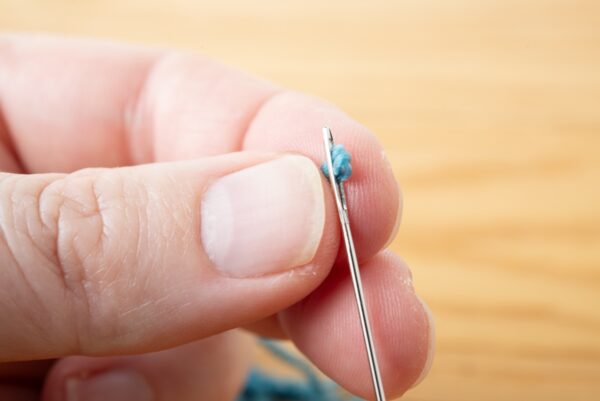
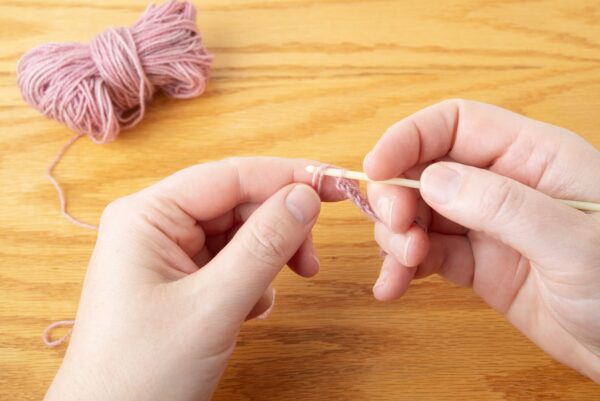
Step two: holding the fold you created, pull the needle out and turn it so that you can feed the fold through the eye of the needle.It is really important to pull the yarn tightly over the needle when you are making the fold to make it as flat as possible. Once your yarn is through, you can start to weave in your ends.
On Tight, Closed Crocheted Fabric
-
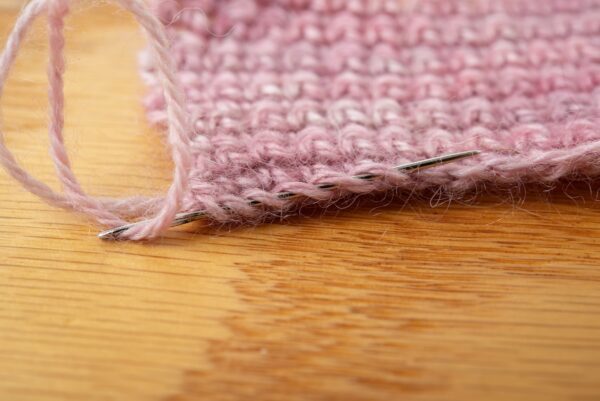
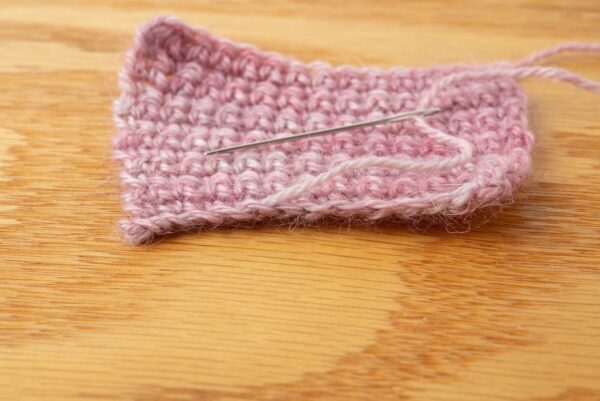
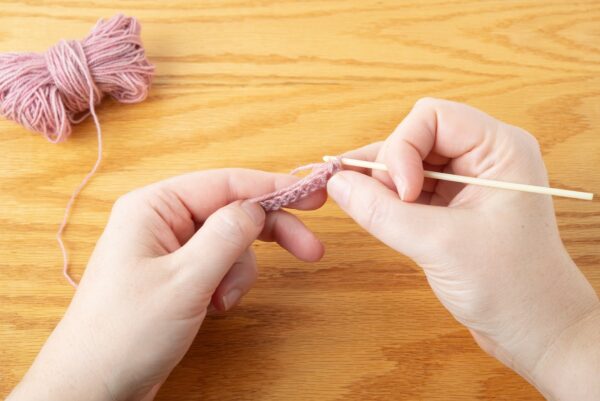
When I’m securing my ends, I always like to do this on the wrong side of my project. This helps to keep the ends a little more hidden. This first way of weaving in your end works great when you have a project that is mainly a tight, closed crochet, like the single crochet swatch shown in the photos. With your darning needle, start to weave your end back through your project, going about two inches into the project. Make sure to be aware not to push your needle through to the front side of your project. I like to wrap the yarn around my needle by going up through the bottom of the stitch and out through the top, then going back to the bottom of the next stitch and repeating.
-
Gently pull the yarn through the project, ensuring that you are not pulling too tightly and affecting your project.
-
Turn back around and weave your yarn back through in the opposite direction. Pull through gently. Notice with this step, I have moved up to the next row of the project.
-
You can also change direction by going up into the project instead of following the rows. The goal is to make it harder for the yarn to wiggle its way loose when it is being used. Once you are happy that the end is secure and you have not pulled the yarn too tightly, cut the end close to your project, and you’re done! I always like to weave in my ends before I block my project, as I feel that the blocking is an added step to secure the ends in place.
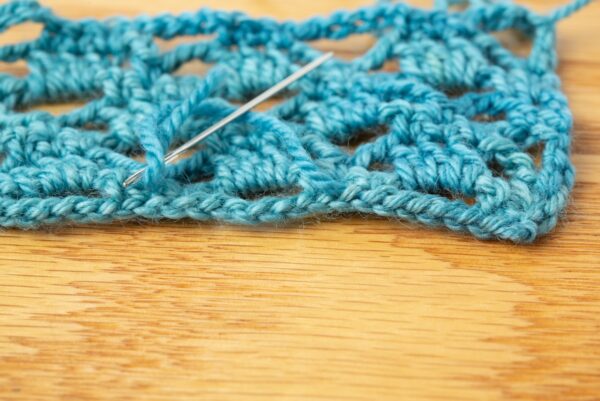
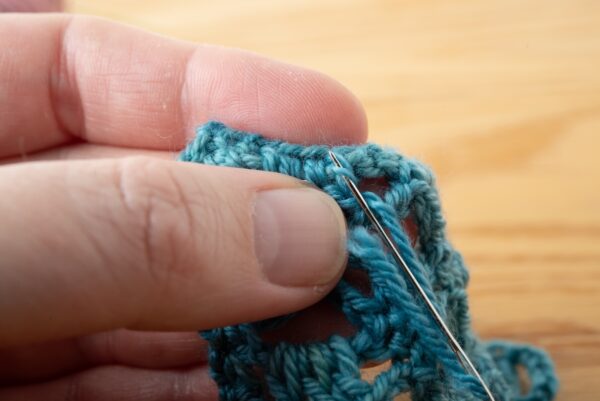
On Open, Lacy Crocheted Fabric
-
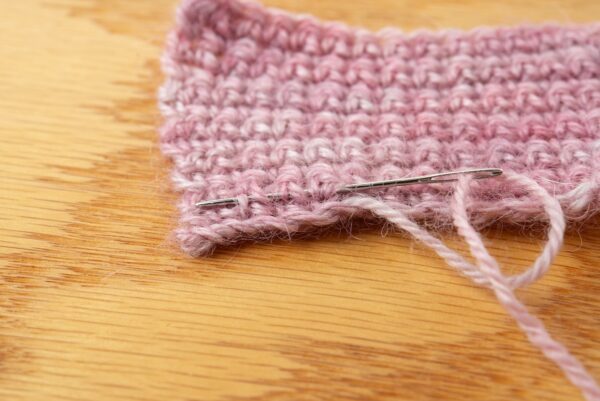
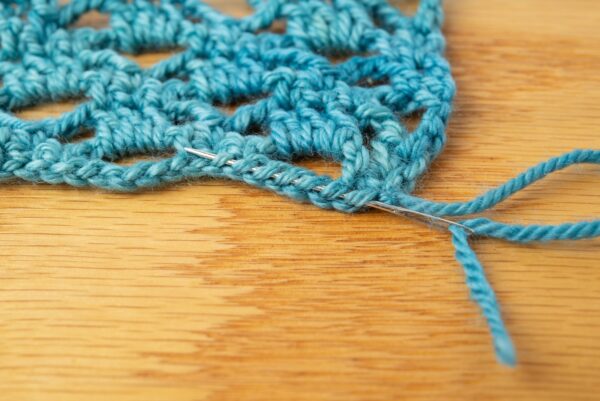
Crochet is great for open, lacy projects, but this can make it trickier to hide your ends. In cases like this, this is how I handle weaving in my ends. Weave your needle in and out through the base chain stitch about two inches into your project.
-
Gently pull the yarn through, being careful not to pull too tightly.
-
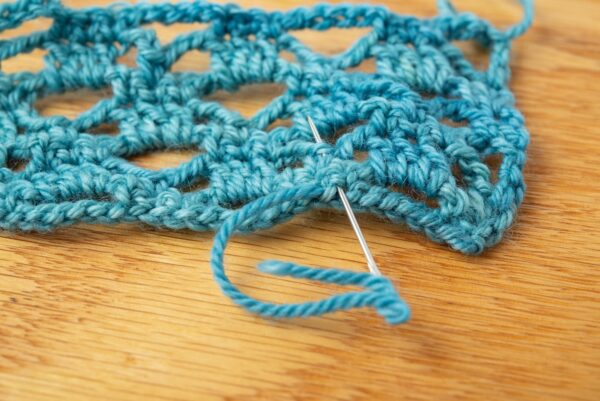
Change the direction of the needle so that the yarn becomes more secure, and repeat those last two steps.
-
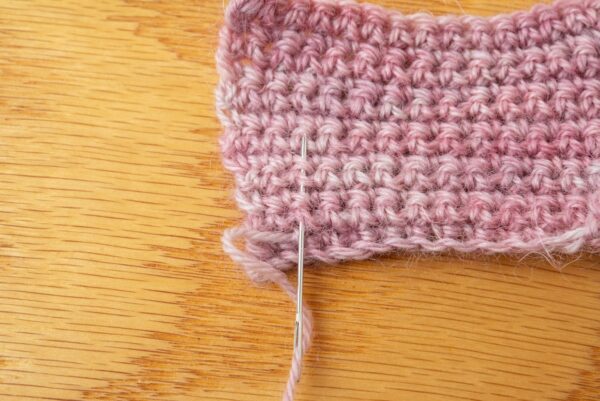
I like to continue changing the direction of my needle as I go. With open-work crochet, I also like to find some of the clusters of single or double crochets in the work and weave my needle through them, which I find makes the end more secure.
-
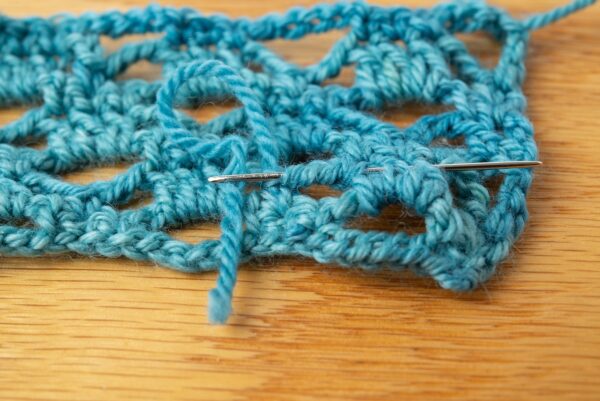
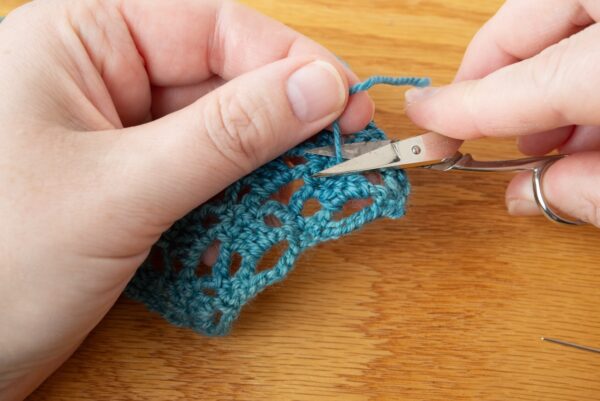
Once you’re happy with how secure your end is, cut the yarn close to the project.
Additional Tip
-
With both of these methods, one of the things I like to do as I’m gathering the stitches onto my needle is to intentionally split some of the stitches so that the needle is going through the yarn, not just around it. I like to split two or three times in each section, which provides a little more resistance to keep the end from wiggling out.
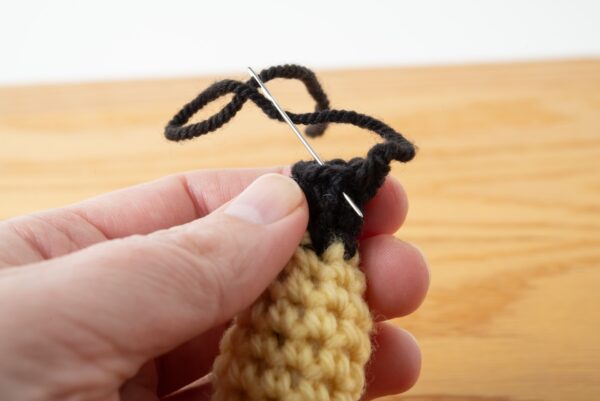
On Amiguruimi Crocheted Toys
-
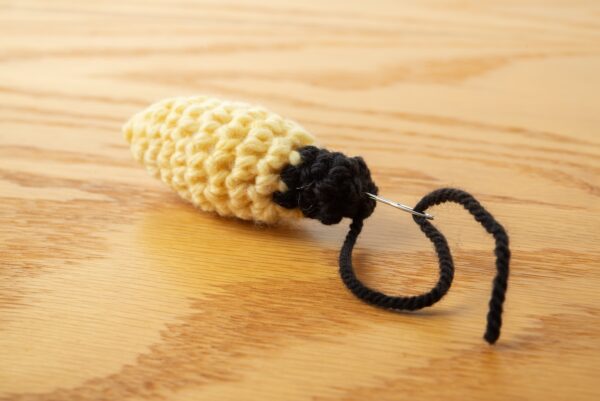
One of my favourite uses of crochet is to make amigurimis (stuffed toys), like the ones Charlotte talks about in Amigurumi: Crocheting Basic Shapes. When my kids were little, I crocheted them a whole series of food items that they loved to use. Oftentimes, when we are working in the round with crochet, the stitches form a spiral, which leaves the last stitch sticking up a little, like in the below.
-
If we pull our end through the top of the next stitch, you can see that it hides this uneven stitch easily.
-
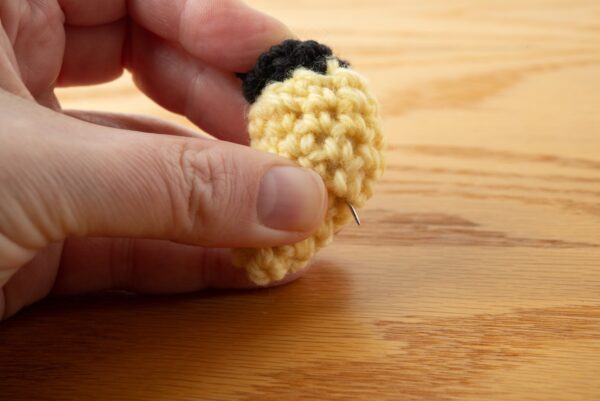
With your darning needle, weave your end back through the last round of your project. Since the wrong side of the project is inside, it can be harder to hide this. What I like to do instead is to make sure my needle goes underneath the top of my stitches.
-
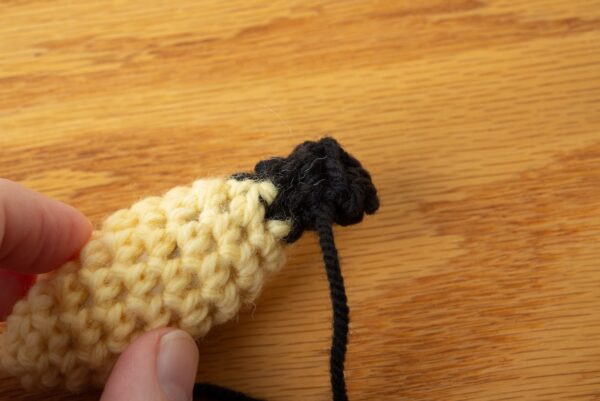
After I have done a couple of rounds of step two, I then like to poke my needle into the middle of my project and poke it out one of the sides.
-
Here it is again from a different angle.
-
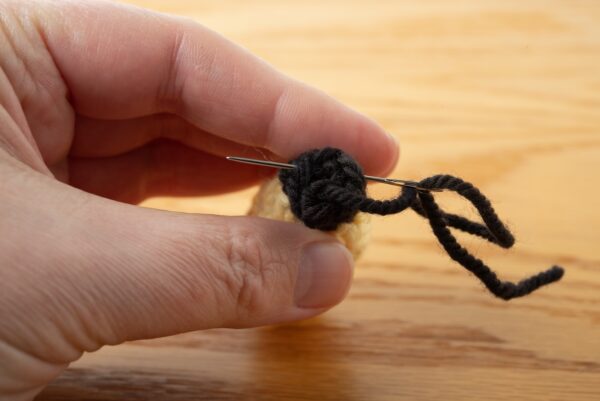
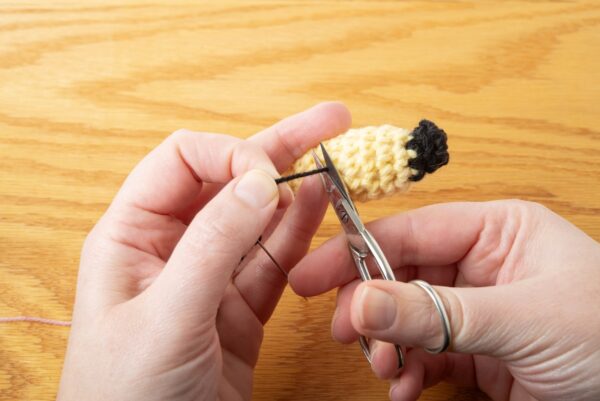
This is the only time I’ll pull tightly when I’m weaving in my end, as I want to bury my end into the stuffing. When I’ve pulled tightly, I will cut close to the project and then roll the item to reshape and hide the cut end inside the stuffing.
-
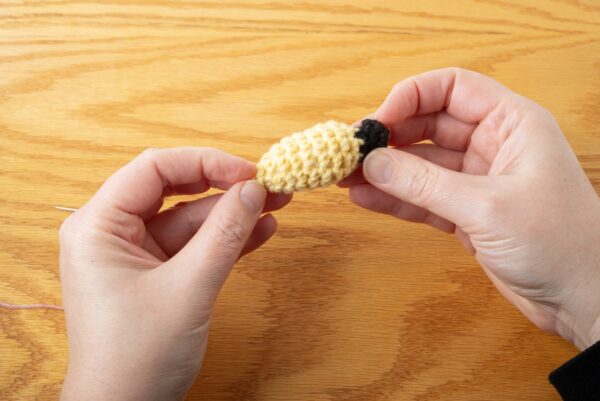
Complete!
How to Weave in Your Ends in Crochet Without a Darning Needle
Instructions
-
This last way of handling ends, I learned from my grandma, and it was how to hide my ends while I was working. In this instance, I am working a single crochet back and forth across my pattern.
-
When I get to the end of my first row, I’m going to pick up my end and hold it with my working yarn.
-
Then I work the first one or two stitches of the next row, holding these two yarns together.
-
I make this decision based on how long my cast on end tail is. I want it to be able to complete the full stitch.

-
Then I drop the end yarn hold it across the top of the row below, and crochet over the top of this yarn, making sure it is hidden inside the stitches.
-
After I have done this for a few more stitches, I cut the yarn close to the last stitch and kept working. This way, the end is secured within the work and is guaranteed to not come out.
I hope these weave-in ends methods help you with finishing your crochet projects. Happy Making!
Find more of Katrina’s articles here on SweetGeorgia and her courses at the School of SweetGeorgia!
The post How to Neatly Weave in Yarn Ends in Crochet appeared first on SweetGeorgia Yarns.


