
I measure grist for two different purposes in my spinning practice: to help with consistency and project planning. I check my grist to keep my spinning as consistent as possible from the beginning to the end of my spin. I don’t need to use a wet finished yarn; I simply measure the wraps per inch or grist every so often throughout the spin to make sure I keep on track. I do, however, use finished yarn to measure grist when planning a project. For knitting, I divide the WPI by 3. This gives me an approximation of the knit gauge in one inch for a stable, firm-ish stockinette fabric.
As I spin and monitor the grist of my yarn, I don’t worry if my measurements vary slightly. So long as most of my yarn meets my ideal WPI, it works. But if I spin without being mindful of the thickness I am striving for and don’t stop to check my grist every so often, my efforts will be thwarted.
What is Grist
First, let’s take a step back and look at the definition of grist. Grist is the measurement of the linear density of yarn, the length of yarn in a given weight of yarn. The more yards in the given weight, the finer the yarn. The fewer yards there are in that same weight, the thicker the yarn. Spinners get a rough estimate of the thickness of a yarn by measuring its WPI. But to obtain a more meaningful measurement, grist is calculated by measuring the number of yards in a skein per pound* of wool. This is referred to as yards per pound (YPP). The more yardage in a pound, the higher the YPP number and the thinner the yarn.
*Note: Yarn can be measured in YPP (yards per pound) or MPK (metres per kilogram).
If you want more details on how to measure YPP or MPK, my course, Nuances to Spinning Better Yarns, includes a download of the Yarn Assessment PDF for School of SweetGeorgia All-Access Members. SweetGeorgia also has an article, The Dish on Grist: Yards Per Pound in Handspinning, by Debbie Held, which also explains how to measure YPP.
How to Avoid Skewing Your Count
Below are some tips on how to measure grist as accurately as humanly possible.
Measuring Average Wraps Per Inch
Many spinners measure fine, medium, and thick yarns over 0.5”, 1”, and 2”, respectively. They then do the math to figure out what the WPI measurement would be in one inch. Because my spinning can be a bit thicker or thinner in some spots than others, I prefer to measure the average WPI in my skeins. I do this by measuring the WPI in 6-8 different spots in the skein and dividing by 6 or 8, accordingly. The three different methods I use to measure WPI are described below.
Dowels
When wrapping yarn around a dowel or a pencil, I need to make sure I don’t stretch the yarn, or I risk thinning the yarn and causing the WPI to read a bit higher. I also need to make sure the strands are not wrapped so close that the WPI count is skewed. When taking a WPI count, strands should be relaxed and lay nicely side by side without being squished together.
Another way to avoid a false reading is to roll the yarn onto, not wind the yarn around, the dowel. Rolling the yarn onto the dowel ensures I do not add or remove twist as I wrap. Adding twist will make the yarn thinner and results in a higher WPI count. Removing twist causes the yarn to measure a little thicker and results in fewer WPI.
Ruler
Just like the dowel, the yarn should not be under tension as I wind. I need to make sure I don’t squish the strands together and that the yarn is rolled onto the ruler. To avoid a false reading using a ruler, I loosely roll each wrap onto the ruler at an angle and then slide the yarn wraps into place.
I usually use either the dowel or ruler method to determine the WPI in sample skeins. These sample skeins usually weigh about 10 grams. To get an average WPI, I take measurements from 3 different spots in these smaller skeins.

Skein Strands
This method is one I learned from Greta at the School of SweetGeorgia for measuring WPI in larger skeins once I have finished spinning for a project. I lay several strands of a skein across the one-inch measure of my yarn gauge. One advantage to measuring the WPI this way is there is no tension on the yarn as I measure. The second advantage is that I am not counting the WPI in a continuous length of yarn. My spinning is not perfectly even, some strands in my handspun can be a little thicker or thinner than others. Because the method Greta shared measures a broader range of strands, and in turn thicknesses within my skein, it helps me measure the average WPI. And yes, as with the dowel or the ruler, I measure in 6 to 8 different spots in the skein and then take that average as my WPI count.
Wraps Per Inch & Yards Per Pound Tools
There are several tools on the market for measuring WPI & YPP.
WPI Yarn Gauge
Measuring WPI with your gauge can be as simple as using an embroidery bobbin (which has a span of 1 inch) from end to end, a ruler, or a pencil, as explained above. If you prefer a more official-looking gauge, the SweetGeorgia shop carries several options from Schacht and Ashford, as well as their SweetGeorgia WPI Spinning Gauge.

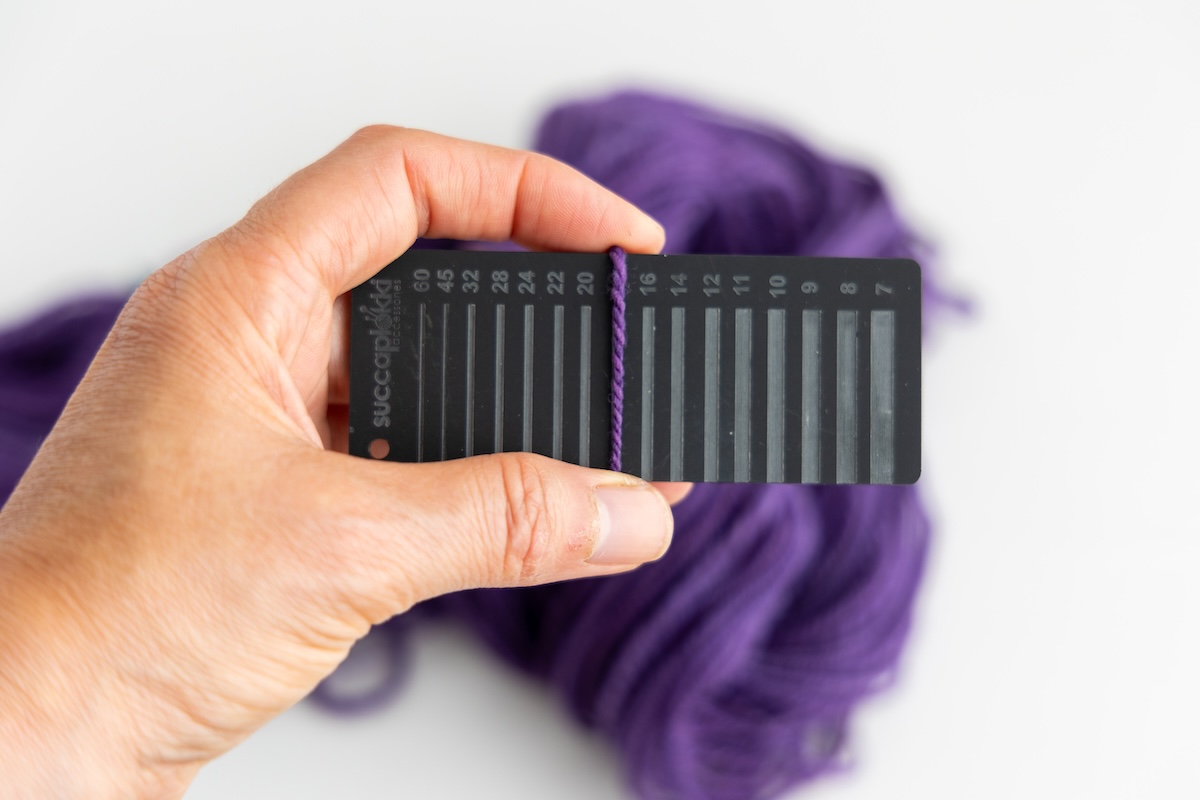
Spinning WPI Card
These cards are marked with either lines or slots of different thicknesses chiselled into them. The one I own is made in Finland by Succapløkki and measures from 7 to 60 WPI. When using this tool, I take the WPI count in eight different spots, add the eight numbers together, and divide by eight to get an average.
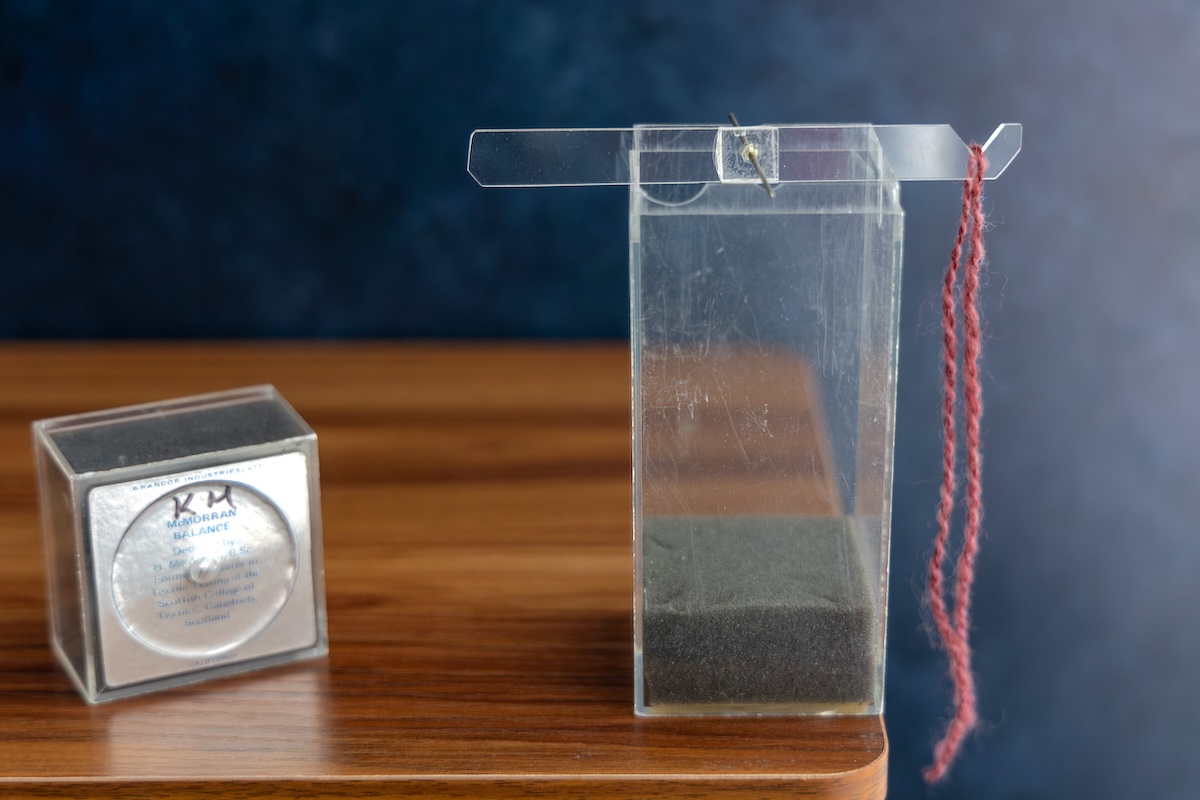
McMorran Balance
This tool is often used by weavers to measure YPP. To measure the YPP, place the balance at the edge of a counter and place a length of yarn in the notch on the arm. Trim the yarn until the arm sits horizontally. Then remove the yarn and measure its length. If the yarn measures 12”, multiply 12 by 100 to get the estimated YPP; 1,200 YPP. I feel this tool is best used for commercial yarn. Handspun is just not as consistent as commercial yarn. No matter how good a spinner you are, some areas will be lighter or denser or thinner or thicker than others.
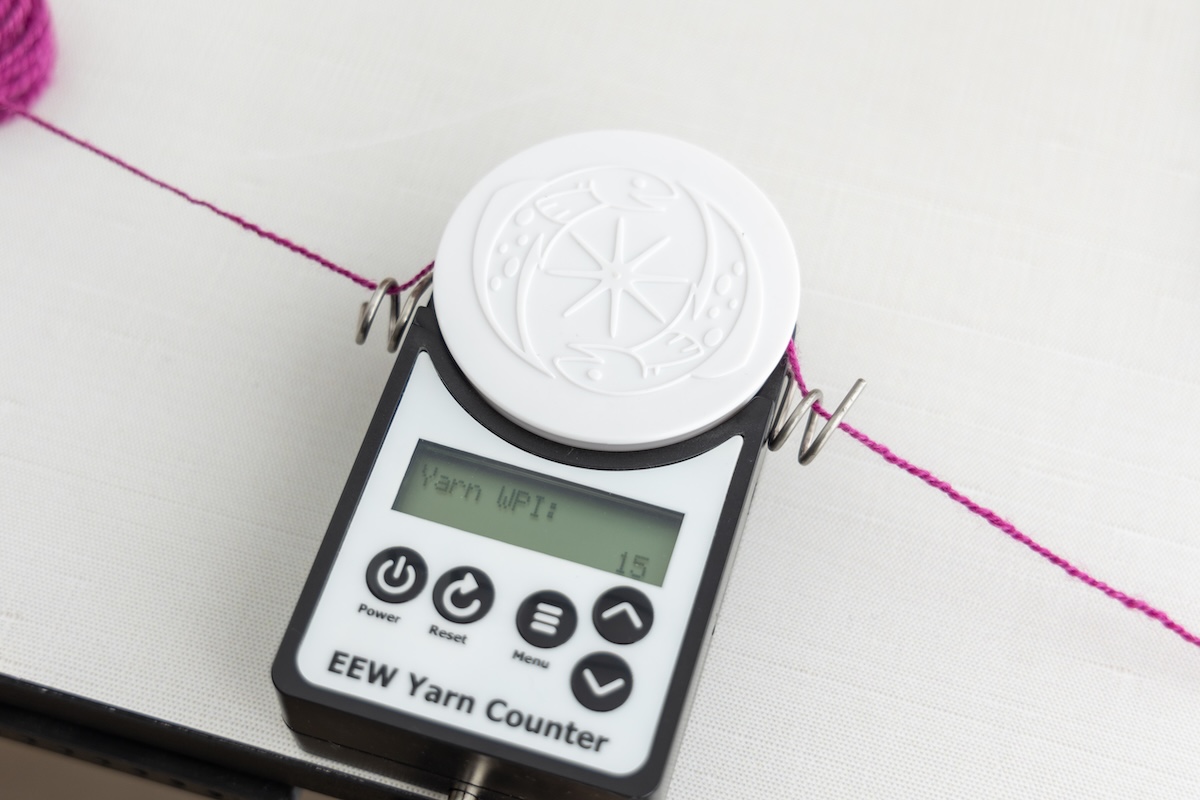
EEW Yarn Counter
This tool is made by a company called Dreaming Robots. The counter measures the length of yarn in yards or metres as you wind the yarn onto a bobbin or ball winder. With this tool, it is important there is no tension on the skein or ball of yarn as you wind. When under tension, the yarn stretches and the measurement will be longer than if the yarn was relaxed.
Achieving Grist: How Does Your Handspun Yarn Measure Up?
Now, let’s say that I’ve chosen a pattern, and it recommends a certain brand of yarn. An online search reveals the yarn is sport weight and 100% wool. It is sold in 56-gram balls measuring 210 yds/192 m each. The recommended knit gauge is 6 to 7 stitches per inch using 2.75 mm to 3.25 mm needles. For the project size I plan to knit, the pattern recommends three balls, or 162 grams, of yarn. To be on the safe side, I factor in a 10% contingency, round up, and pull 180 grams of Bluefaced Leicester from my stash. Before I start spinning, I consult Ravelry’s Standard Yarn Weights Chart. The knitting gauge recommended in the guidelines for a sport weight yarn is 24-26 stitches in four inches, which is 6 to 6.5 stitches per inch, with a wraps per inch* (WPI) of 12. Now, I am all set to go. I spin the singles, ply them together, finish the yarn, and measure the skein.
But for some reason, I came up short of the yardage needed for the project. How could this happen? After all, I know how to measure WPI. So, knowing I was careful when I measured the WPI, what elements in the construction of my handspun might have affected the outcome of the YPP?
Understanding Factors for Grist on Commercial Yarn
When trying to attain a certain grist, it is important to gather as much information as we can from the pattern and the specs of the yarn we are trying to create. Knowing the fibre type or breed is helpful. But, we also need to ask ourselves a few more questions. Is it a woollen or a worsted spun yarn? Does it have a soft, medium or hard angle of twist? All this information helps us make informed choices as we choose our fibre, decide on the fibre preparation method, figure out whether to spin with a woollen or worsted draft and decide how much twist to add. Measuring the grist of our singles as we spin for a project helps us to achieve consistency. Understanding how to accurately measure the WPI and YPP of our wet-finished handspun and being mindful of the elements that can affect the YPP will help us come a little closer to the mark.
Fibre Choice
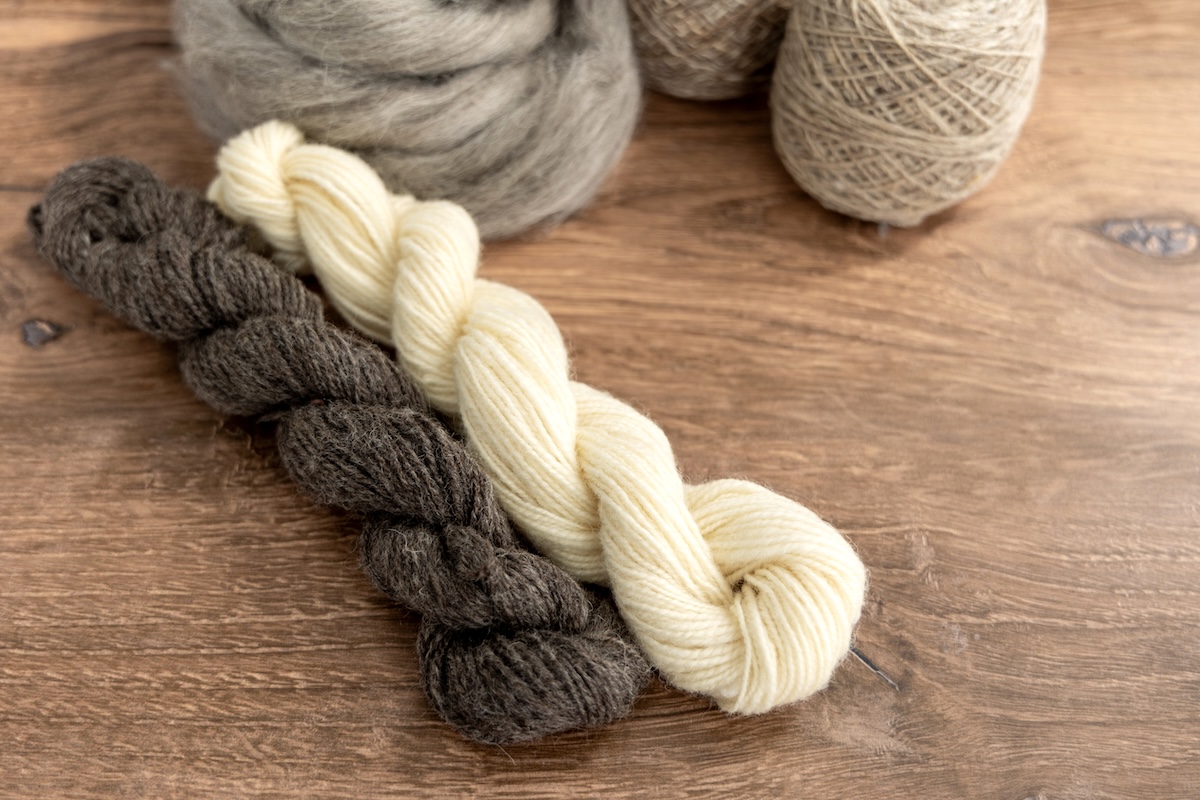
Yarn specifications found online may not include the breed of sheep. Fibre from the different sheep breeds behave differently when spun. In my experience, I have found if I take fibre from two very different breed types, prepare and spin their singles the same way and to the same thickness, their yardage can still be different. Some wools also feel denser, heavier, or weightier to me than others, but I have yet to find any documentation to support this observation. Higher crimped wools are usually finer, have more crimp and trap more air between the individual fibres. Lower crimped wools are usually thicker, have less crimp, lay flatter, and do not trap as much air. So, even when spun to the same grist, the finer fibres will render more yardage. My difficulty in achieving the same YPP, therefore, may be a result of my choice of breed. The same goes for other protein fibres; I cannot simply substitute alpaca, llama, mohair, angora, etc., in place of wool and expect the same yardage.
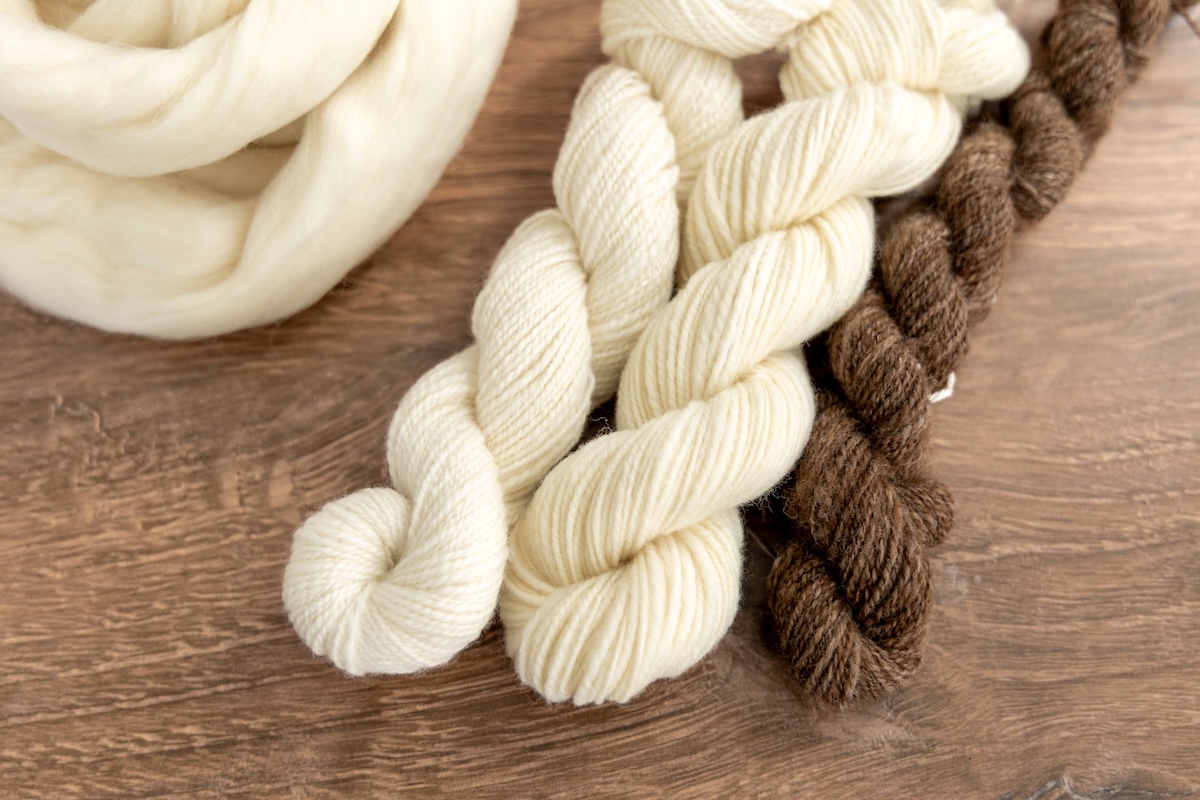
From left to right: Merino, Rambouillet, and Cormo handspun yarn.
If the commercial yarn is a blend, I must recognize not all protein fibres are of the same density. Silk and cashmere, for example, are lightweight fibres. A wool/silk or wool/cashmere blend will produce more yardage than the wool alone. The same is true of wool blended with silk versus regenerated cellulose fibres. Wool/silk blends generally produce more yardage than wool/viscose, wool/rayon or wool/bamboo blends.
Woollen versus Worsted Spun Yarns Fibre Prep
To help me come closer to the YPP of the yarn I am trying to achieve, I can’t just spin the yarn for the pattern I wish to knit using my signature/default yarn. I need to take into account how the recommended yarn was prepared and spun. A yarn that has been prepared woollen (carded into a rolag) and spun woollen (spun with the draft twist working between my two hands) contains more air. So, although a woollen yarn may measure to the same wraps per inch as a worsted yarn that has been prepared worsted (combed into a sliver) and spun worsted (spun with the twist working between the orifice and the forward hand), the woollen yarn will be lighter and produce more yardage.
Whether a yarn has been spun woollen or worsted is not always noted in yarn specs. For this assessment, I must use my powers of observation. If it was spun woollen, I would see a jumble of fibres when I look at the yarn through a magnifying lens. If it was spun worsted, a peek with a magnifying lens will confirm that the fibres in each of the strands/singles run almost parallel to the yarn’s length. A 2-ply woollen spun yarn will also have more nap (appear to have a hairier surface), appear plumper, have a rounder cross-section, and more loft. A 2-ply worsted spun yarn will be less hairy, have a smoother surface, lay flatter, have more of an oval cross-section, and more drape.
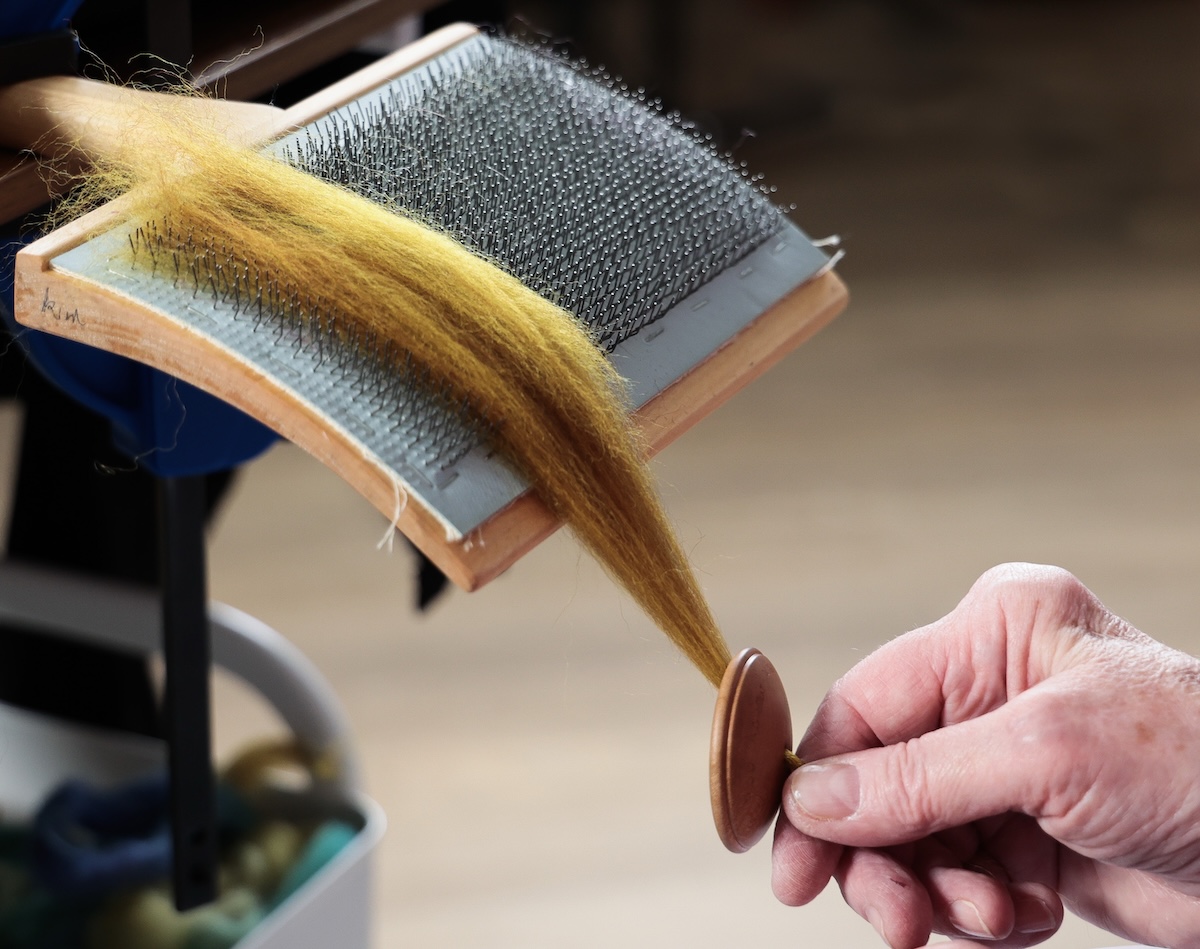
Once I have identified the spinning draft, I can proceed with fibre preparation. Rolags for woollen. Pre-drafted or combed slivers for worsted. I must also keep in mind that pre-drafting a rolag removes some of that air. Pre-drafting a sliver, on the other hand, adds more air. Less air equals less yardage; more air equals more yardage.
Want to learn more? Explore my course Working from Fleece at the School of SweetGeorgia.
Plying
Another measurement that helps me come closer to the yardage I seek is paying attention to the angle of twist (AoT). A yarn spun and plied with more twist will result in less yardage than the same yarn spun with less twist.
Learn my favourite tips about plying in the lesson Plying Through the Rings: Update Version, Nuances to Spinning Better Yarns course in the School of SweetGeorgia.
Finishing
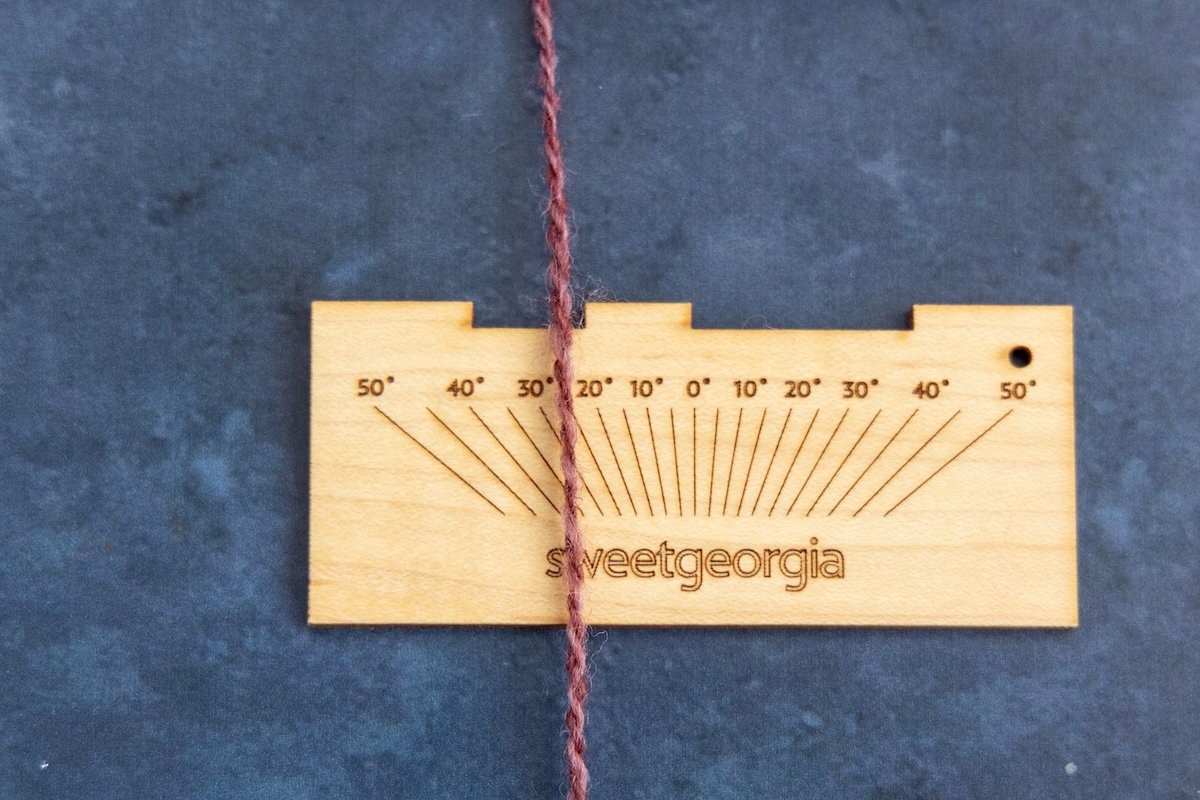
My choice of finishing technique can also affect my WPI and YPP. Depending on the method I choose, I can amplify or minimize loft in my handspun. Let’s say I have prepared some Bluefaced Leicester (BFL) fibre using the Preparing Fibre with One Hand Card & a Diz method, spun it with a backward worsted draft and plied it to a medium twist angle*. If I finish the yarn with a simple soak in a warm water/soap bath followed by a clear rinse, the yarn will not increase significantly in bulk. The stove-top finishing method, on the other hand, significantly increases the bulk of this yarn. An increase in the loft or bulk, in turn, decreases the WPI measurement. *See the Twist Gauge article and download the Twist Gauge PDF for a twist softness and angle twist chart.
I can compare how different finishing methods affect yardage with as little as 3 yards of handspun. A simple warm water/soap soak followed by a warm water rinse does not significantly change the character of my handspun. So, 3 yards is enough to give me a 20-inch sample to investigate up to three finishing methods. I prepare four 20-inch samples by tying a knot in one end, measuring off 20 inches and tying a second knot at the other end to mark the end of the 20-inch length. One strand is my control, while the other three will serve to test different finishing methods.
Why 20 inches? Once the yarn is finished, I can measure the distance between the knots. Then, I divide the measurement by 2. Let’s say after finishing that this sample measures 18 inches. To quickly calculate the percentage the yarn shrank, half of 18 inches is 9 inches. This means a 10-inch length shrank one inch or 10%. Shrinking 10% means 10% less yardage. This is a very useful number for me to know and factor into my project planning.
Taking the WPI from finished, as opposed to unfinished, samples gives me a truer WPI measurement. Finishing a 20-inch sample and calculating its thickness with a WPI measurement gives me quite a bit of information on the characteristics of the yarn and an approximation of the yardage I can expect, respectively. I can get an approximation of the yardage by cross-referencing the WPI count with Ravelry’s Standard Yarn Weights Chart.

If you want to learn the different finishing techniques along with me, explore my course Working From Fleece, which has a whole lesson devoted to finishing handspun yarn in the School of SweetGeorgia.
Yards Per Pound/YPP
Before starting a project, however, I need a more accurate assessment of the yardage. This is why I spin and finish a small (20 to 30 gram) sample skein and calculate its YPP. If I am concerned I may not have enough fibre for the project, I also knit a swatch from the small sample skein to help me double-check my numbers.
The characteristics I can assess in the 20-inch length of finished yarn:
- The appearance of the yarn’s surface. Is it smooth or hairy? Does it have a halo?
- Has the diameter of the yarn increased? This is determined by measuring the wraps per inch.
- Is the yarn rendered light and airy or more dense and firm? I test this by placing the yarn between my thumb and forefinger, applying pressure to the yarn and pulling the yarn through my fingers.
- The percent of shrinkage (as described above).
- Did the method help to even out the twist. This is assessed easily by simply laying the finished and unfinished yarns side by side and comparing the two.
- Is my handspun destined for a next-to-the-skin knit or an outer garment knit? I test this by folding the yarn a few times and rubbing it against my neck, my lips and last but not least, the inside of my wrist.
- How the finishing method affected the yarn’s elasticity. I test for elasticity by holding each yarn in place at the knot on one end and compare how far each of them can be stretched when I pull on the other end.
- Does the finishing method appear to have improved the cohesiveness of the handspun?
Final Thoughts
Although this is a rather long article, it takes a little over an hour for me to find the yarn specifications online, analyze the yarn I wish to spin, spin and ply 3 yards of handspun, and test up to three finishing methods. To me, this is time well spent. The time I spend upfront can save me hours in the long run.
Below are a few articles, books and a course that will further cement your understanding of the characteristics of wool from different sheep breeds, grist, WPI, YPP and gauge.
- The Dish on Grist: Understanding Yards Per Pound in Handspinning, Debbie Held, 2023 (SweetGeorgia Yarns)
- Avoid The Wrap: How To Use Math To Estimate Yarn Diameter, Amanda Buckley, 2023 (School of SweetGeorgia)
- Demystifying Yarn Weight, Tabetha Hedrick, 2023 (SweetGeorgia Yarns)
- A Weaving Tool: Ashenhurst’s Rule, Peggy Osterkamp 2013
- Mastering Gauge, Tabetha Hedrick, 2021 (School of SweetGeorgia)
- The Alden Amos Big Book of Handspinning, Alden Amos, 2001 (Interweave Press LLC)
- The Fleece and Fiber Sourcebook, Deborah Robson and Carol Ekarius, 2011 (Storey Pub)
- In Sheep’s Clothing, A Handspinner’s Guide to Wool, Nola Fournier and Jan Fournier, 1995 (Interweave)
- Taking the Measure of Handspun Yarn, Rita Buchanan (Spin Off Magazine)
- Grist calculator, Becks, (Tiny Fibre Studio)
The post How to Achieve Grist & Avoid Skewing Your Count appeared first on SweetGeorgia Yarns.


