
It’s always a good thing to have a variety of tools, skills, and strategies in your spinning toolkit. A vast and deep spinning toolkit means that you have a lot of choices when making yarn. Chain plying, sometimes known as Navajo plying is one such strategy to have in your toolkit.
Chain plying allows you to create a three-ply (looking) yarn from one set of singles yarn. That feels like a bonus because you don’t need to spin three bobbins of singles to start plying. Additionally, you don’t need to have four bobbins available (three for the singles yarn and one for the plied yarn) and a place to tension the three bobbins containing three sets of singles yarn. Chain plying is like a shortcut for making three-ply yarn. But it’s not all sunny days. There are advantages and drawbacks of this kind of plying. Let’s have a deeper look.
What Is It?
Chain plying is the action of making a three-ply-looking yarn from one set of singles. You do it by creating long chains, like a crochet chain, from a singles yarn. Like a traditional three-ply, it is a round yarn. But where a traditional three-ply allows for the thin and thicker parts of a singles yarn to even out somewhat, a chain-ply may accentuate these thicker and thinner sections.
A minor disadvantage of this technique is that small bumps form in the place where you make the loops. This technique relies on the fibre’s ability to fold or bend to make the loop. Some fibres resist this fold, and the loop stays open, or at least much more noticeable than when using fibres that invite the fold – like fine wool or wool blends. I encourage you to do a small sample or test to see how the loops will behave before you embark on chain-plying an entire bobbin.
When to Use It?
- Chain plying is an excellent way to preserve colour transitions when making an ombre or gradient yarn. This technique maintains sections of colour when working with handpainted combed top or roving.
- Chain plying is also a great way to make a three-strand yarn from yarn on a single bobbin or spindle. I love the look and roundness of a three-ply yarn, but I lack the attention span to work with three bobbins of singles to get a three-ply yarn.
- Additionally, chain plying can allow me to do a quick sample to see what a three-ply yarn would look like.
How to Do It!
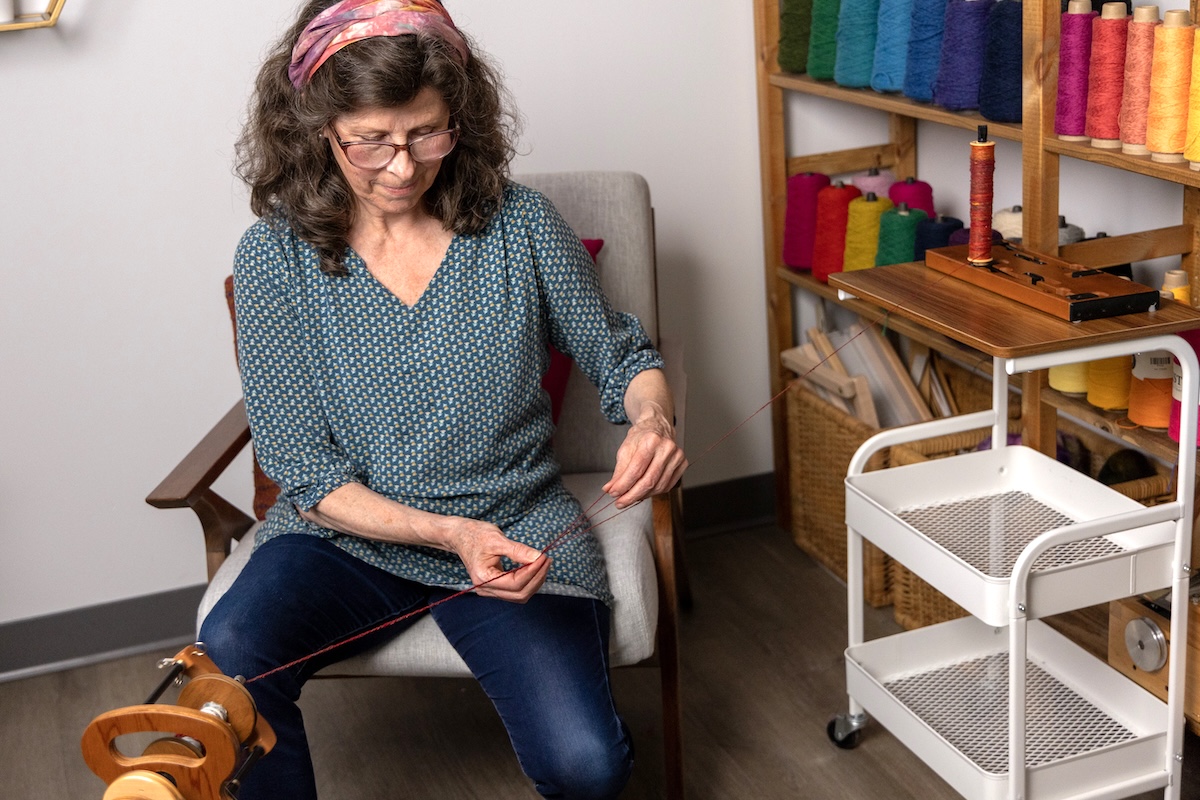
Chain Plying on a Spinning Wheel or e-Spinner
Instructions
-
Adjust your tension so there is a good pull to bring yarn into the bobbin – do this with your leader.
-
Attach the singles yarn to the leader loop. Make sure your bobbin with the singles yarn is well tensioned so it releases the yarn readily but doesn’t allow it to backspin.
-
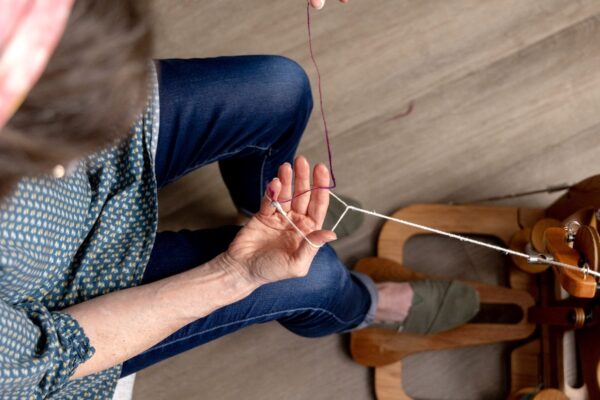
Pull a loop through the leader loop.
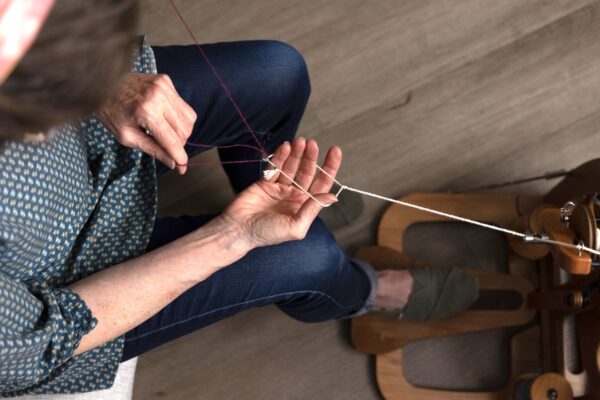
-
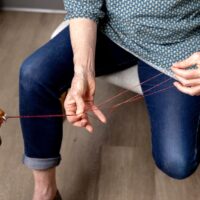
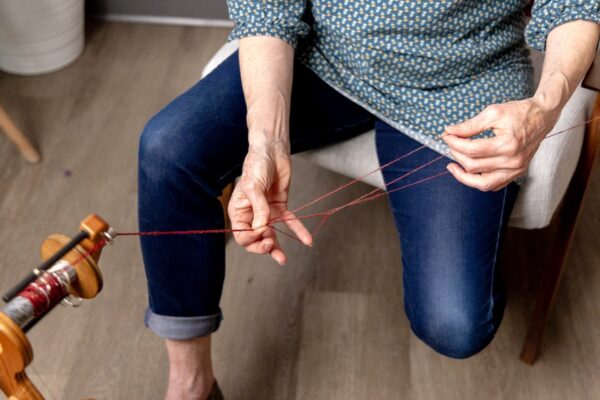
One hand is controlling the singles yarn from the bobbin (or plying ball); the other continues pulling a loop.
-
As the loop enlarges, more singles yarn comes from the bobbin or plying ball.
-
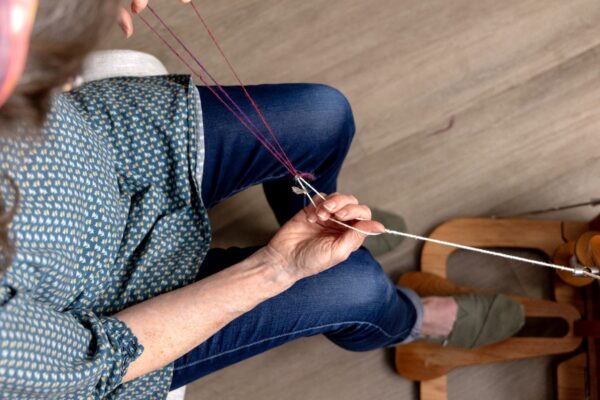
When you feel the loop is large enough, bring the singles yarn up alongside the loop, aiming for the top of the loop.
-
With this yarn brought up alongside the loop, make a new loop at the top of the larger loop (this is the new loop for the next make), pinch this area to keep twist away from the new loop.
-
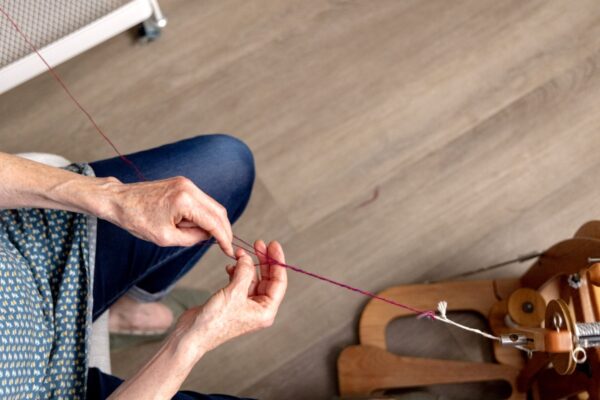
Add ply twist, singles spun to the right (S-clockwise) and plied to the left (Z-counter-clockwise).
-
And repeat from step 3.
-
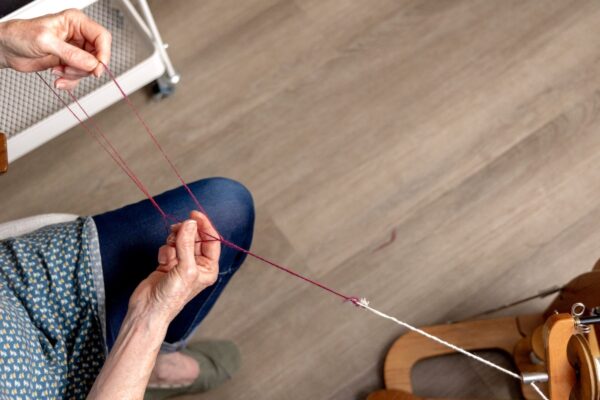
Tip: Once you establish a smooth rhythm, use your pinky to hold the loop open, making the plying experience easier.
Video
Notes

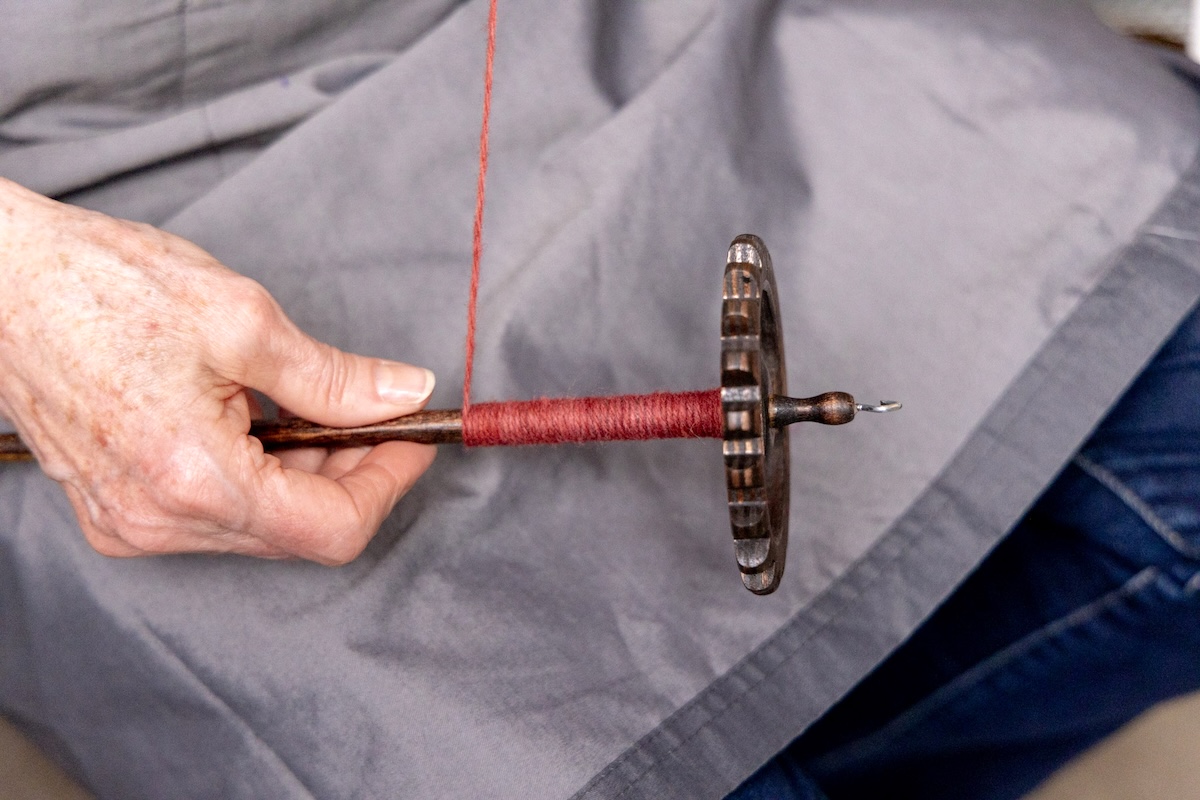
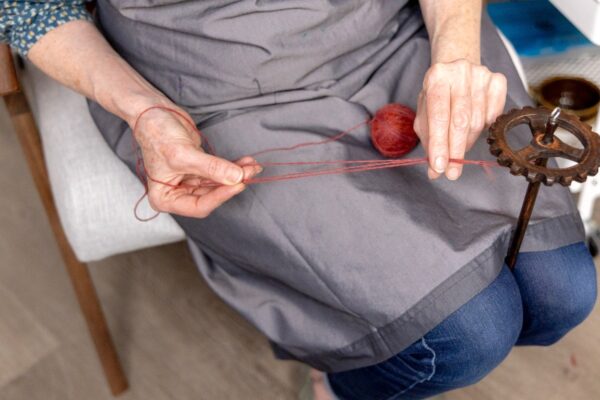
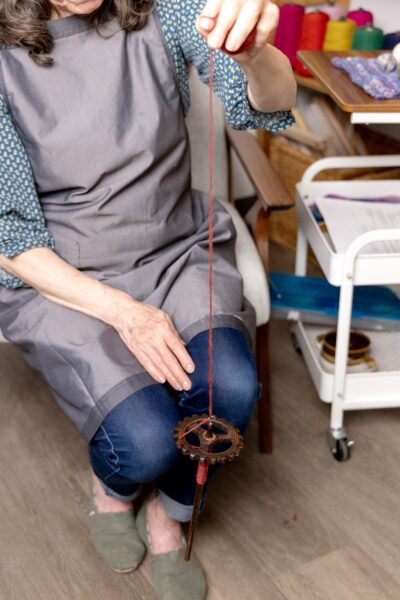
Chain Plying on a Top Whorl Spindle
Instructions
-
Attach the end of the singles yarn (wound into a plying ball) to the shaft of your spindle by tying a knot. Park the spindle.
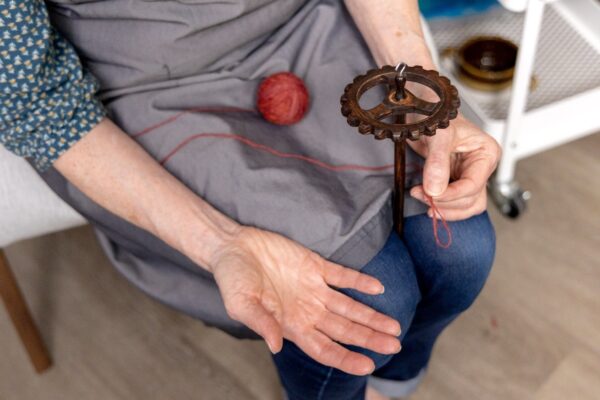
-
Pull a loop of singles yarn through the space between the yarn and the shaft with one hand controlling the singles yarn in plying ball format; the other is pulling a loop.
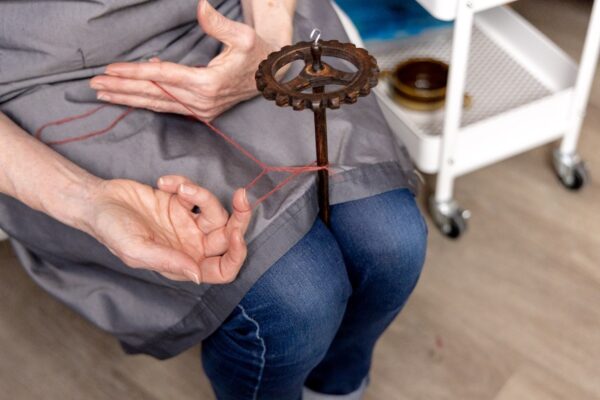
-
As the loop enlarges, more of the singles yarn comes from the plying ball.
-
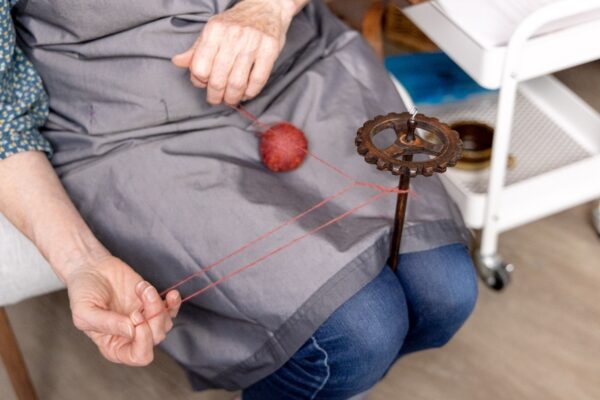
When you feel the loop is large enough, bring the singles yarn up alongside the loop, aiming for the top of the loop.
-
With this yarn brought up alongside the loop, make a new loop at the top of the larger loop (this is the new loop for the next make), pinch this area to keep twist away from the new loop.

-
Suspend the spindle and add ply twist, singles spun to the right (S-clockwise) and plied to the left (Z-counter-clockwise).
-
And repeat from step two.
Video
Final Thoughts
I finish my chain-plied yarn the same way I finish other yarns; I give them a good 20-minute soak in hot soapy water and rinse in hot water. If I want the yarn to have a smooth finish, I will resist the urge to thwack the yarn and instead will let it lay flat on a towel for an hour or so and then hang it to dry.
Chain plying feels a bit awkward at the beginning, whether you are using a wheel or a spindle. Go slowly at the start, and once you find the rhythm, and you will, you can speed up a bit. Or you can keep it slow and deliberate, enjoying the motions and the look of the yarn you are making and being grateful for another tool in your spinning toolkit.
Find more of my SweetGeorgia articles here and my School of SweetGeorgia courses here.
The post Chain Plying: On a Wheel or a Spindle appeared first on SweetGeorgia Yarns.


