
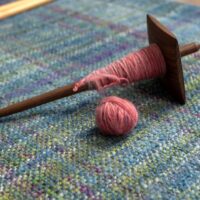
Bracelet plying is simply one of the coolest tools to have in a spinner’s toolkit. It gains the status of being cool because it is an ultra-efficient way to make a structure that allows you to have access to both ends of the singles yarn using only your hand. Think of the times you have come to the end of plying for a two-ply yarn and one of the bobbins comes to an end before the other one. With bracelet plying, you can quickly solve the problem and get back on your way plying a two-ply yarn, and you don’t even have to leave your seat.
While there are some variations on the theme in terms of method and also variations on what it is called (some refer to it as Andean plying), making a plying bracelet involves winding the singles yarn back and forth around your hand (preferably the one that would hold the singles in tension) using the middle finger as a pivot point, with the intention of having ready access to the start and end of the singles yarn, so you can line them up and make a two-ply yarn with ply twist. It uses the active twist in your singles yarn to keep it snug against your wrist.
How to Make & Use a Plying Bracelet
Instructions
How to Make a Plying Bracelet
-
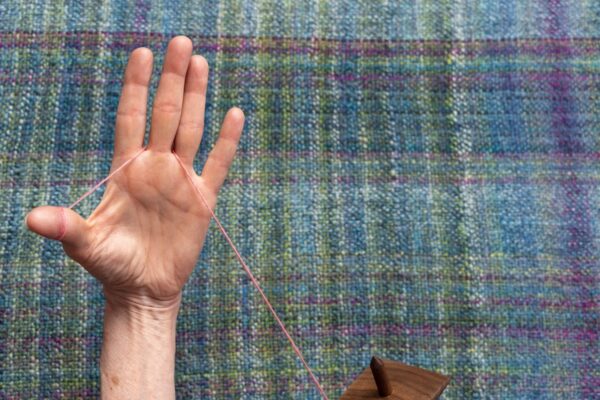
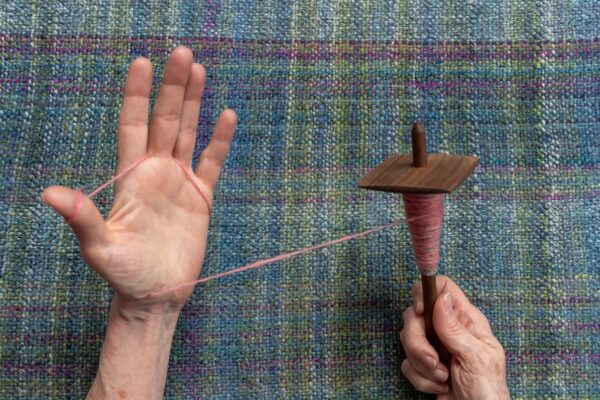
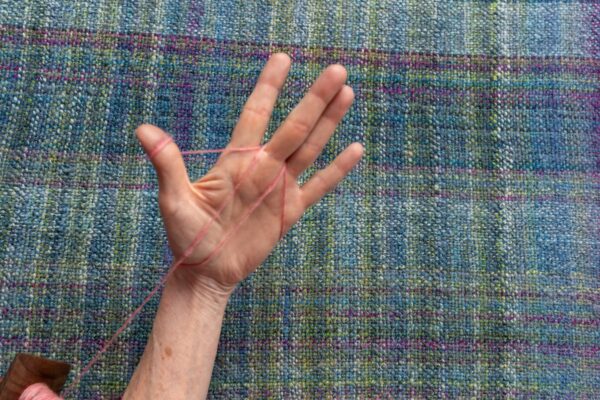
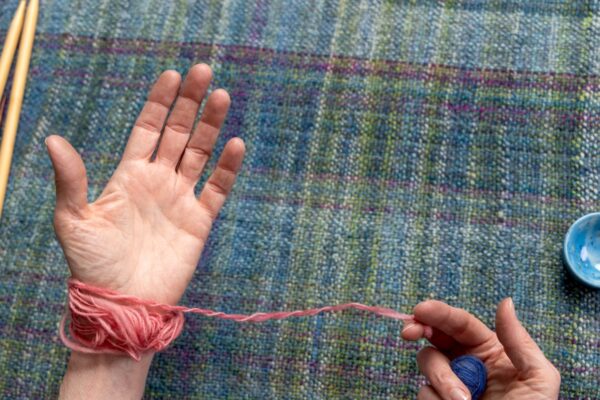
Anchor the singles yarn onto your hand by wrapping it a few times around your thumb. You want to be able to freely access this end of the yarn when the bracelet winding is complete.
-
From the thumb anchor, bring the yarn behind your middle finger.
-
Now, move the singles around the wrist, starting at the far end of the palm and ending back at the thumb.
-
Bring the singles yarn from the back of the hand up around the middle finger, coming back down at the thumb.
-
Back down around the wrist (the way you came). Flipping your palm makes it easier to move around the wrist.
-
Wind the singles yarn up the far side of the middle finger.
-
Back down the way you came and around the wrist.
-
Repeat from 3 to 9 over and over until you run out of singles yarn. After a while, you will develop a nice rhythm. Go slowly at the start so you can get in the flow of the gestures, and you will speed up in no time. When you are finished winding all your singles into a bracelet, temporarily anchor the end of the singles around a digit.
How to Use a Plying Bracelet
-
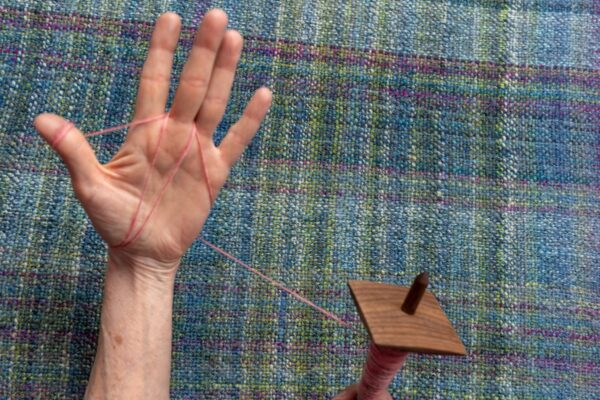
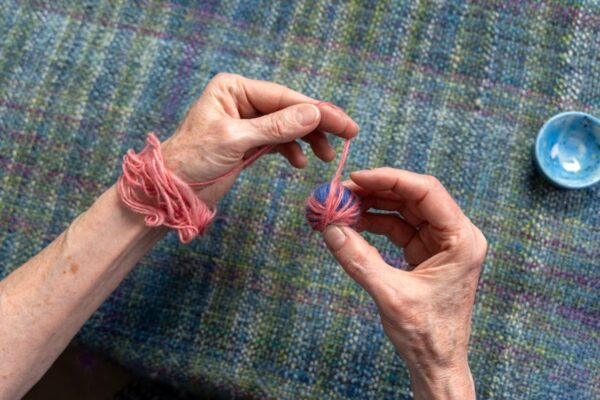
Now you have ready access to both ends of the long piece of singles yarn. Locate both ends and tie a loose knot to hold them together.
-
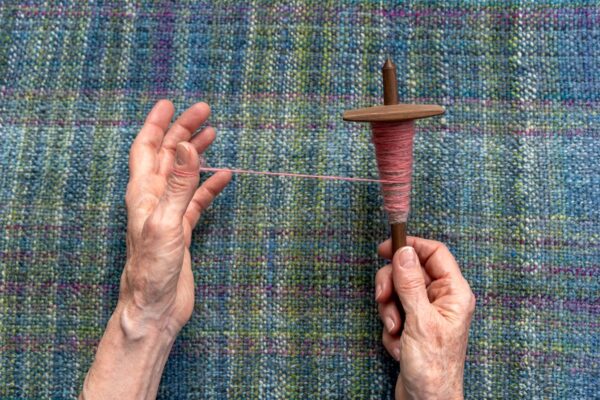
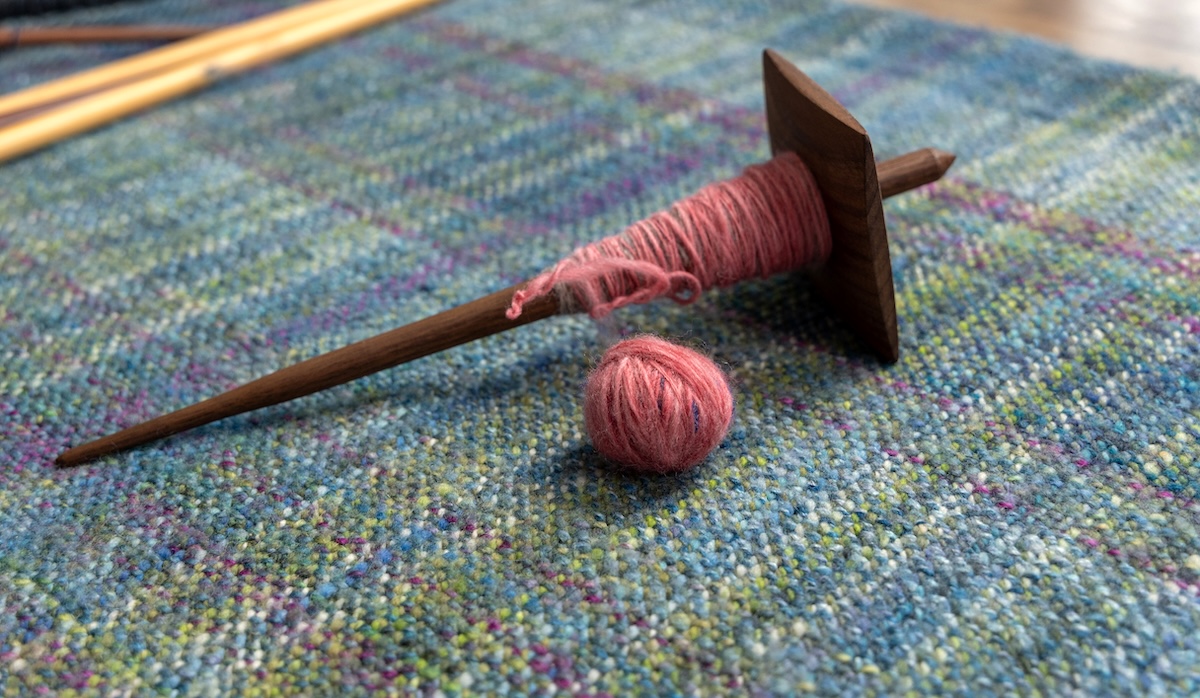
Retrieve your leader (wheel, spindle, or plying ball alike) and prepare it for plying.
-
Gently release the yarn from your middle finger and move the bracelet to your wrist.
-
Attach the tied ends to the end of your leader (wheel or spindle) and start adding plying twist, or wind onto your plying ball.
-
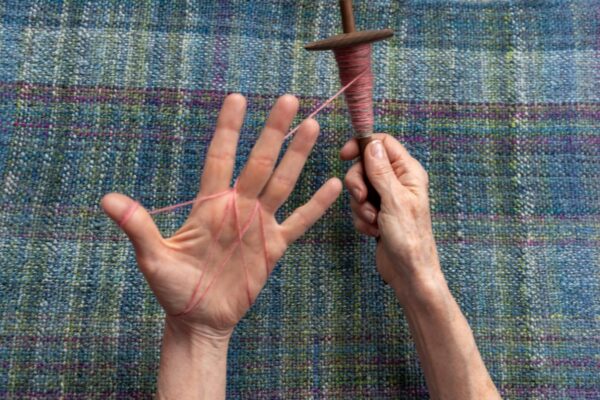
You will need to do a slight rocking motion back and forth to gently release the singles yarn from the bracelet. Try to keep both singles under the same tension as you pull them away from the bracelet to add ply twist.
-
When you get to the end, there will be a loop signifying the exact middle of the yarn.
Video
When It’s Helpful to Use Bracelet Plying
In addition to being helpful when one bobbin runs out before the other, it’s also a great plying technique to have on hand (quite literally) when making yarn samples. This comes in especially handy when participating in spinning workshops. Imagine not needing a lazy kate and three-bobbin setup just to make a 4-gram sample!
Challenges or Cautions
While it is a lovely thing to be able to load singles yarn onto our hand and join the beginning and end strand for a two-ply yarn, it does have challenges. One of the challenges is the amount of yarn you can wind on your hand. When I first learned this technique, I got overly ambitious and wound the singles from an entire 50-gram bobbin onto my hand. It wasn’t a pleasant or helpful experience. As you wind, the yarn wrapped around your middle finger builds and sometimes causes the finger to bend forward. You can see that after a while, there will be little room on the finger to keep winding the bracelet. Hence, it was meant for smaller amounts of yarn.
Another challenge comes from working with very active singles. The main antidote for that is either to let the singles sit for a day or two (and you really can’t be doing this during a workshop) or to be aware of the active twist and take measures to keep them under tension while you wind onto your hand. In a workshop, I wind directly from my wheel using the wheel’s tensioning to keep it from running freely, or I wind directly from my spindles and keep those right in my hand as I wind the plying bracelet. Strangely enough, it’s a technique that relies on the active twist in singles yarn to keep the bracelet from drifting apart.
Finally, it’s a technique that doesn’t take well to interruptions, so plan your bracelet plying accordingly. Once you start winding something onto your hand, you are stuck in that position of being attached to a wheel or a spindle until the winding is done and you can free your entire hand of it. This is another cautionary reminder about using this method for large amounts of single yarn.
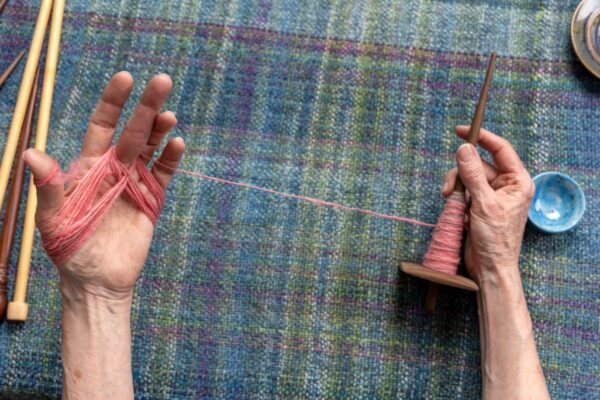
Sometimes, it is worth it to wind a two-strand plying ball from the yarns on the bracelet. That is, of course, if you don’t need to ply the yarn right away. I often choose to do this because I like plying to be a relaxing experience. I have found that having one easy-to-hold and manage plying package makes for relaxing plying. Plying that can be started and stopped at a whim.
Variations on the Theme
There is a method where you wrap around the wrist, stopping at the middle finger and wrapping around that while continuing in the same direction. Always coming at the middle finger from the same direction and making a cross as you keep winding in the same direction. In this technique, you must be especially careful not to wind the yarn too tightly around the middle finger. And it seems to cover less distance than the traditional method described above.
If you prefer those gestures and you get a good result, carry on. There are many ways to make yarn. The key thing is you were able to take a singles yarn, wind it onto your wrist, and ply for a two-ply yarn, using up every inch of the singles.
That’s a cool tool to have in your spinner’s tool kit.
For a deeper dive into spindle spinning, visit Diana’s course, Next-Level Spindle Spinning at the School of SweetGeorgia! Find more spinning articles here on SweetGeorgia Yarns!
Interested in further exploring spinning content including online workshops, fibre prep-alongs, online meetups, and more? Come and join us at the School — with over 100 online courses, a friendly community of multicraftual makers, and fabulous instructors to help you along the way. Use the code EXPLOREWITHUS to get a 14-day trial for just $1!
The post Bracelet Plying: One of the Coolest Tools in Your Spinning Toolkit appeared first on SweetGeorgia Yarns.


