
Today is the day! I’m so excited to officially welcome you to the SweetGeorgia Winterful Weave-Along! I’m thrilled to be weaving alongside each of you as we create something cozy and beautiful this winter season.
Whether you’re a seasoned weaver or just starting out, I hope this weave-along will be a fun and inspiring experience. Get ready to dive into a world of Colour & Weave!
Here’s a quick reminder of what’s coming up:
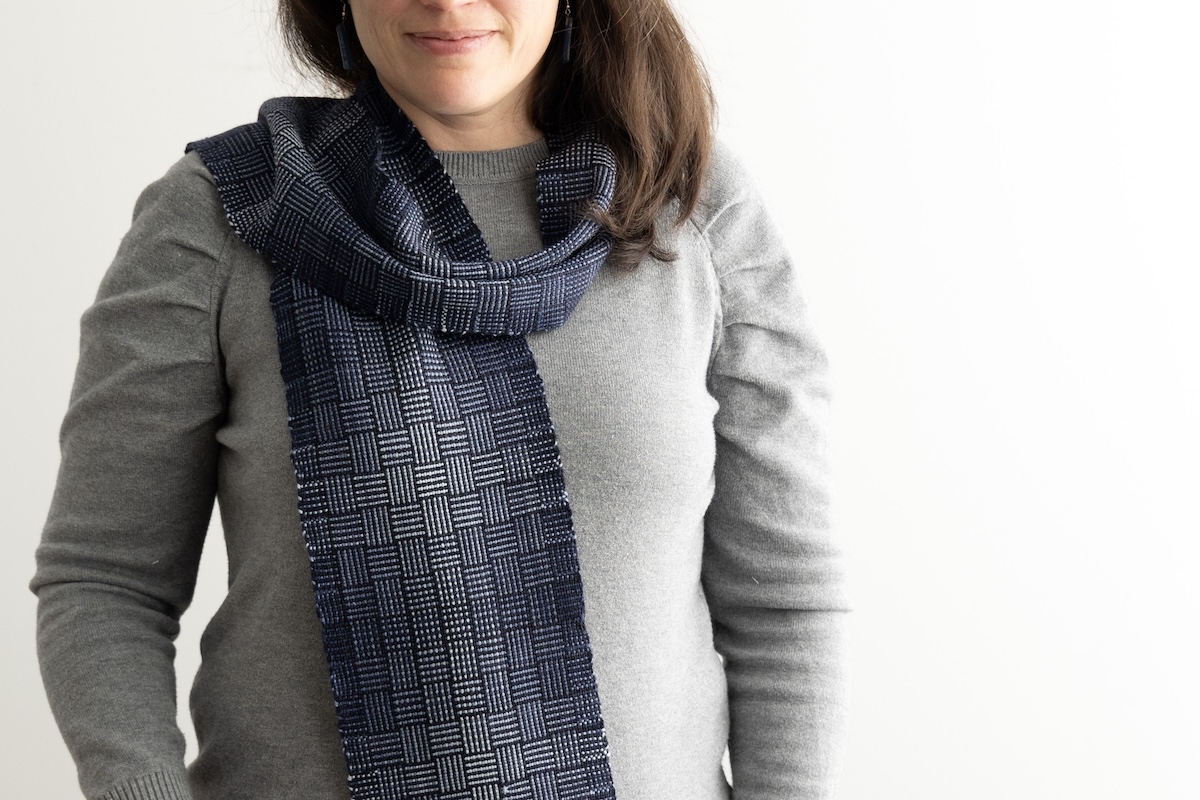
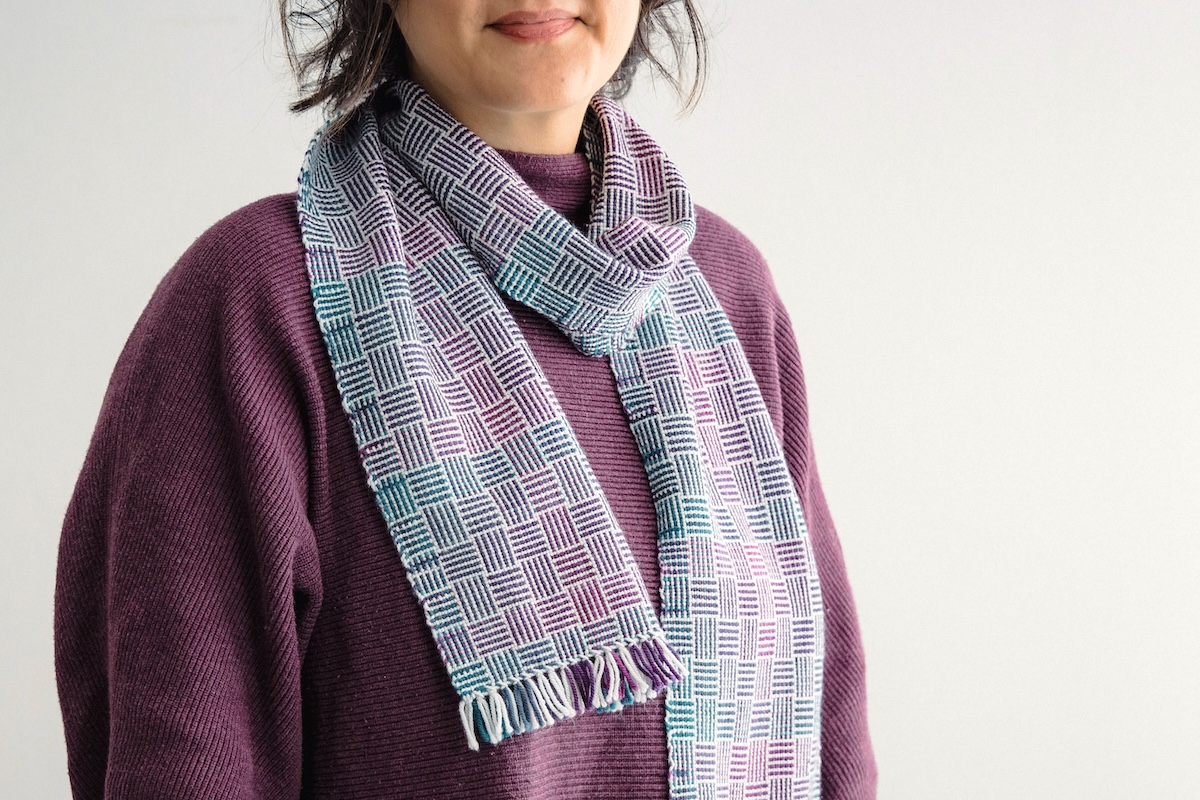
- Pattern: Please check out the Kaleidoscope scarf pattern either on the SweetGeorgia Shop or the School of SweetGeorgia (free for SOS members).
- Materials: Gather your yarn, looms, and any other tools you’ll need for your project. If you need any suggestions or have questions about materials, feel free to ask in the SOS Forums or on Discord. In this case, the Kaleidoscope Scarf uses one set of SweetGeorgia Party of Five mini-skeins and one full skein of SweetGeorgia Tough Love Sock.
- Community: Connect with your fellow weavers! Share your progress, ask questions, and be inspired by others’ work in the SOS Forums or on Discord. We’ll be sharing tips, tricks, and encouragement throughout the weave-along.
- Check-ins: Stay tuned for weekly updates here on the blog and in email. And hop into one of our upcoming Zoom meetings (Monday, November 18 and Monday, December 16) to ask questions and share progress.
Warping Your Loom
The Kaleidoscope Scarf pattern features a log cabin colour & weave design that is woven in plain weave. This means you can weave this scarf on a rigid heddle loom or a multi-shaft loom, like a floor or a table loom.
For the rigid heddle loom, designer and weaving instructor Amanda Wood has suggested a few different ways of warping a rigid heddle loom for this project:
Direct Warping
Direct warping uses a warping peg positioned at a distance from the loom. Moving back and forth between the rigid heddle and the warping peg, you thread the slots of the rigid heddle at the same time as you measure out the desired length of your warp. Once you’ve finished measuring out the warp in this way, you can beam the warp onto the back beam of the loom and then take one warp end out of the slot and sley it in a hole.
This is a quick example of what the direct warping process generally looks like:
This direct method is generally very straightforward for most warps, but in the case of this particular log cabin colour & weave design, there is one important to consider: our warping unit includes an odd number of warp ends with repeats of an even number of “border” colour ends and an odd number of “pattern” colour ends.
With direct warping, we generally tie the warp end to the back rod, then thread a loop of warp yarn through a slot of the reed, pulling that loop to the warping peg, and then following that warp yarn back to the back rod. This basically winds a pair of warp ends with each pass. However, since we have an odd number of warp ends in the threading unit, you’ll need to cut and tie off one of the warp ends at the warping peg.
Since our threading unit includes alternating border (indicated as D in the illustration below) and pattern (L below) warp colours, my suggestion would be to tie both colours to the back rod, then alternate between threading the pair of border colours in one slot and then pattern colours in the next slot.

Notice that in all except one of the slots, we have inserted a pair of warp ends. In one of the slots, there is a lone warp end. This is to manage the odd warp ends for that threading unit.
Then, once the warp is beamed, sley the reed by pulling the correct colour warp end through the holes and slots as needed.
Indirect Warping
Indirect warping utilizes a separate piece of equipment (a warping board or a warping mill) to wind a warp, and then we take the pre-wound warp and dress the loom. You can use this method for dressing either a rigid heddle loom or a multi-shaft loom.
In the case of this warp, again, I would hold the pattern and border warp colours together and wind them as a pair. When you have wound the correct number of pattern ends and reach the bottom peg of your warping board, you’ll cut and tie off that pattern warp yarn and then take that border colour back to the top of the warping board. Then, at the top, you’ll tie on the new pattern warp colour and wind another threading unit.
We have a full article, The Indirect Approach: Rigid Heddle Warping, taking us step-by-step on this method of warping with helpful tips on changing warp colours coming soon!
For a tutorial on alternatives to warping boards, read Amanda Wood’s article, Warping Around: How to Use a Warping Mill, and see her process as she wound the warp for the Kaleidoscope Scarf.
Hybrid Warping
Hybrid warping combines direct and indirect warping methods and gives you the best of both worlds! You can wind a much longer warp length by using a warping board clamped to the table next to your rigid heddle loom and at the same time, take advantage of the ability to spread those warp ends through your rigid heddle reed.
Read an in-depth how-to article, again, written by Amanda Wood, The Best of Both: Exploring Hybrid Warping on the benefits of this style of warping.

Whichever method you choose is up to you!
The post Winterful Weave-Along: Warping Week! appeared first on SweetGeorgia Yarns.


