
Hi, everyone! I’m recording a quick tutorial on how to wind a warp for an upcoming weaving project. Below the video, I’ve included written instructions for easy reference.
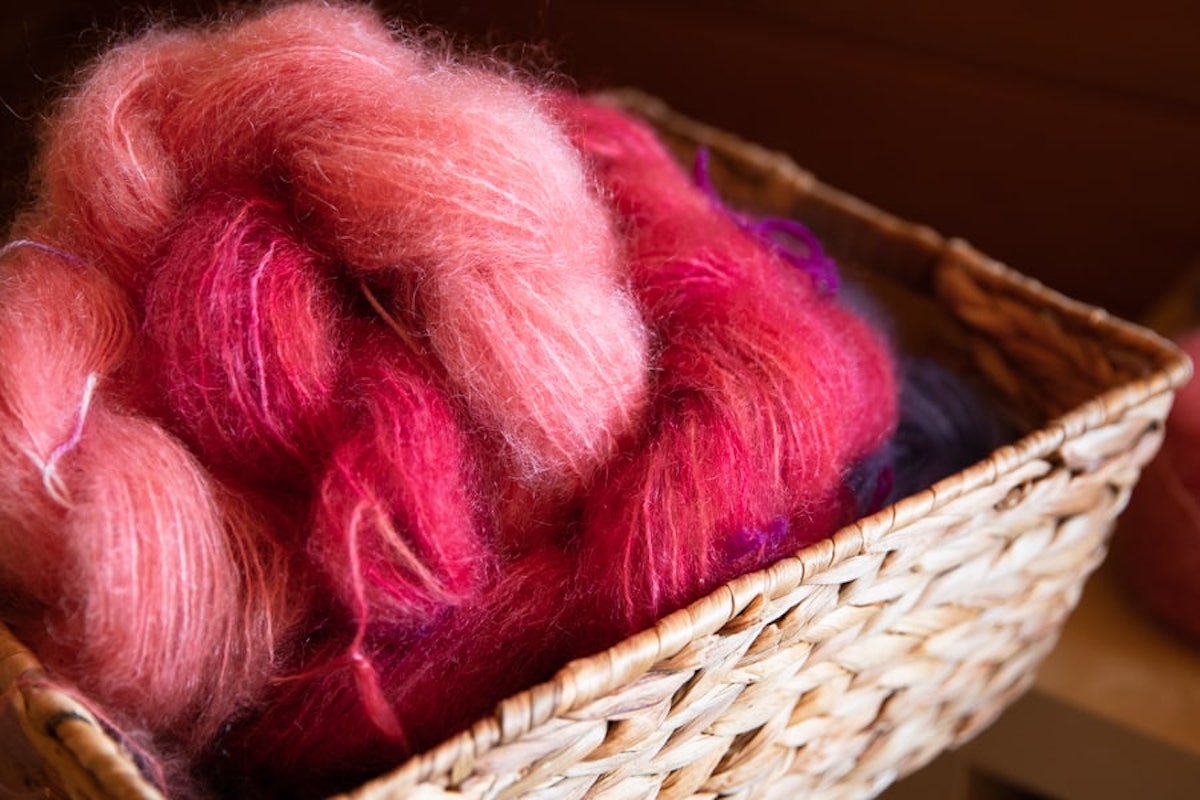
For this project, I’ll be using hand-dyed mohair to warp a three-yard-long blanket. Let’s get started!
Setting Up a Guide String
I’ve got my warping board all set up. This board can create a warp up to 14 yards long, and it’s one yard wide. The first step is to make a guide string that’s three yards long since that’s the length I need for this warp. Then, I’ll work out a path along the pegs that will produce the three-yard warp I want. Starting at one peg, I’ll move around the board until I find the right path to measure out three yards.
Starting to Wind the Warp
Choose one peg along the guide string path to be the starting peg. This peg will hold all the knots and mark the end of the warp. This means that the other end of the warp will be the beginning and where the cross will be formed. The cross keeps the yarns in order and shows which yarn comes next.
To begin, I’ll take the yarn, make a loop, and place it over the end peg. Then, I’ll follow the guide string path all the way to the beginning peg. Once I reach the beginning peg, I’ll go around it, but instead of following the exact path of the previous yarn, I’ll place this yarn on the opposite side of the first peg. This creates the cross and keeps the warp in order.
Making a Counting String
As I wind this warp, I need a way to keep track of the correct number of ends for my project. This is where a counting string is helpful; it shows me how many threads I’ve wound so far.
For this warp, I’ve decided to count every ten threads. I do this by counting the threads on one of my pegs; when I see five threads above, I know there are five below, making a total of ten threads. I use some smooth scrap yarn to make a crochet chain around each bundle of ten threads. Every time I wind ten more threads, I crochet another chain around the new bundle. This makes it easy to see, at a glance, how many ends I’ve done. When the warp is finished, I can simply pull the crochet chain to remove the counting thread easily.
Adding Choke Ties
The most important step now is to tie off the warp while preserving the cross. This cross is essential for keeping the warp threads in order as I thread my heddles, and it prevents tangling. To maintain this, I first use some scrap yarn to tie off the cross by loosely securing all four legs of the cross.
Next, I tie off the beginning of the warp to mark the starting point. If you warp back to front, this is where the rod will go, starting the warp. If you warp front to back, this is where you’ll cut and tie on or pull through. I’ll also tie the end of the warp tightly, ensuring these two ties are secure so they won’t slip.
Then, about every half yard, I’ll add a choke tie to prevent the threads from shifting. This step is essential for keeping even tension on the warp. Consistent tension helps avoid breakage, so it’s important to make sure the warp threads stay securely in place.
Ready to Remove the Warp
Now, we’re ready to take the warp off the warping board. Starting from the end, I pull it off and make a large crochet chain by hand, repeating until it’s all chained up.
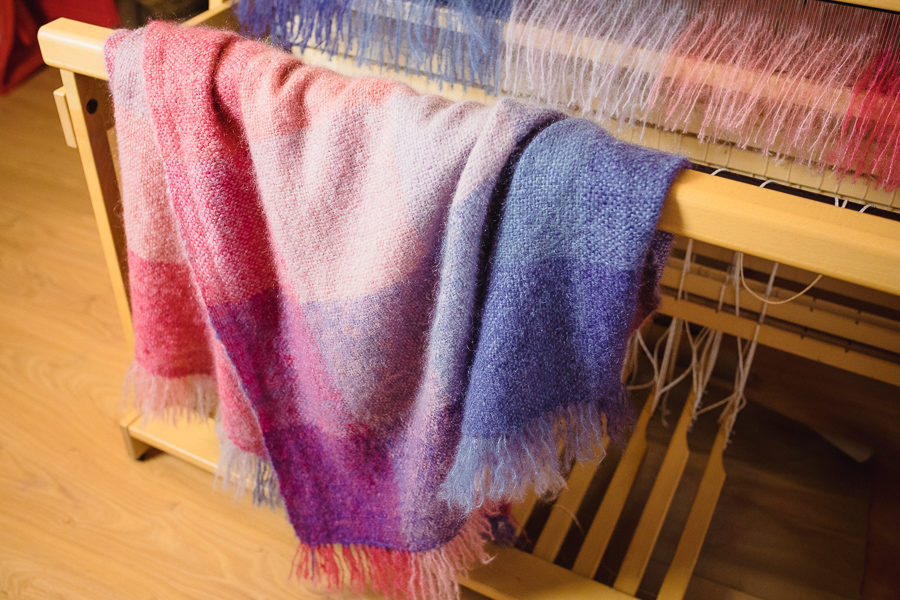
And there you have it, a warp that’s ready to go onto the loom!
Interested in learning further weaving tips, techniques, and more? Come and explore all of the weaving courses available at the School of SweetGeorgia! With online courses led by experienced weaving instructors, there is something for all levels of weavers. With our step-by-step instructions and videos, you can create stunning shawls, garments and decorative items for your home.
Use the code EXPLOREWITHUS to sign up for a 14-day trial for just $1. We look forward to seeing you inside the School!
Original publication: October 12, 2018. Refreshed post: November 14, 2024
The post How to Wind a Warp for Weaving appeared first on SweetGeorgia Yarns.


