
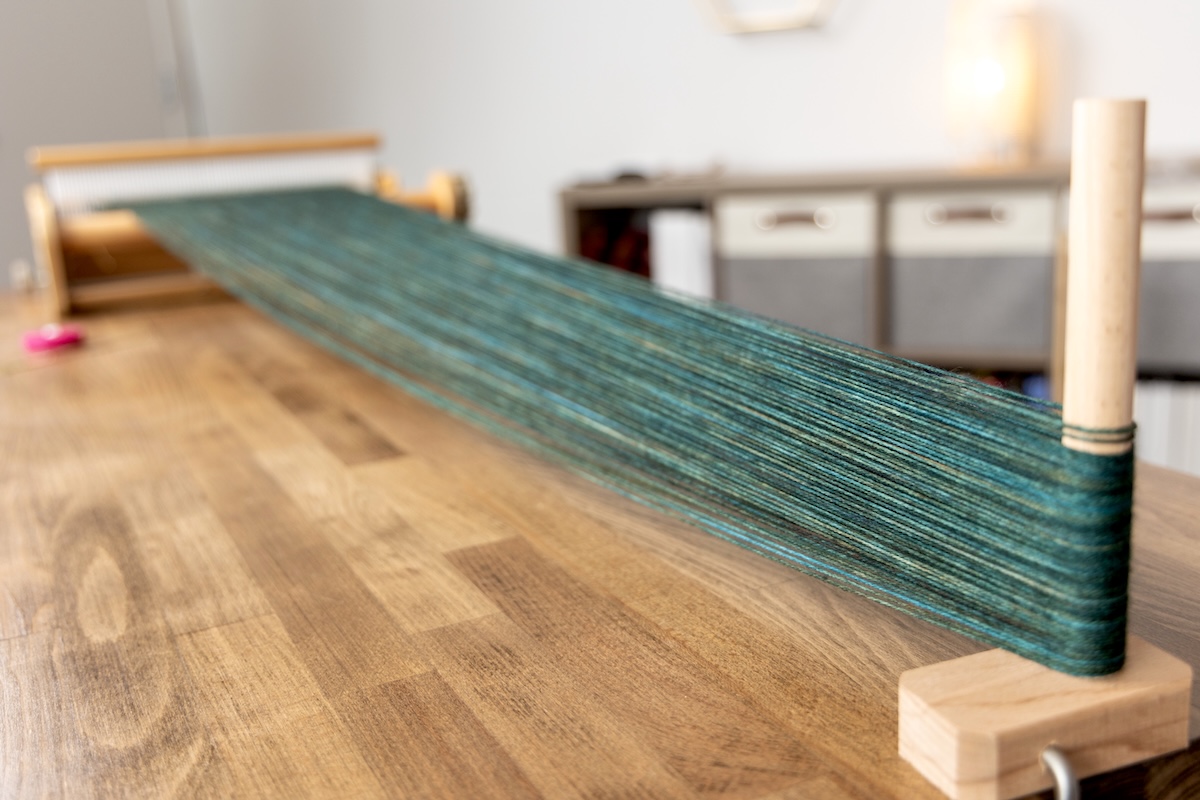
Let’s talk about how to warp a rigid heddle loom using the direct warping method, which requires a warping peg positioned at a distance from your loom. To warp the loom, we take the yarn from the back beam of the rigid heddle loom, through a slot in the reed, around a warping peg, and back to the loom again. It’s very simple and the easiest way to get up and running with a rigid heddle loom.
Setting up for Direct Warping
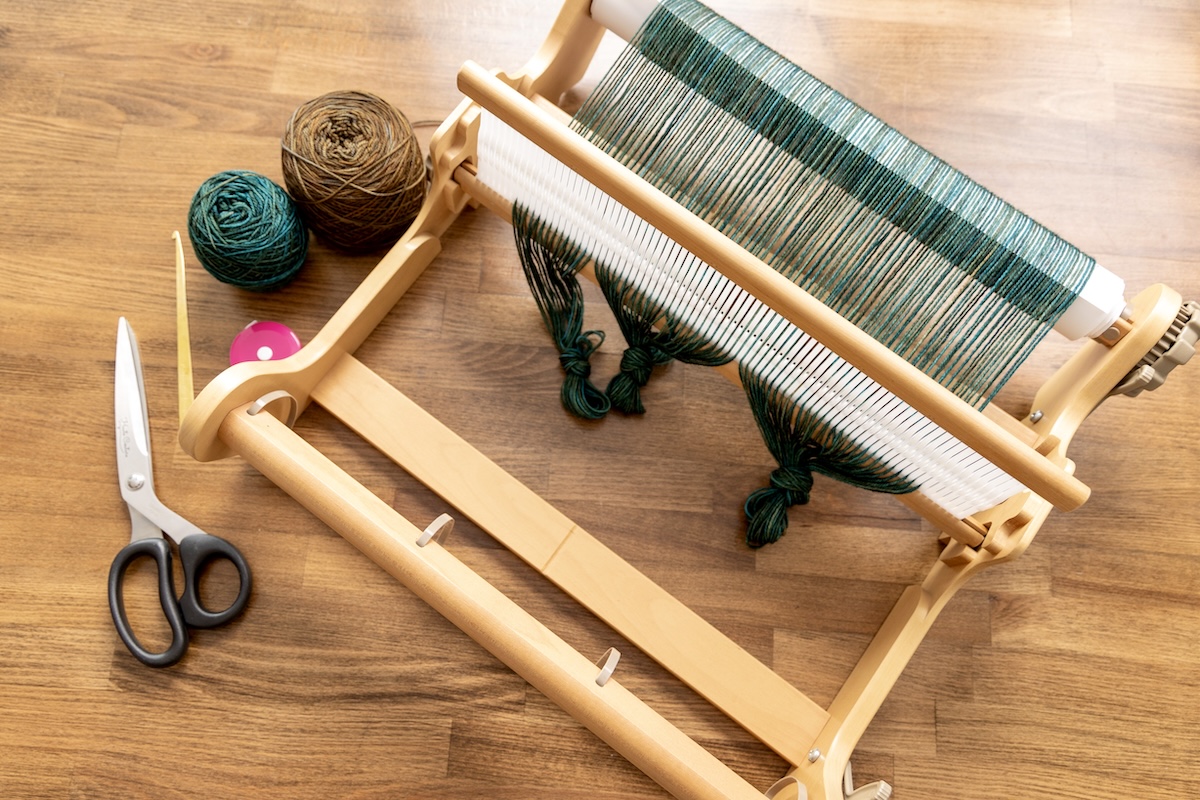
Materials, Tools and Equipment
- Rigid heddle loom with a heddle
- Table clamp (included with loom or quick-grip clamps)
- Warping peg
- Scissors
- Thick yarn or cord (for weaving the header)
- Measuring tape
- Heddle hook
- Yarn for warp and weft
- Bowl or basket to hold warp yarn
- Waste yarn (for choke ties and marking heddles)
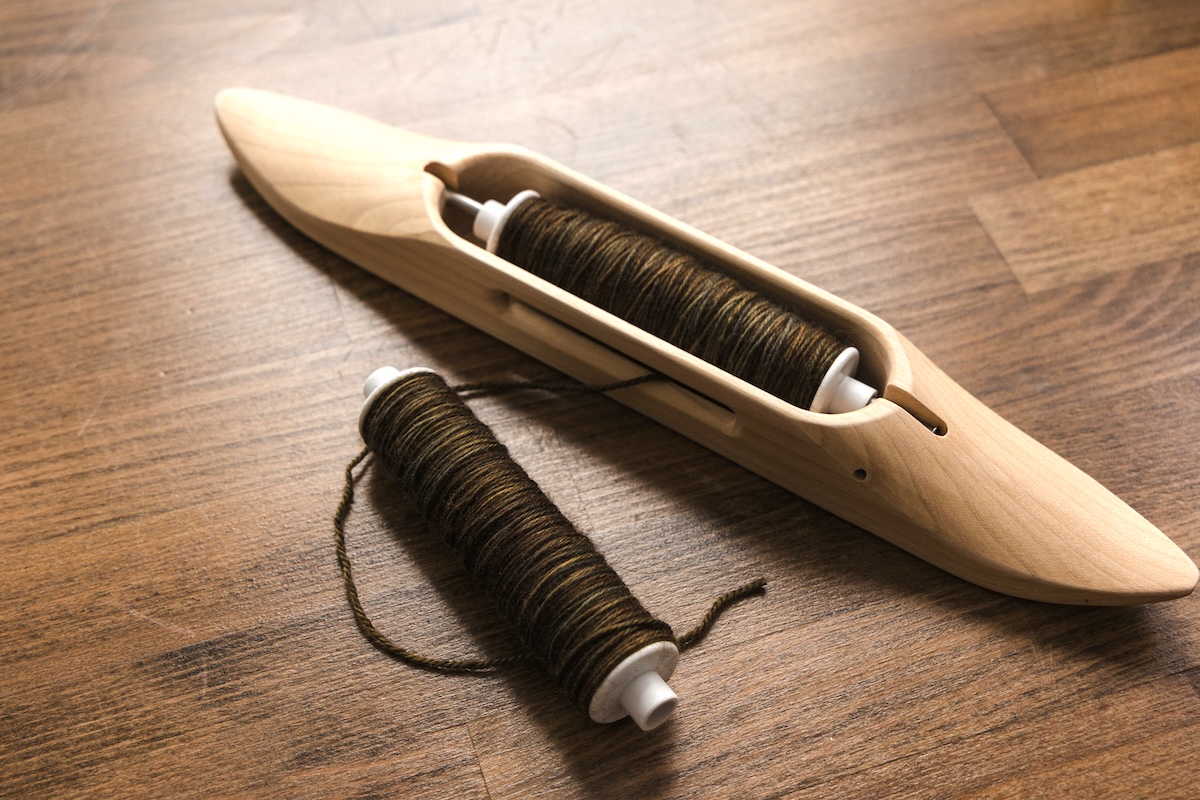
- Stick shuttle or slim boat shuttle
Tools and Setting Up
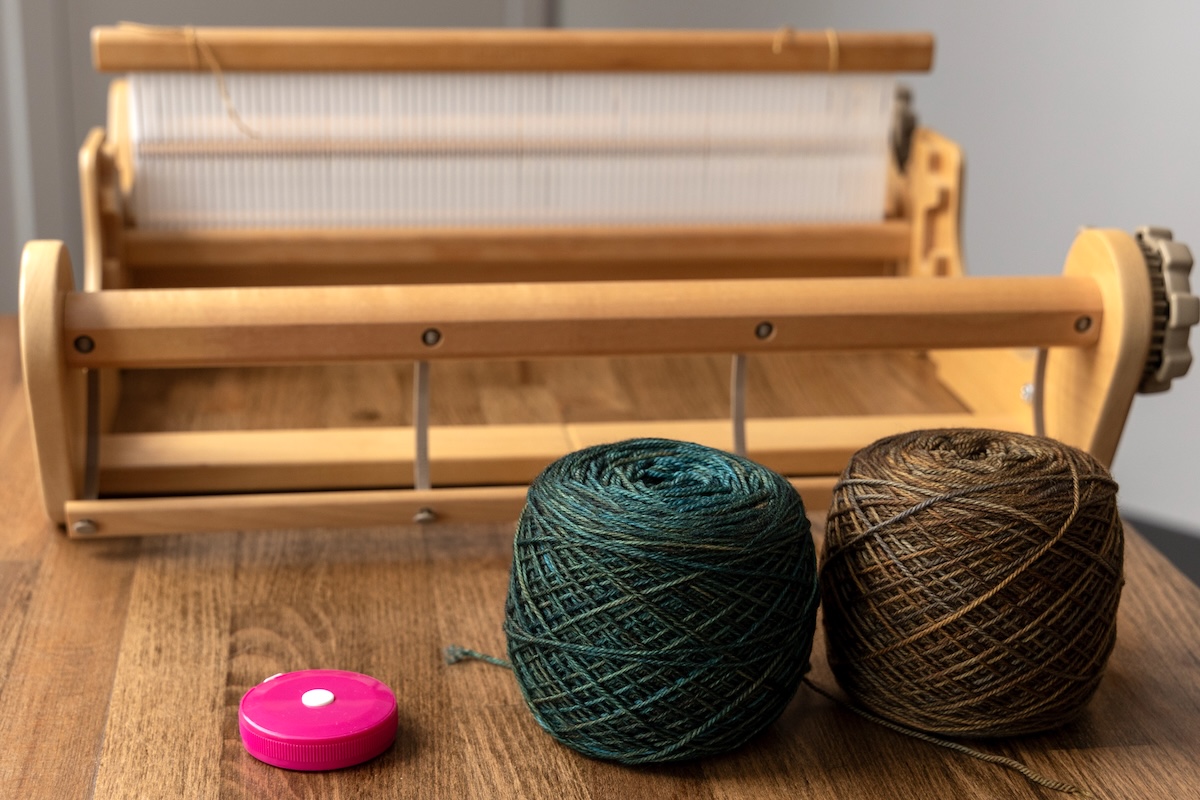
For all the examples here, we’ll be using an Ashford rigid heddle loom. The setup and direct method apply to most rigid heddle looms on the market; only the accessories vary, as they are specific to each loom model.
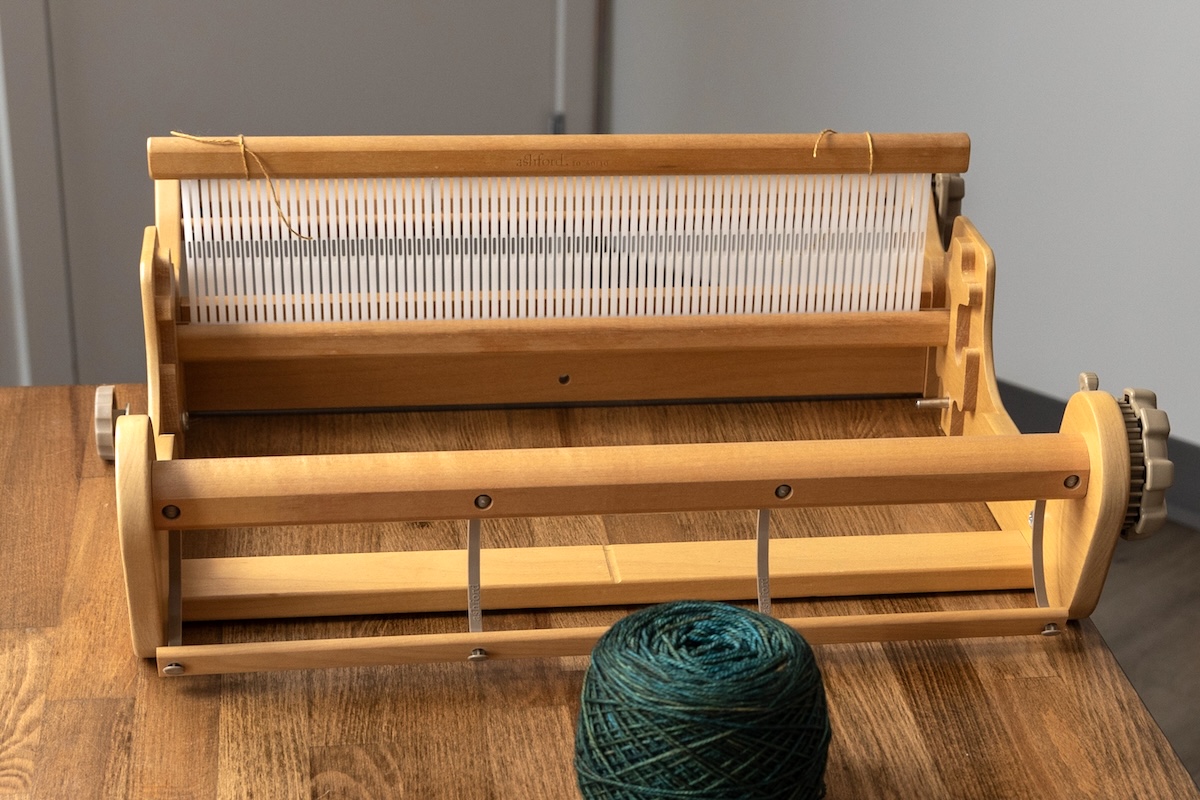
To get started, take the rigid heddle loom and clamp it to the table using the clamp included with your loom. If you don’t have one, you can purchase a new table loom clamp, or clamps from the hardware store will work; I prefer quick-grip clamps.
Next, we need to place the warping peg. This peg should be positioned at the desired length of your project, with a bit extra added for loom waste. Loom waste is the warp yarn that gets “wasted” when tied to the front and back beams. Be sure to centre the warping peg with the middle of your loom.
Now, we’ll need the heddle in the loom, which should be placed in the loom in the neutral position.
Finally, gather the last few essentials: a heddle hook (this brass sley/threading hook is my favourite) and the weaving yarn. Also, keep a basket or bowl nearby to hold the yarn. This prevents it from rolling around and ensures it comes off the ball or cone smoothly as we warp the loom. Position the basket near the back of the loom.
Project Width & Centring the Project
To determine which slot to start with, we first need to figure out how wide this project will be. Let’s say our project is 12 inches wide. I’m going to locate the centre dot on the reed, which is a small mark near the Ashford logo on the heddle that indicates the centre. If you’re not using an Ashford heddle, make sure to find the centre of your heddle before you start.
Next, I’ll measure six inches out from that dot in one direction to find the nearest heddle slot, then do the same in the other direction. You can mark this slot by tying a string in that heddle. If we begin in one of these slots and work across, we’ll achieve the correct width for our project, with it balanced in the centre of the heddle.
Direct Warping
To get started, place the yarn in the basket and tie it onto the back rod using a square knot. Now, I’m going to pull this yarn through the first slot, the one we marked as our starting point, which will be the leftmost edge of our project. Then, I’ll walk the yarn over to and around the warping peg.
Notice that the yarn initially comes over the back bar. When I take my next loop of yarn and pull it through the following slot, the yarn will go under the bar. This will alternate over and under across the entire warp. Each time, be sure to take up any slack in the warp, but avoid putting too much tension on it as well.
As the yarn starts to build up on the warping peg, push all the yarn down to prevent it from popping off. You can also place an elastic around the top to help keep it secure.
Continue winding the warp until you reach the second heddle point we marked as the end width of our project. Once there, cut the yarn and tie it to the back beam, just as you did when starting the warp.
Winding the Warp onto the Back Beam
Adding a couple of choke ties helps keep the warp neatly together. Using a smooth yarn, make a few bows along the length of the warp.
Move the heddle into the lower position to secure it a bit more.
Next, remove the yarn from the warping peg while keeping it under tension. Be sure the brake on the back beam is engaged.
Before we begin winding, we’ll need to pack the back beam with sticks or paper. I prefer to use Kraft paper whenever possible, as it seems to produce a more even result. This process is much easier with two people, but it’s absolutely doable with one.
With the paper in place and even tension on the warp, I’ll start winding it onto the back beam. It’s important to maintain consistent tension on the front of the warp.
As I get close to each choke tie, I’ll undo it, which is why it’s helpful to make them little bows. Continue adding paper and winding the warp until most of it is wound onto the back beam. Stop when the loop that was created by wrapping the yarn around the warping peg is even with the front beam.
Threading the Heddle Holes
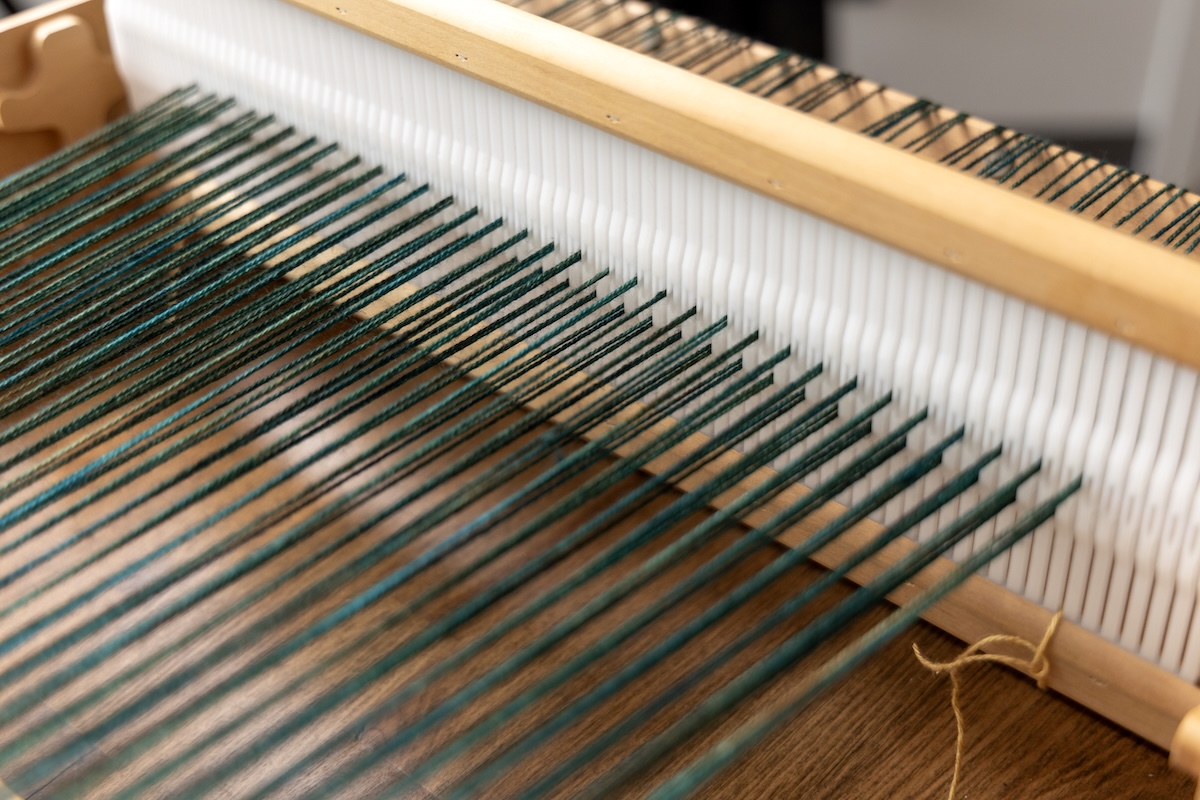
First, put the heddle back into the neutral position. Then, cut the loop off the front of the warp so you can move all the ends around independently. I use loose overhand knots to make small bundles across the front to keep everything tidy.
Right now, there are two threads in every slot. I’m going to take one thread out and use the heddle hook to pop that thread into one of the holes. To do this, I’ll undo this small bundle of warp threads and slowly remove one of the two threads from the slot. Then, using the heddle hook, I’ll pop that thread into the hole next to that slot. Now you can see there is one thread in the slot and one in the hole. I’ll repeat this for all of the warp threads, taking one out of each pair and threading it through the hole.
Once this bundle is threaded, it’s a good idea to check your work to make sure every other hole and every other slot is threaded properly. Just double-check to be sure. I’ll take all the ends and bundle them temporarily again to keep everything tidy and in order. Then, I’ll repeat this process across the warp.
Tying onto the Front Beam
Now, we’re ready to tie the warp onto the front apron rod. Starting in the middle, take one of the bundles, divide it in two, and loop each half over and around the front bar. Then, tie each half to the bar with an overhand knot.
Alternate tying bundles from the left and right. The overhand knots don’t need to be perfect; we’ll come back and retie them after all the bundles are attached to the front rod.
After they’re all tied, you’ll notice that all the ends have different tension. The ones tied earlier will likely be looser than those tied toward the end. So, what we have to do now is go across, snug them up, and tighten them. Once they’re tightened, I’ll secure each with another overhand knot, but more securely.
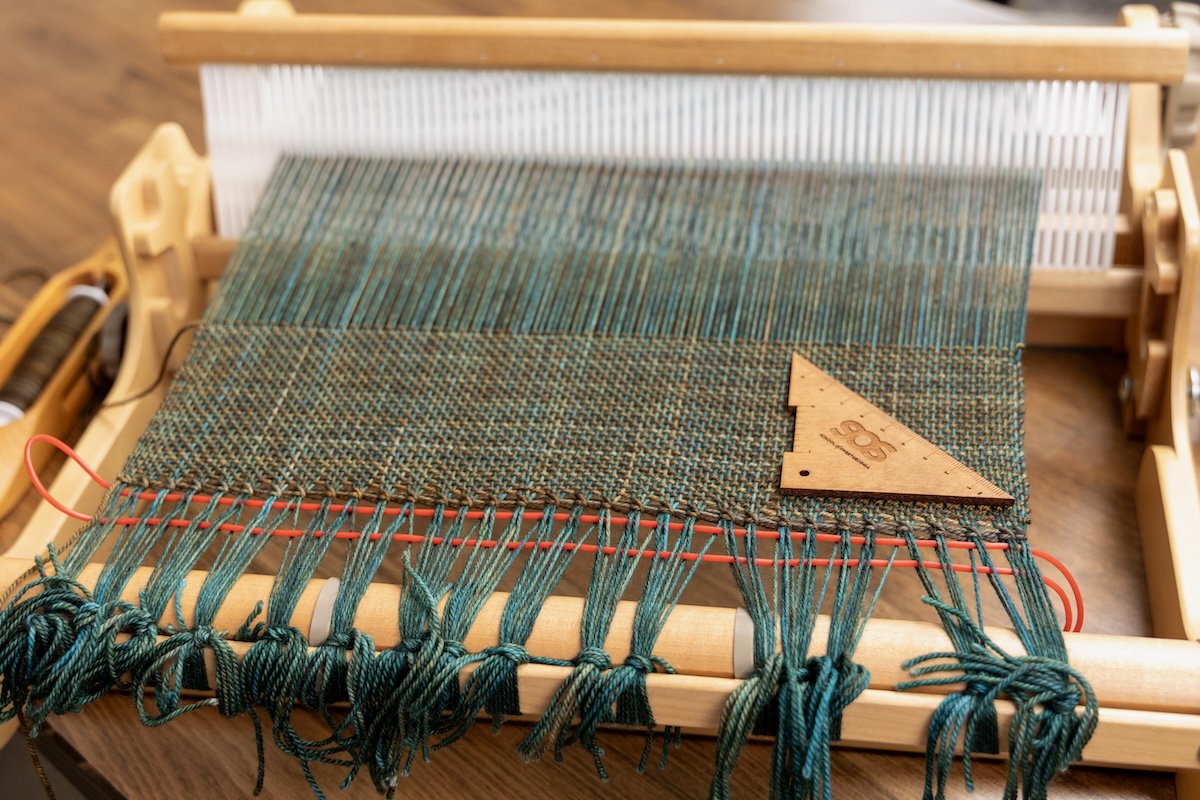
Weaving the Header
Okay, great! Now, to start weaving, we need to move the reed into the up position. Right now, it’s in the neutral position, so I’m going to lift it to the up position to create a shed. Using a thicker yarn or cord on a stick shuttle, I’ll pass two or three picks (picks are lengths of weft yarn) through the shed without beating. First, I’ll move the reed to the down position and pass the shuttle through the shed without beating. Then, move the heddle into the up position and throw another pick.
Depending on the warp, when two or three picks are in the warp, I’m going to take the beater and beat all the picks into place. Then, I’ll change sheds again. This has effectively closed up most of the gaps between the knots. I’ll add a couple more picks to really secure everything and make it nice and tight.
This is also a great way to double-check your work to make sure that all of the threads are going over and under, that there are no skipped dents, that there are no missing warp threads, and that everything looks nice and even and balanced. This completes the header, and the warp is ready to weave on.
Ready to Weave!
For a more detailed guide with video instructions, check out the Rigid Heddle Basics course at the School of SweetGeorgia. You’ll also have access to a supportive community of instructors ready to help you every step of the way. We hope to see you there!
The post Direct Warping on a Rigid Heddle Loom appeared first on SweetGeorgia Yarns.


