
At some point, every knitter runs across the term “gauge”. We talk about checking gauge, getting gauge, and gauge lying; but what is gauge, exactly? This article is a crash course on the basics of knitting gauge—what it is, how to get it, and how to use it to level up your knitting game.
What is Gauge?
Gauge refers to the number of knit stitches or rows in an inch/cm of fabric. Yarn weight, needle size, fibre content, and the individual tension (tightness or looseness) of each knitter’s grip all affect the gauge. In turn, the gauge impacts the density, drape, durability, and overall behaviour of knitted fabric. Even though most people don’t learn about gauge until after they’ve learned the rest of their knitting basics, it’s foundational to creating the cloth we envision when we pick up needles and yarn.
The good news is that gauge is much simpler than it sounds! With a few key terms and techniques under your belt, you’ll have everything you need to start leveraging the power of gauge in your own projects.
Some Common Phrases Knitters Use to Talk About Gauge Include:
- Checking gauge means “to measure the gauge of a piece of knitted fabric to make sure it matches the desired number of stitches and rows per inch/cm”.
- Getting gauge means “to achieve the desired number of stitches and rows per inch/cm”.
- Stitch gauge is the number of knitted stitches per inch/cm of fabric.
- Row gauge is the number of knitted rows per inch/cm of fabric.
- A gauge swatch is a small piece of knitted fabric made for checking gauge before casting on a full project.
It’s also helpful to note that each yarn weight has a standard gauge range that tends to work most ideally for that thickness of yarn. While it’s not a hard and fast rule (and many projects sometimes require unusual gauges), these standard ranges provide solid general estimates of what is “normal” for a specific yarn. The Craft Yarn Council of America’s Standard Yarn Weight System is the go-to resource on standard gauges for the US and Canada. (Note that the stitch counts provided are per 4 inches/10 cm, which is the industry standard for gauge measurement—more on that later!) More stitches or rows per inch equals a smaller/tighter gauge, while fewer stitches or rows per inch equals a bigger/looser gauge.
With that, let’s dive into how to use gauge!
Stitch Gauge
When most knitters talk about getting gauge, they’re thinking of stitch gauge (row gauge is also important, but more on that in a minute). The number of stitches per inch/cm counted horizontally directly correlates to the width of a project—which means it affects the width of a blanket or scarf, the circumference of a sock or hat, or the bust and waist measurements of a sweater. If a pattern requires a gauge of 20 stitches per 4 inches/10 cm, that means five of your knitted stitches altogether will need to equal 1 inch/2.5 cm in width.
Row Gauge
It’s often overlooked, but row gauge can be equally important to stitch gauge. The number of stitches counted vertically per inch/cm affects the length of a project—think the foot length on a sock, the depth of a hat, or the body and sleeve length of a sweater. If a pattern requires a gauge of 28 rows per 4 inches/10 cm, that means seven of your knitted rows altogether will need to equal 1 inch/2.5 cm in height.
Swatching and Blocking for Accurate Gauge
Now that you know the purpose of gauge, how do you get it?
The answer is swatching! Few knitters enjoy swatching when they’d rather dive straight into a new project. But making a quick swatch before starting will set you up for success (and help you avoid painful unravelling later).
First, you’ll want to know exactly what numbers you’re aiming for. Most patterns will at least list the stitch gauge, but ideally, both stitch and row gauge will be provided. We’ll use 16 stitches and 24 rows = 4 inches/10 cm, which is an average heavy worsted/aran weight gauge, as an example. Make sure you also check which stitch the pattern lists gauge for! Stockinette is the most common, but if you’re making something with an all-over pattern like a lace shawl or textured sock, the gauge will usually be measured in the pattern.
Then, grab the same yarn and needle you’re hoping to use for your project. It’s vital to try to simulate the process of knitting the actual project as much as possible, for the most accurate measurements. I used SweetGeorgia Superwash Worsted and a US size 7/4.5 mm metal needle for this swatch (needle material can affect your tension as well!) You’ll want to cast on for the width you’re trying to measure, plus some extra stitches.
The rule of thumb is to cast on 1.25 multiplied by your desired width, and then a couple of extra stitches on each side for a selvedge.
I cast on 24 stitches, so 1.25 multiplied by the 16-stitch width I need to measure for, plus four stitches for a two-stitch selvedge on each side. When swatching for a project knit in the round, use the same formula, minus the selvedges, and join your cast-on in the round. (If you tend to knit more tightly at small circumferences, as many knitters do, it’s highly recommended to cast on extra stitches so that your gauge doesn’t come out tighter than it would in the actual project.)
Then knit your swatch! I made mine in stockinette stitch with a few rows of garter at the beginning and end to help the fabric lie flat.
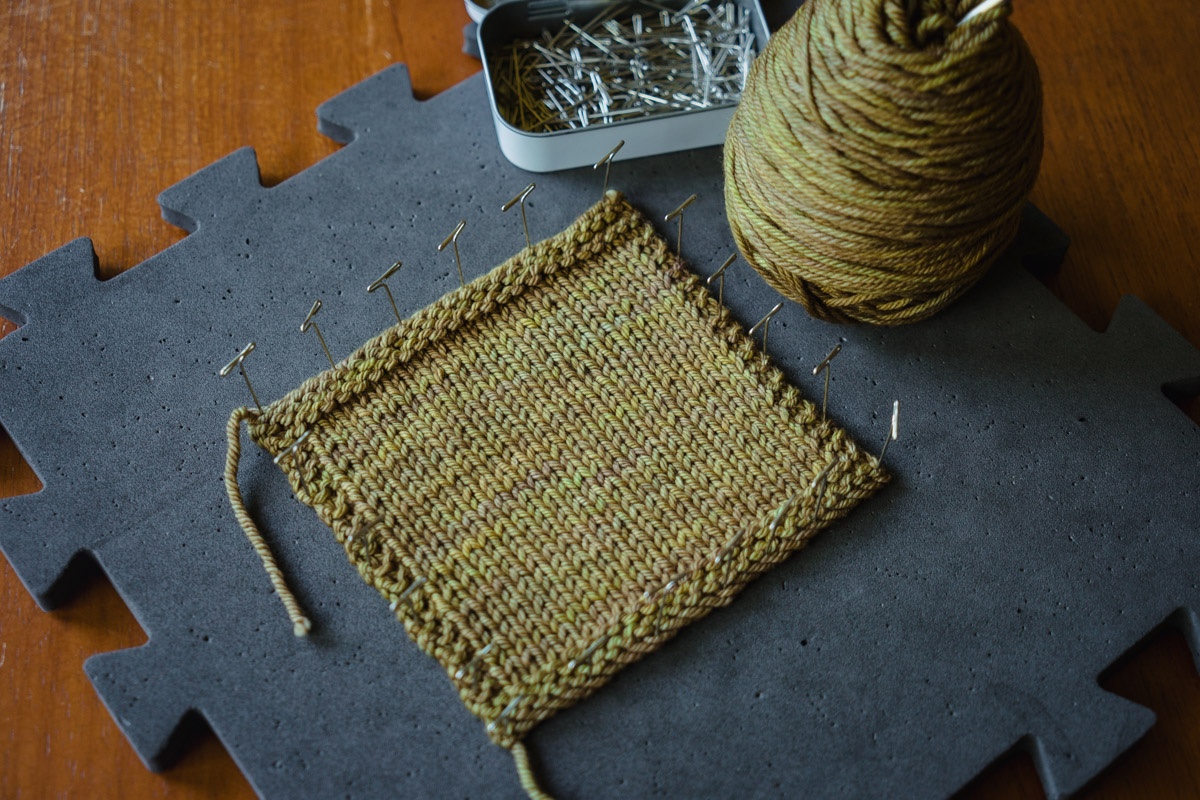
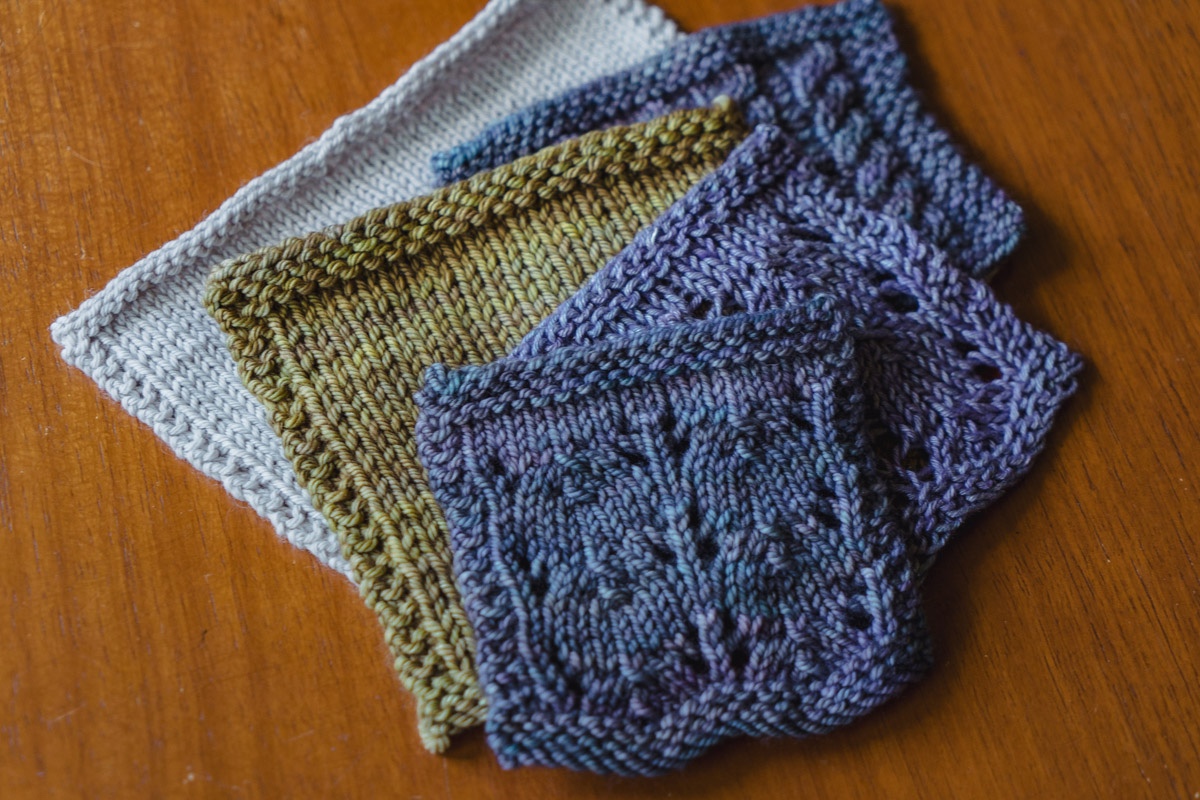
But don’t measure yet! Again, we’re trying to simulate the conditions of an actual project as much as possible. You’ll need to wash your swatch the same way you plan to wash your project. Since I usually soak my wool projects in warm water with a few drops of wool wash, that’s what I did with this swatch. Next, pin out your swatch to dry. For a standard stockinette fabric and most textures, this just means laying it flat and pinning the corners and edges so they’re straight and even. Lace fabrics are usually stretched out much more aggressively and then pinned into place.
Once your swatch is completely dry, you’re ready to remove the pins and measure!
Measuring Gauge Accurately
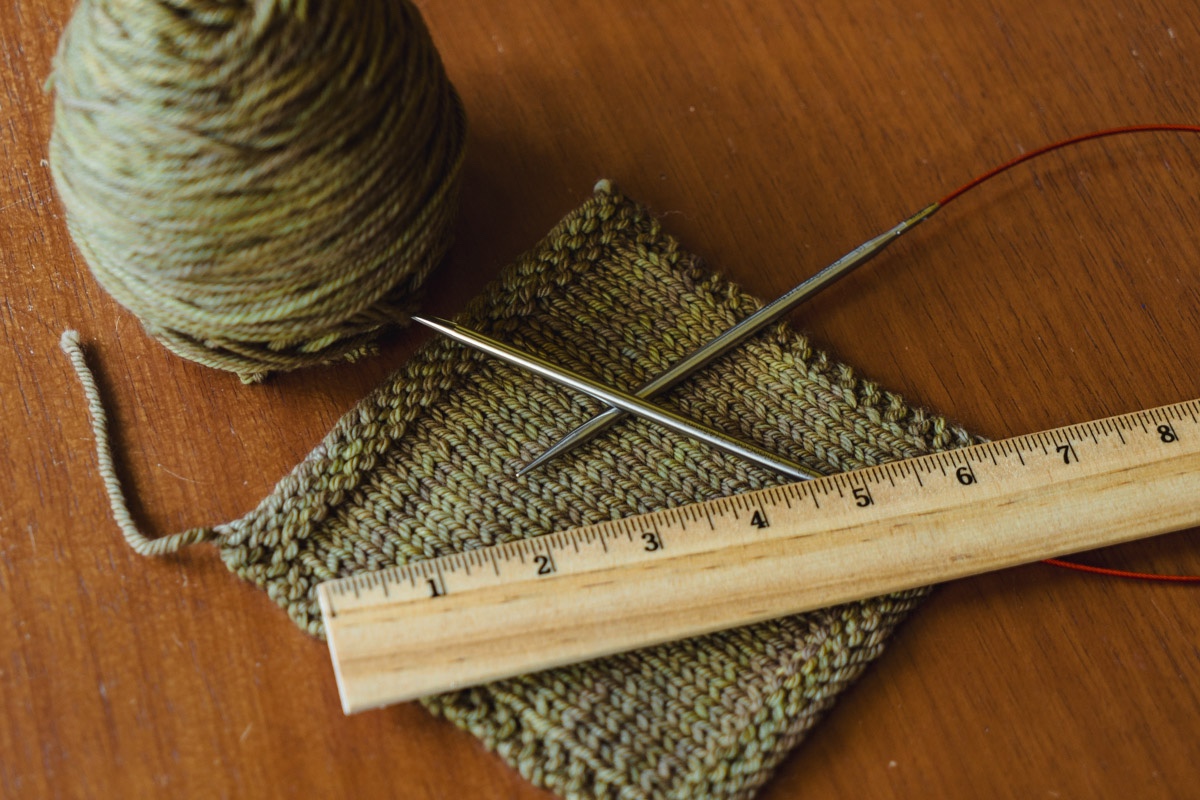
It’s time to grab your measuring tool of choice! A hard ruler is ideal since it’s easy to keep straight and doesn’t have slack that could result in an inaccurate measurement, but a tape measure can also work.
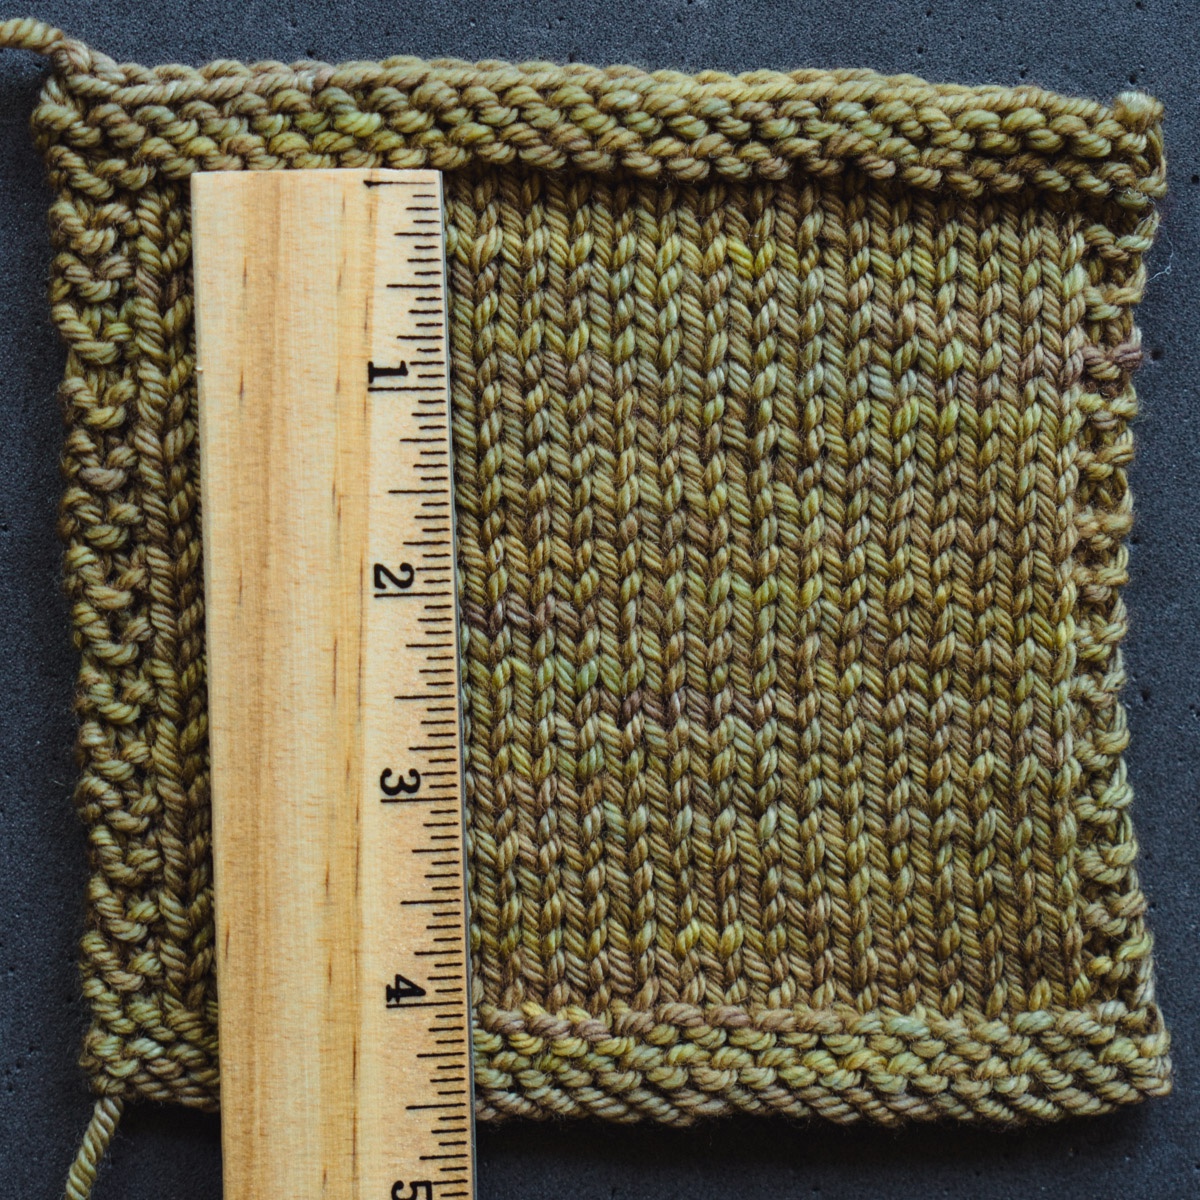
To check the stitch gauge, measure across the middle of your swatch, side-to-side. Edge stitches usually have slightly different tension than stitches in the middle, so avoid those when measuring your gauge. Count how many stitches make up 4 inches/10 cm. In this swatch, 18 stitches = 4 inches/10 cm.
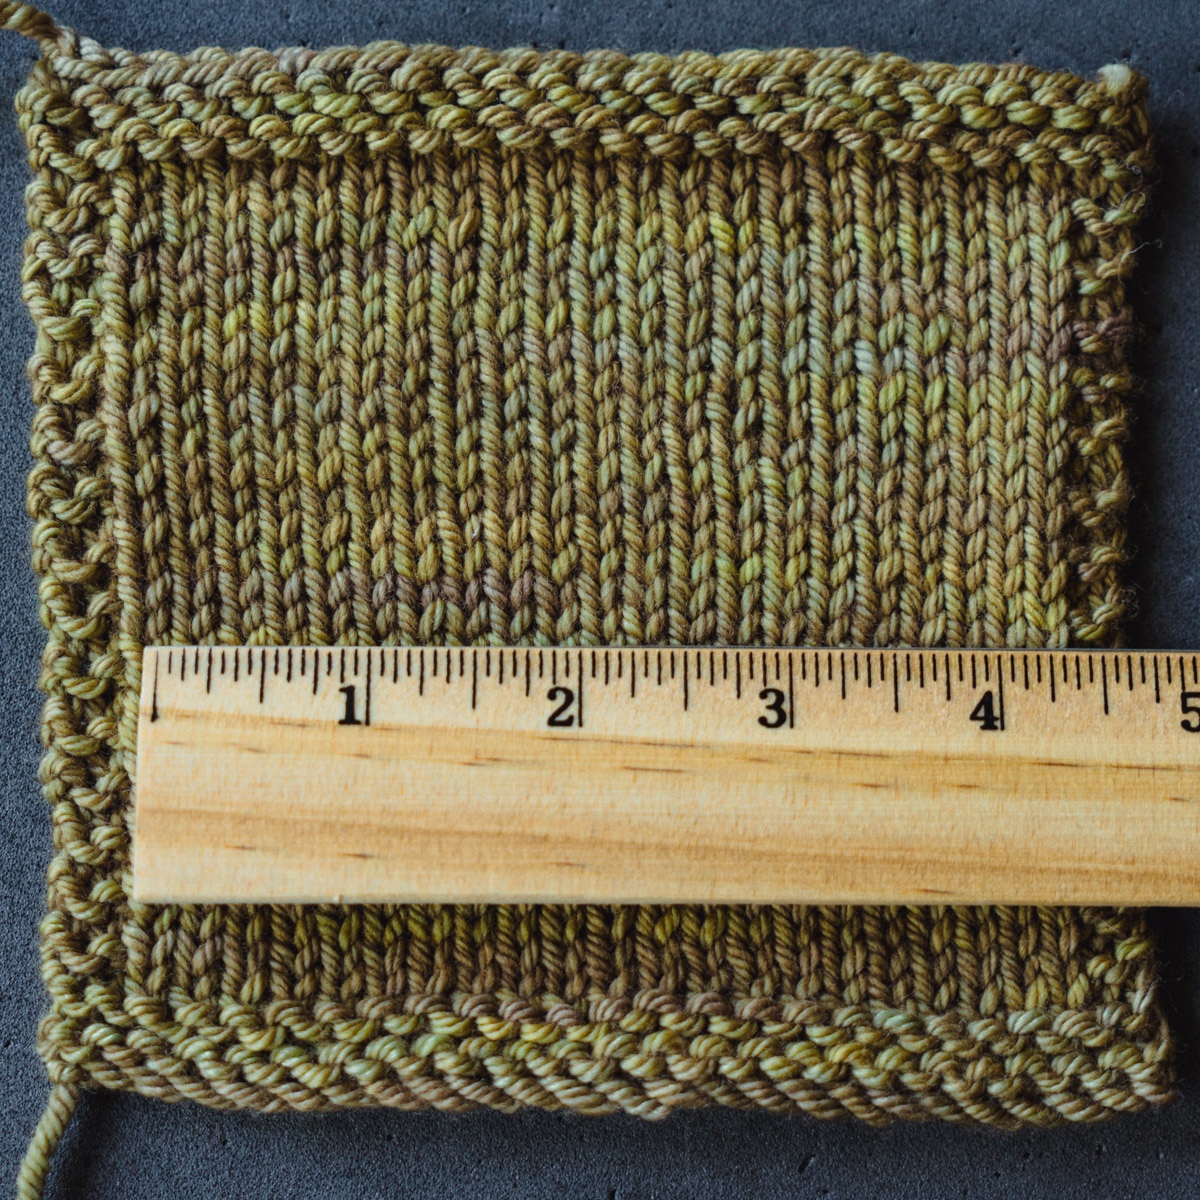
To check the row gauge, rotate your swatch and measure across the middle, top-to-bottom; again, avoiding the edges. Count how many stitches make up 4 inches/10 cm. In this swatch, 32 stitches = 4 inches/10 cm.
Once you have your swatch’s stitch and row gauge, compare them with your pattern requirements. I was aiming for 16 stitches and 24 rows = 4 inches/10 cm but got 18 stitches and 32 rows = 4 inches/10 cm. This means my gauge is too small. My stitches aren’t big enough for 16 of them to equal 4 inches/10 cm, and my rows aren’t tall enough for 24 of them to equal 4 inches/10 cm—which means if I wanted to make a sweater that required that gauge, my sweater would come out too small. Two stitches off might seem small in a swatch, but multiplied across a much bigger cast-on, it adds up quickly. My next step would be to knit another swatch with a larger needle (in this case, a US size 8/5 mm) to make my stitches bigger, and hopefully get that 16 stitches/24 rows gauge.
Gauge Troubleshooting
Chances are, you aren’t going to get the exact gauge you need on the first try. And even if you do, things can still go wonky when you move from a small swatch to an entire project. You might encounter one of these gauge mishaps along the way, but there’s always a solution.
What if my swatch lied?
Sometimes even the most meticulous swatching process can still be inaccurate. If you were tense while knitting your swatch or used a different needle material for your final project, your in-project gauge might be different than you expected. Try sizing down a needle if your gauge is too loose, sizing up if it’s too tight, or switching back to the original needle you used for your swatch. If the difference is too drastic, it may be necessary to completely start over again with a different needle.
What If I Can’t Get Gauge?
Depending on your combination of yarn, needle, and individual tension, you may not be able to get the exact gauge in some instances. For example, your gauge might be a little too small on a US size 3/3.25 mm needle, but too big on a US size 4/3.5 mm. In that case, try a different yarn or switch needle materials. And if all else fails, you may need to try a different size in your pattern. If your gauge is too small, choose the next size up in the pattern; if it’s too big, try sizing down. You may need to make some other custom adjustments to get a perfect fit, so if possible try on your project as you go.
What If I Get the Stitch Gauge But Not the Row Gauge?
In most cases, stitch gauge is a higher priority; it’s possible to knit more or fewer rows to adjust the length of a project, but not to add to the cast-on once you’ve already started knitting. Focus on getting the stitch gauge if you’re only able to get one, and measure the length of your project as you go then knit more or fewer rows as needed.
What If I Get Gauge But Don’t Like the Fabric?
This is a common problem when substituting yarn—you may find that your chosen yarn can technically be knit at the gauge stated in your pattern, but it’s too holey (loose) or stiff (tight). Your best option is to use another yarn or a different pattern size (if multiple sizes are an option).
Maintaining a Gauge Library
You’re probably wondering how many swatches you’ll have to knit per project to get the gauge you need—and how many random swatches you’ll get stuck with lying around your house! But never fear. You can always unravel, wash, and reuse the yarn from your swatches later. Just make sure you record your yarn, needle and swatch measurements for the future—in your gauge library!
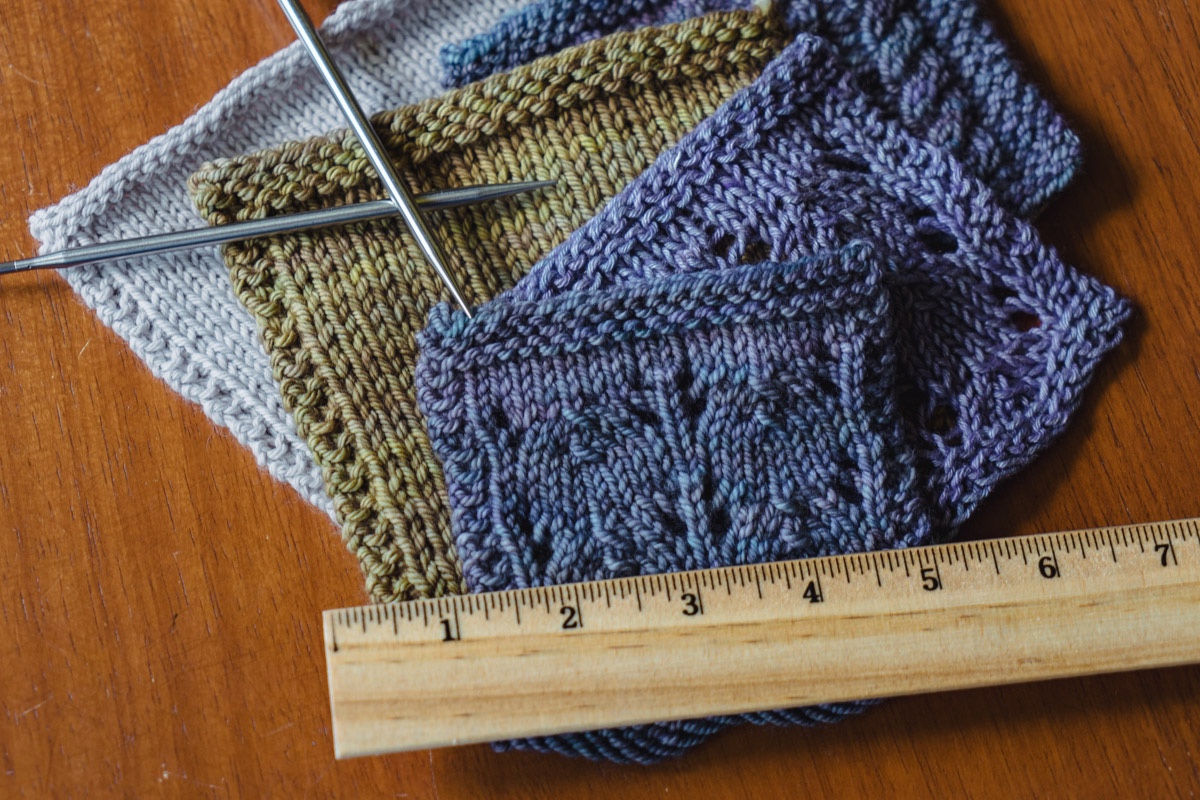
A gauge library is a record of gauges you’ve gotten from various combinations of yarn, needle, and stitch patterns. Over time, as you track more results, all that data will help you make more educated guesses when trying to achieve a certain gauge. For instance, you might have to make three or four fingering-weight swatches with different needle sizes the first time you try to get 28 stitches and 36 rows = 4 inches/10 cm. But next time, you’ll know exactly what needle size got you gauge last time and can start there instead of blindly experimenting. (You’ll still need to swatch again for different yarns/fibre contents, but having a good estimate for needle size is a huge time-saver.)
For more information on keeping a gauge library, check out this article, How to Create a Gauge Library.
Go Forth and Get Gauge!
I hope this article has helped to demystify gauge for you! Gauge is one of the most powerful tools we have as knitters to get the results we’re dreaming of. If you’d like to know even more about gauge, check out Tabetha Hedrick’s course at the School of SweetGeorgia, Mastering Gauge.
Happy knitting!
Interested in learning more about knitting? Visit the School of SweetGeorgia and explore all of our online fibre arts courses plus a friendly and welcoming community of multicraftual makers. Use the code EXPLORETHESCHOOL to get 14 days for just $1 — come and see what the School is all about!
The post Understanding Knitting Gauge appeared first on SweetGeorgia Yarns.


